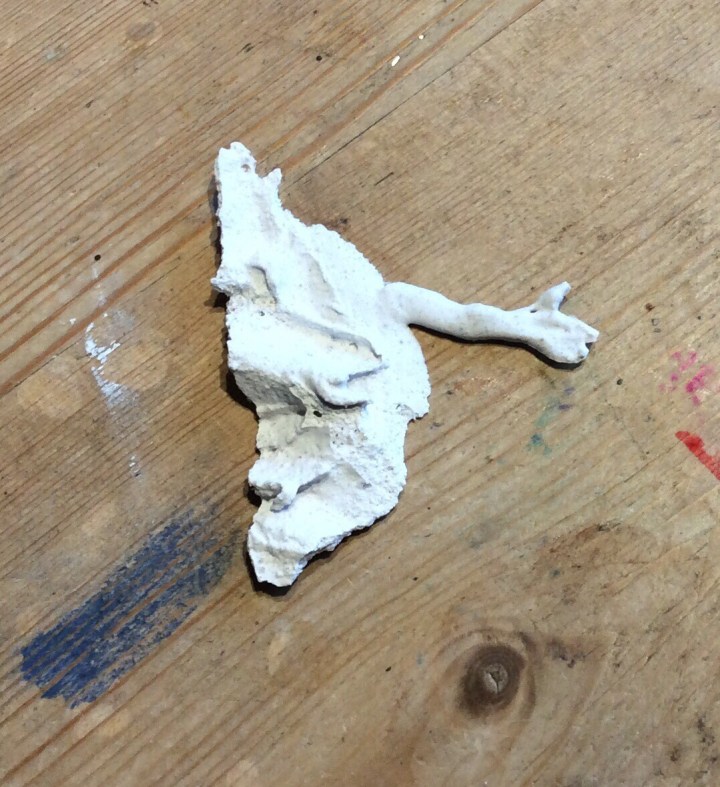
I now know how ancient sculptors made their sculptures. They squooshed up loads of marble plaster and Voila…instant sculpture.
I was cleaning out the r3mains of my filler and I noticed an arm. How wierd is that!
I now know how ancient sculptors made their sculptures. They squooshed up loads of marble plaster and Voila…instant sculpture.
I was cleaning out the r3mains of my filler and I noticed an arm. How wierd is that!
Well I managed a little more on the tower.
I was unsure what I wanted to do to add texture to the tower. I came up with lots of ideas, some a lot more time intensive than others did.
This ranged from cutting individual card stones to wrapping the whole thing in tin foil. I remembered my old GW building Wargames Terrain book.
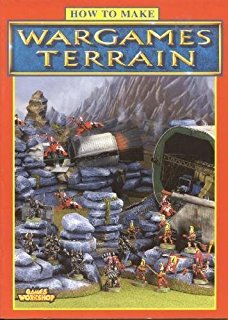
I had a mooch in there as I remembered they had a round tower. They had added filler to theirs. I therefore decided to do something similar. I mixed filler, PVA and sand together and brushed this on with a 2 cm brush. Once on I stippled it to get some form of rough texture.
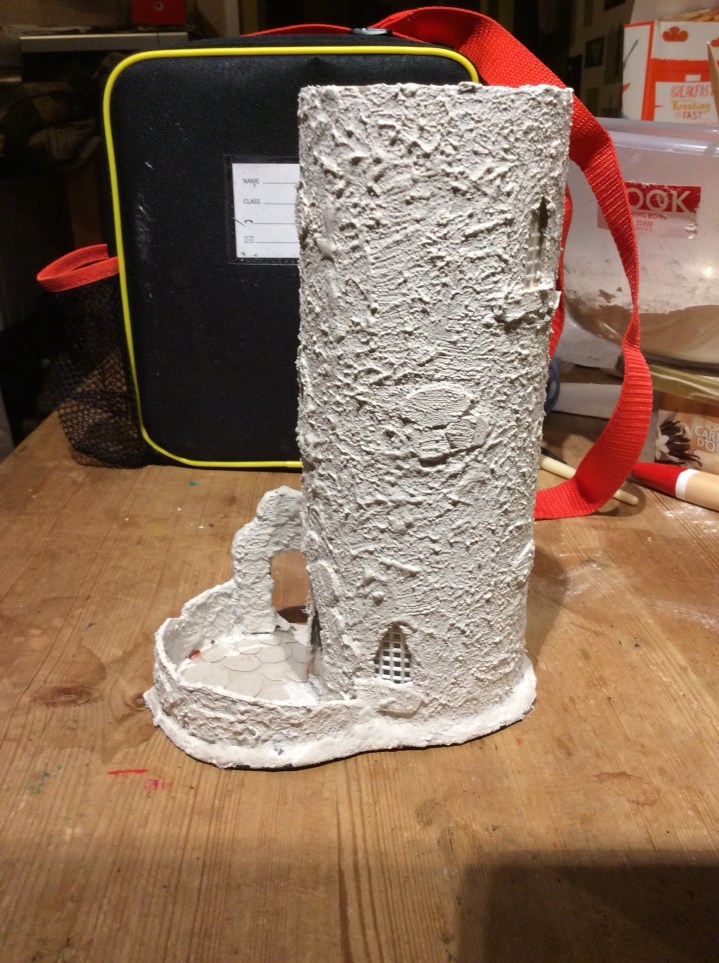
It will get a light sand to knock off any of the peaks that may snap and I may actually sand off some of the texture on the individual stones to make them stand out a bit.
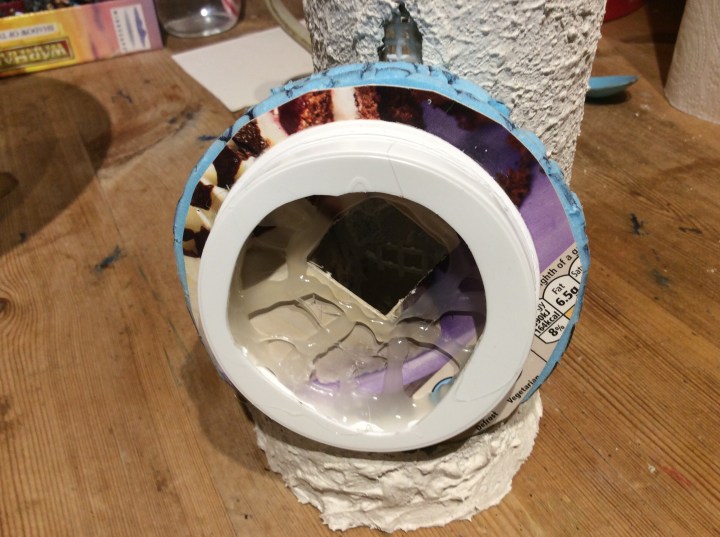
I am using the plastic end cap to attach the top to the walls. This was superglued and hot glued into place. This allows it to be removed if needs be.
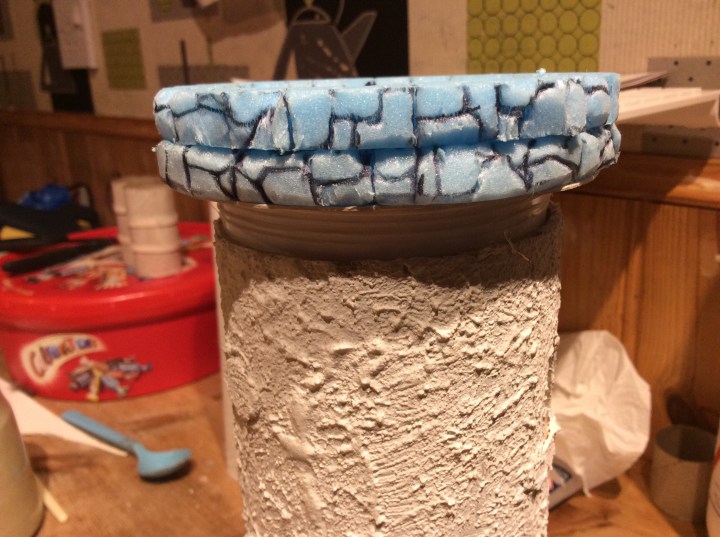
Next stage…Painting the thing.
I have worked on this for a wee while
I am trying to get it looking right.
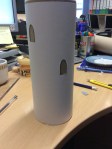
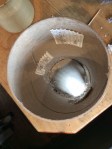
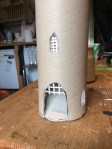
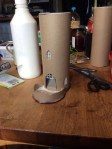
I used Granny grating to add some interest into the windows and doorway.
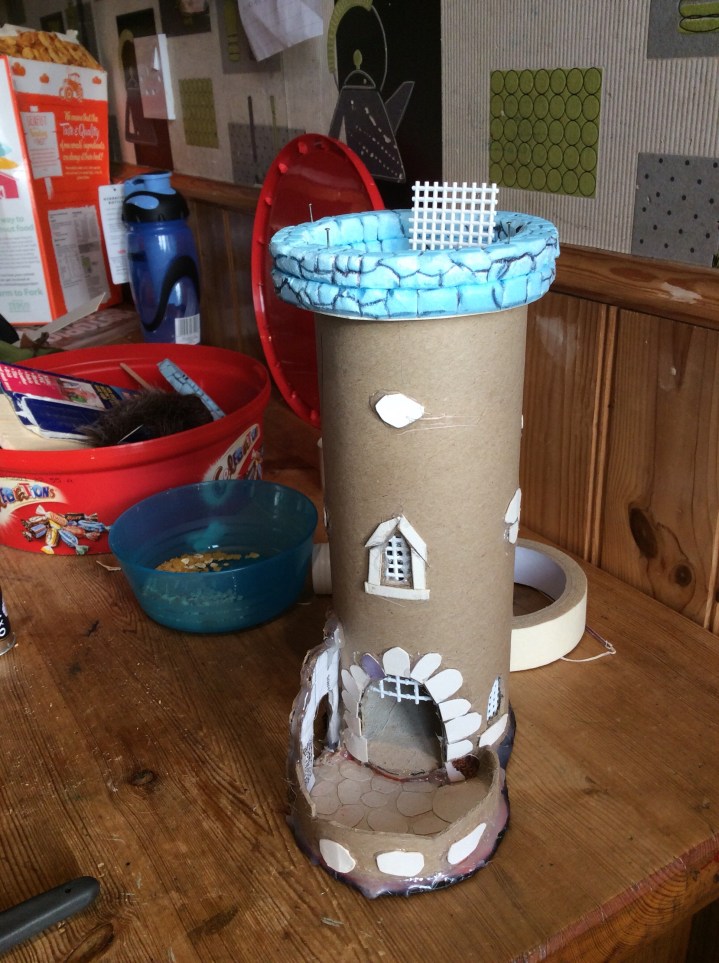
We are getting there slowly I have added a doorway into the yard because otherwise it looked a bit weird.
Here is a 360 view of it so far.
The plan is to put a layer of filler and PVA over the top of it to blend it all in. In the various tests the dice stayed where they were meant to be.
I like colouring in!
(this was a lot easier though)
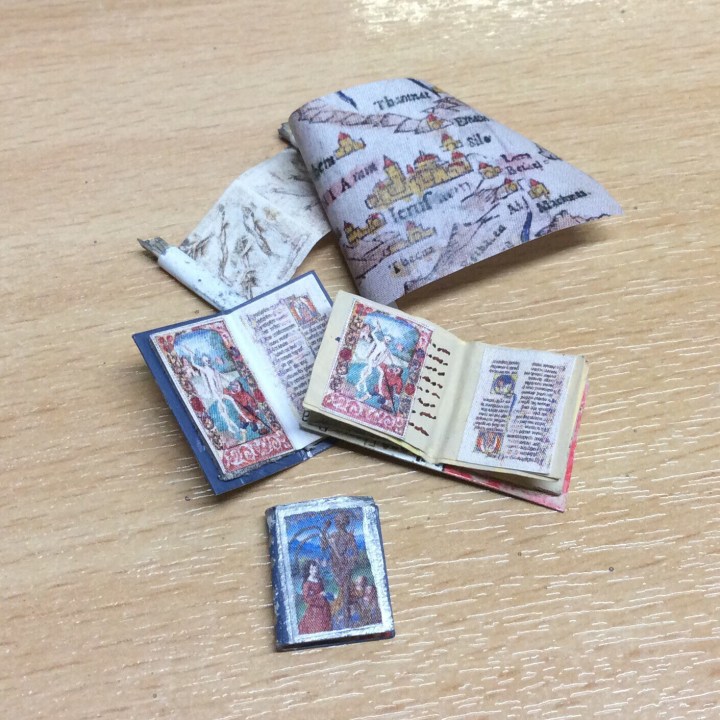
I had a mess around on the internet to find some interesting medieval manuscripts and saved a few. This is my library MK II. Basically I made some coloured pages and in the case of the reddish book added the pages to a book I had already Made. At a distance it looks OK.
I used a different method on the open blue book. I used the coloured page to work out the size of the book and built it from there.
The little blue book is a closed version with a picture on the front cover. (Not very authentic)
This is still very much a W.I.P but I am happy so far. The MK III version will be an upgrade from the blue book as it looks better.
The scroll is a Da Vinci study of the human form and the map is an original map of the Holy Land.
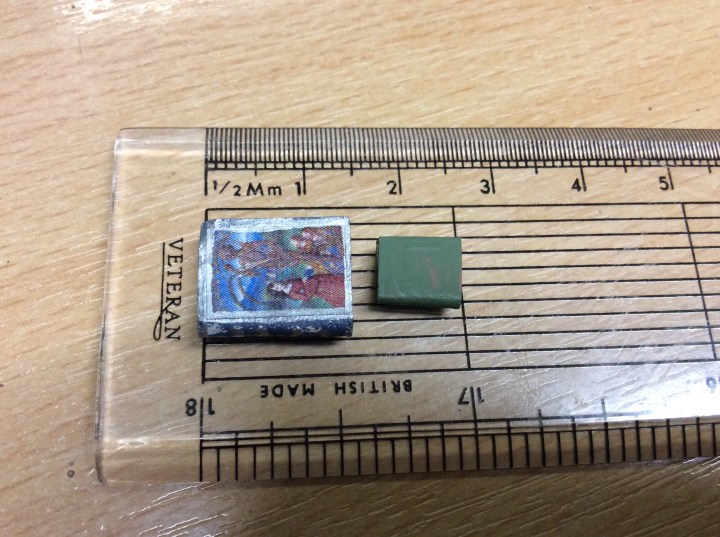
Someone asked how big they are….
Picture for reference but somewhere between 8 mm up to 20 mm depending on the book.
As an aside I decided to build myself a dice tower. Never made one before so we shall see how it gets on :). I printed the doors and windows onto paper and cut through into the card.
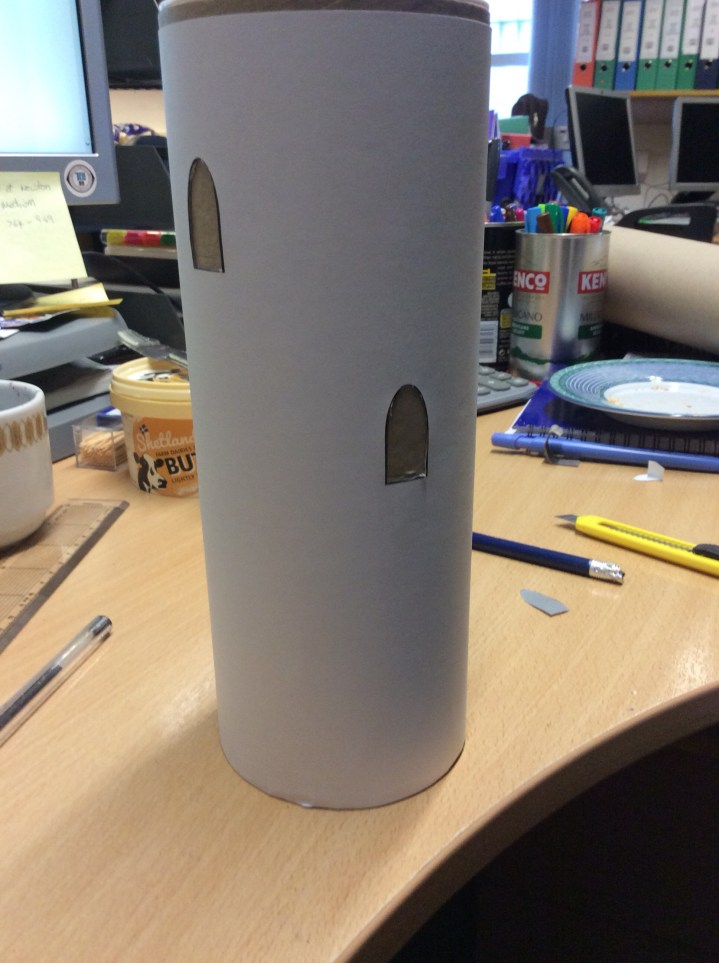
Having binge watched YouTube lately
I decided to try something different. Instead of making walls out of Extruded polystyrene I went for individual tin foil rocks that I saw Gareth from DMG using in a few of his videos.
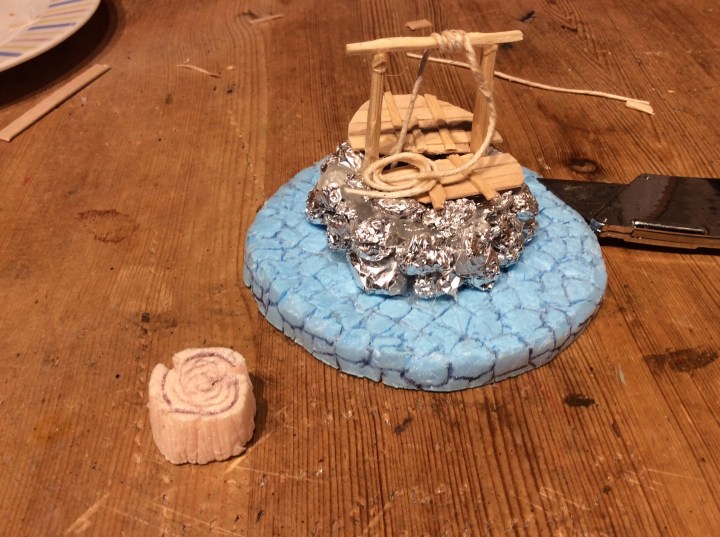
I still based it up on some foam. This in turn will probably sit on some EPVC. The well cover was to hide the fact that there was cardboard on the inside . My original intention was to do a double wall, I didn’t bother as it made the hole a bit small. I had cut out the centre of the foam to increase the depth of the well.
The Stump will be my chopping block. I have now made a pile of logs both chopped and whole to be chopped. It will have an axe embedded in the top of the stump.
Just got to paint everything now!
Scrolls, potions and a map
I managed to get this lot built in 5 minutes.

A simple map made of masking tape folded in half. Closed scrolls masking tape around a piece of cocktail stick as well a# without. Open scroll – masking tape with a piece or receipt stuck to it. Both ends rolled around a cocktail stick. Bottles made from a bead and cocktail sticks. Candle (or whatever it is) beads and a cocktail stick.
Will get them painted soon.
After watching a YouTube video on making books, I decided to have a try.


basically I used 2 types of card; a thicker and a thinner piece.

I cut about a cm wide length of thick card and about a 12 -13mm length of thin card. I also made some bigger and smaller books by simply increasing and reducing the size of the card cut.
I cut two rectangles of the ticker card and then stuck them together. These were, in turn, glued to the end of the thin card strip. I made sure I had a little border of thin card around the edge.


Once this was dry I folded over the extra length of thin card and glued in place. It was simply a case of cutting off the extra length to match the first bit.


I did try experimenting with a book mark by placing a piece of post it note between the two thicker pieces, but I made it a bit wide and it just looked wrong.
I left it all to dry and then painted the pages in bone white (basically cream) and then the covers in various muted colours.
The open book followed a similar principal but in this case the pieces of thicker card were glued side by side with a small gap in between them.

I cut a piece of post it note to the same width as the thicker card.
I added the extra pages by adding glue to the gap and pushing it in with a cocktail stick. in this case I added a second piece (making sure it was slightly longer to allow for the squishing into the gap)

Basically paint as before.
I used a ultra fine sharpie to add writing by doing little scribbles.
The idea came from:
Gareth has some really good simple ideas (mainly for D&D, but to be honest it can be used for anything mini wise)
Vanessa at the Crafting Muse is another fave…. Well worth checking them out. (The video below is my next piece 🙂 )
I made a start on these today.
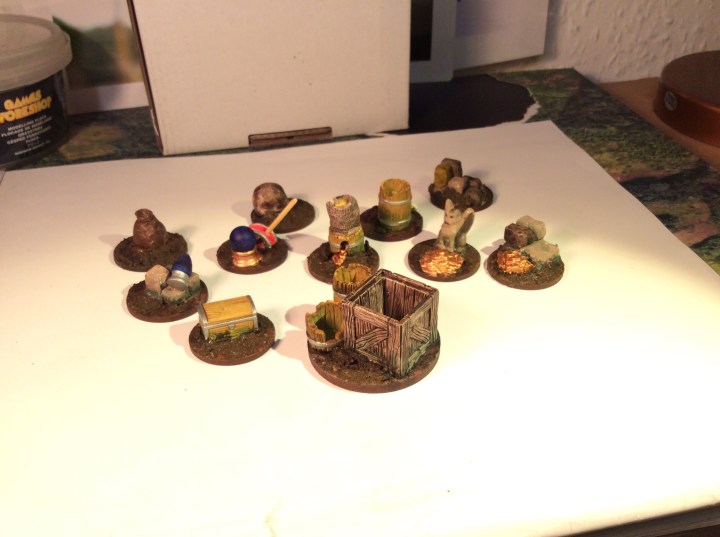
apologies for the naff photo.
On the whole they are painted in washes apart from the metallics. They still need a bit doing to them but I am happy with them so far.
Later on tonight I will get them highlighted and based up. As they are a wash over plaster (albeit a very hard plaster) I will need to get them varnished to stop them chipping.
My eldest and I had another bash at TMWWBK.
After my Egyptian forces were utterly destroyed last time, it was decided to send in some British troops to capture the town.
They marched along the same road as the Egyptians and again threw out a cavalry screen. The one thing I wasn’t expecting was for the Hadendowah to straddle the road. This must have surprised the cavalry screen as they failed their initial command roll – (something I was beset by for the rest of the game).
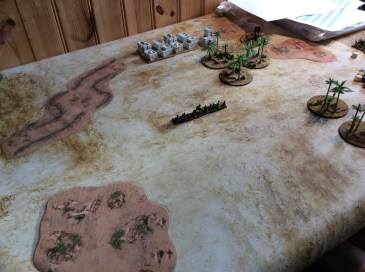
I managed to slowly bring on the rest of my forces… The only ones who never failed a command roll were the Naval brigade (who chased off the infantry to their front). The Hadendowah retreated before my advance.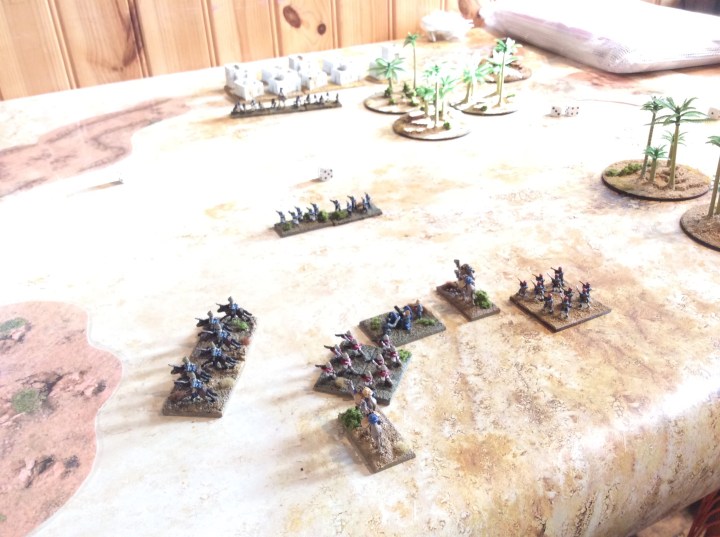
I decided to check out the rough ground to my left flank expecting a massed attack, but there was nothing there.
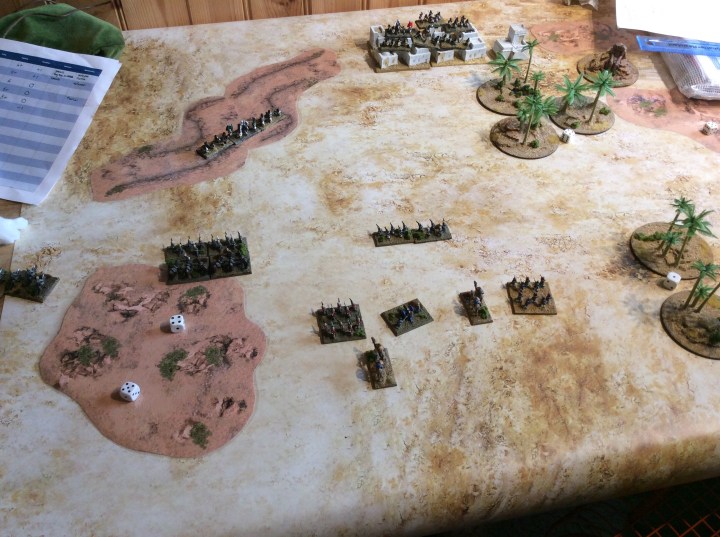
As I pushed through with my cavalry a host of Green flags appeared in the Wadi. The troops dismounted and opened fire with their carbines A few casualties fell, but with the range and cover from the wadi it wasn’t enough to make a big difference.

The rest of my British foot advanced and poured lead into the unfortunates in the wadi. they lost a base and decided discretion was the better part of valour.
As the Wadi was Clear (or so I thought) I advanced my cavalry, again.
They had a bit of a shock as they crested the rise and found rather a lot of camels awaiting them.
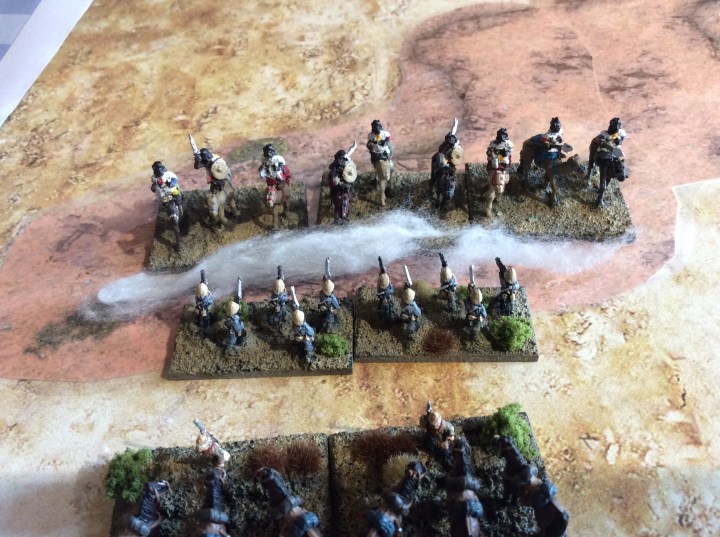
They dismounted and opened fire, sadly the dice gods were against me and although needing 4+ I managed only 4 hits.

On the upside it caused them to take a pin test, which they failed allowing the rest of my chaps to wade in to support the cavalry.
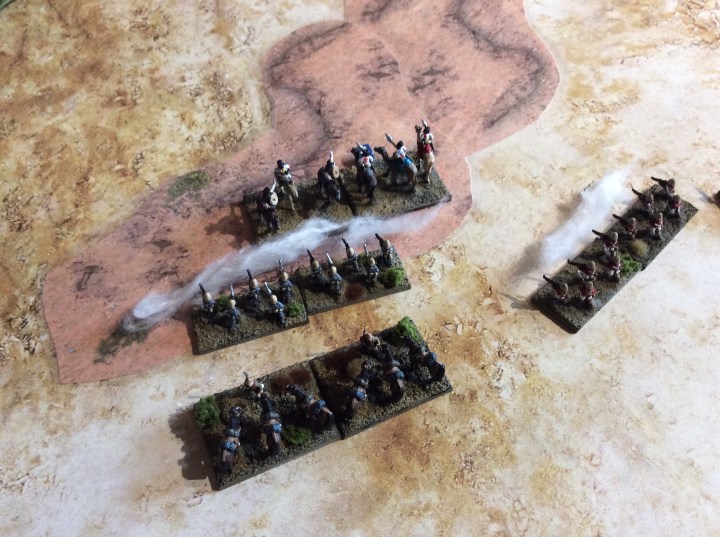
They didn’t stand much chance against the volley firing of the British infantry. the wadi was cleared in a few minutes.
Unfortunately we had to finish there as She had to go out to Drama, we will conclude another time.
The camels were the bane of my life (as was often the case in reality) at one point the naval brigade supplies got ahead of their forces and as for the regulars… theirs failed more activation rolls than they passed. When we finished they were 4 turns behind the troops they needed to supply.
I am not sure how the Nordenfeldt would have fared as it never ever got a shot at anyone as with the Sudanese regulars on the right flank.
Frostgrave is all about treasure.
The weather this morning was rather rubbish
After sorting out the horses, I only went out again to fill up the bird feeders.
So, with the yucky weather, I decided I would have a rootle through my bits an pieces to come up with some treasure tokens that would look better than the mdf disks used in our first game.
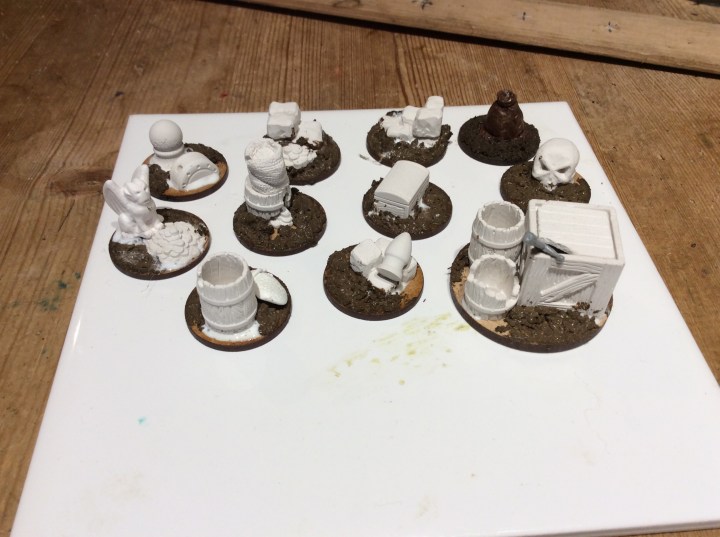
I used a pile of my hurst arts bits and pieces on an mdf base.
We have at the back left…
Crystal ball and mysterious machinery switch
A pile of coins
A lump of masonry which will have some form of weapon on it.
A mysterious sack
A gargoyle and pile of coins
Coins leaking out of a damaged barrel
A treasure chest
A stone skull which will have something on or near it. Might be a little bag or a book/scroll
A barrel and a sack
A strange device on a lump of masonry
And a large chest with a couple of barrels (this will be used more as a line of sight blocker than a treasure token – but in reality I may need a special token and this would suit)
each person places 3 tokens so I have enough there for a 3 player game 🙂
Just got to paint them all up.

