Still Ill

I havent so much as looked at my blog for a week due to having some horrible flu bug. I am sleeping on average 18 hours a day, haven’t eaten properly since Monday and am, to be honest, feeling a little glum 🙁

I have new toys in my airbrush and airbrush paints, new figures and all manner of fun things to do. Problem is I haven’t got the energy to do anything.

Stamps Again’

I tried out a stamp on foam board. Sadly it isn’t Dollar tree stuff. This the paper won’t come of style. Sadly I couldn’t find any black or grey card to test it on. By the looks of it, it does work well in the table 🤪.

There might be something in this… However I am not really sure what I would use them for. A few things I have learned from this is to make sure the paint goes on thick enough to leave a mark. I am using extra thick paint, I might see how a thinned down version works.

It looks better if there are no large splodges of colour. I tried colouring individual stones, but to be honest it doesn’t really work.

I painted a dark background and to be honest it looks much better.👍
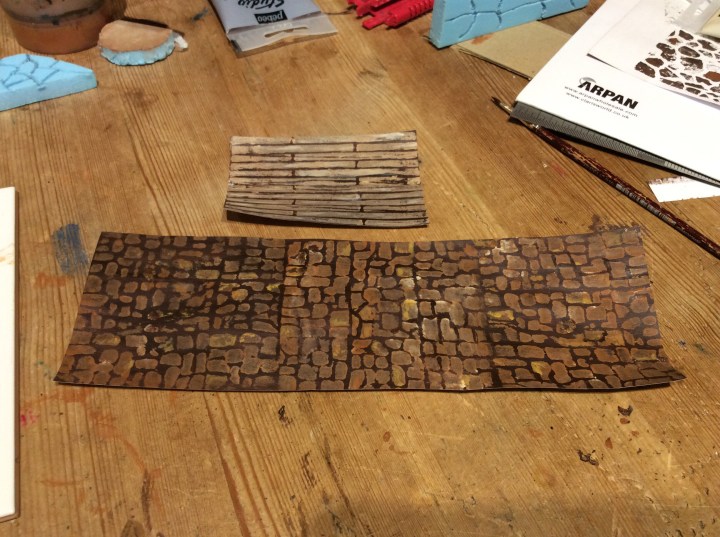
I am pleased with the results so far.

Thanks DMScotty!

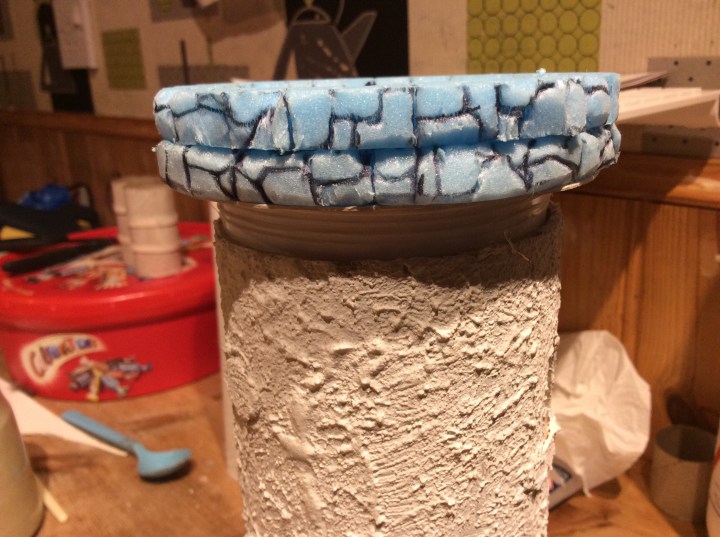
I blasted off another stamp which can be seen at the top of the photo below.
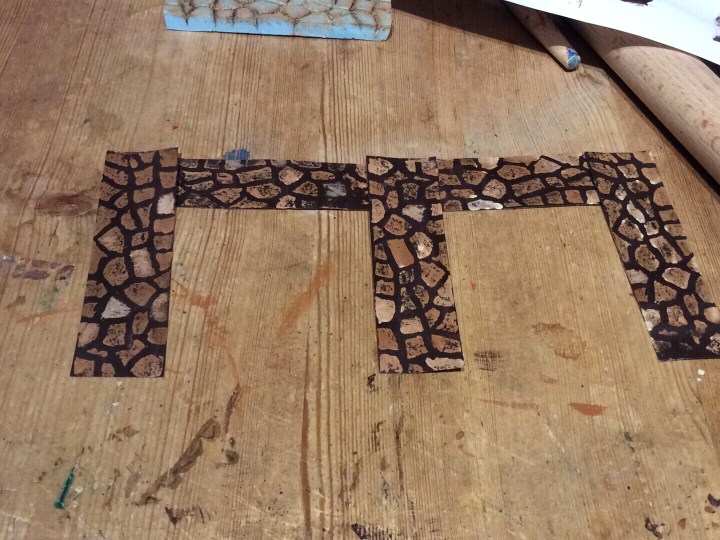
The advantages of the 10mm blue foam is that it is waterproof and can be washed under the tap. It is a bit sturdier too being twice the thickness of the foam board. It also has the advantage of not having to have the paper removed.

The advantage of the foam board is that I can get it locally, it is easier to put even pressure on too.

I will have to make a 3×3 tile and compare the two types.

I do particularly like the planks.
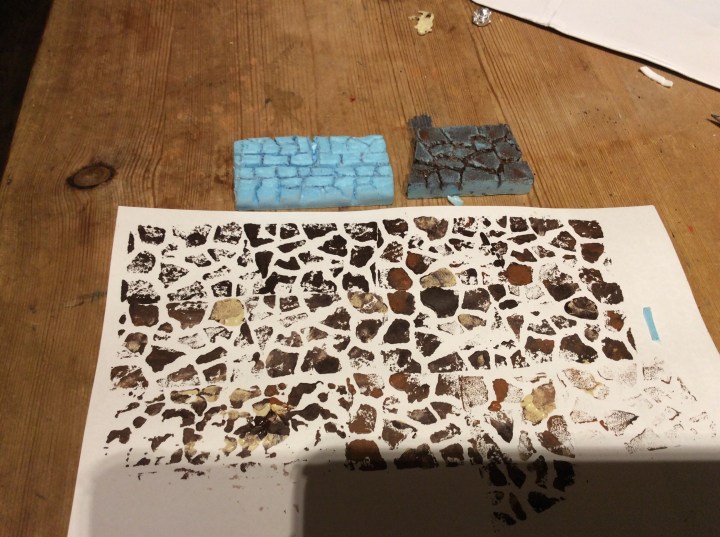
Tile Printing.

I had a bash at printing stone work. Not sure why, well apart from diverting my mind. I found my normal higher detail blue foam wall with lots of texture didn’t work (not in this picture)basically I make a wall out of it. I blasted off another rest tile out of scrap and it was much better. Initially I have used some 10mm blue foam. I have got some foam board so I might give that a go tomorrow on some black/grey card.

My blue foam walls normally look like this.

10mm skirmish Games

I do like my little stuff lots

I am a big fan of small scales and due to the size of my house small scale games are a lot easier as they take up less room.

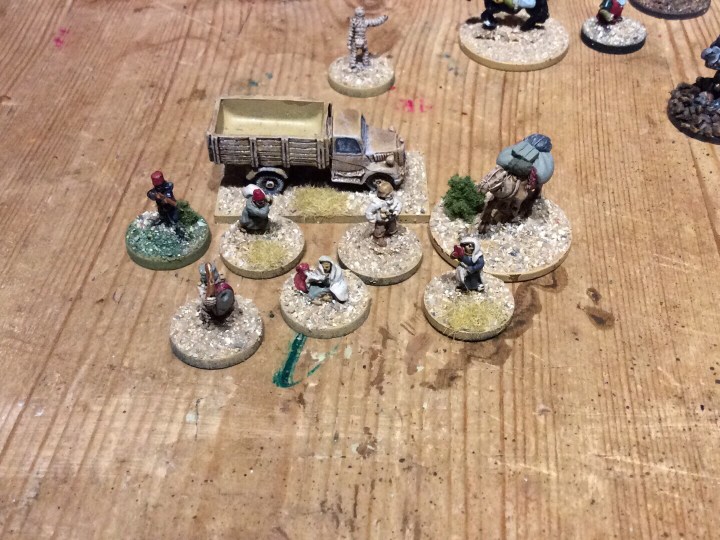
I present a selection of pulp figures and a fantasy selection. These are all 10mm Pendraken figures.

I also can manage a bug hunt using marines and a strangely familiar xenomorph.

Dice Tower Part III

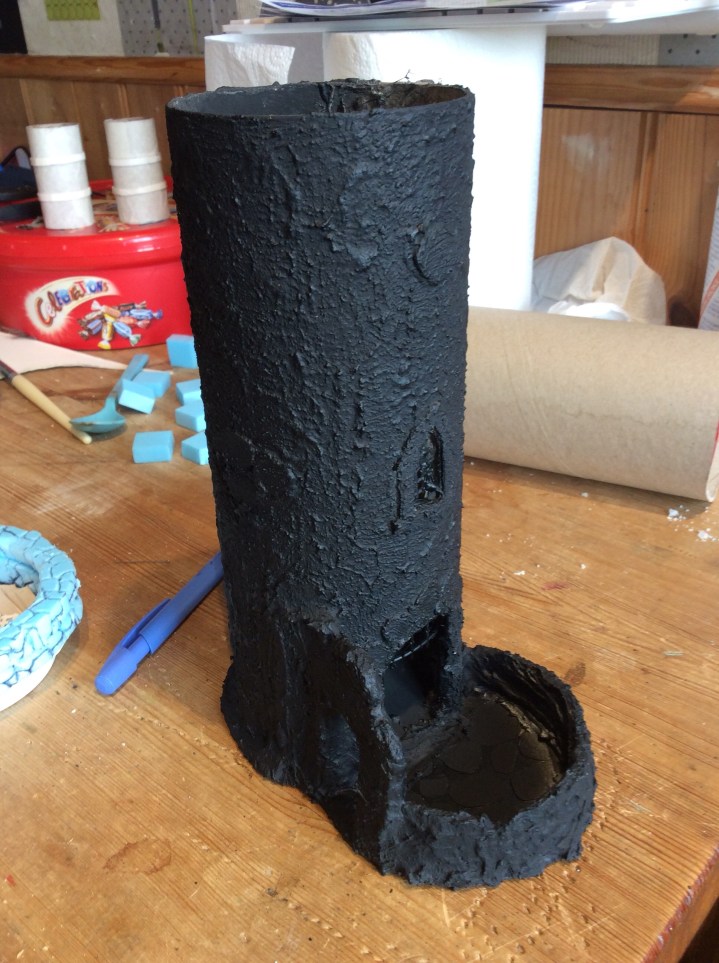
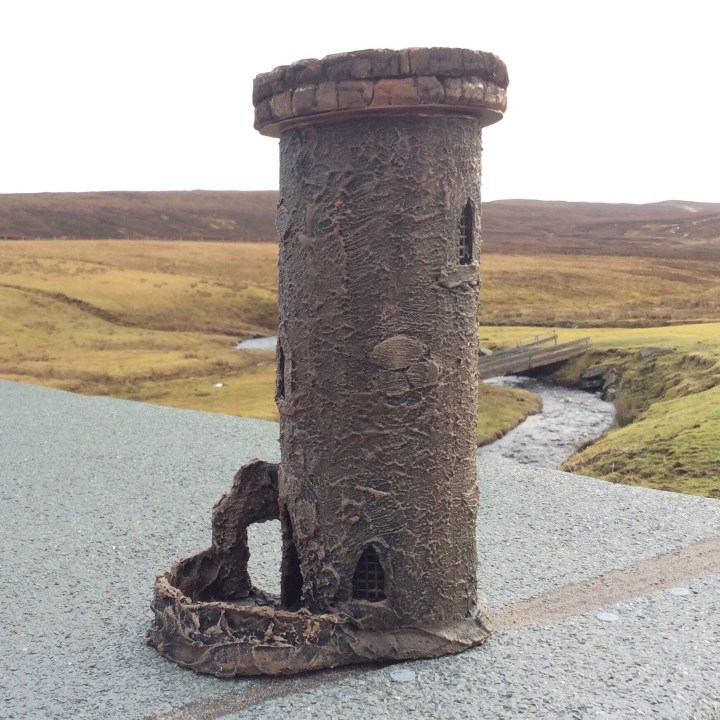
Managed to get some paint onto this thing.

Base coated black from a spray can (top done with a brush)

Layers of dry brushing from the black…

Chocolate brown (basically a tester can of house paint)

Additional layers of a tan mixed into the brown with more tan added as the layers went on.

Ivory mixed into the tan/brown mix.

I painted up the top separately

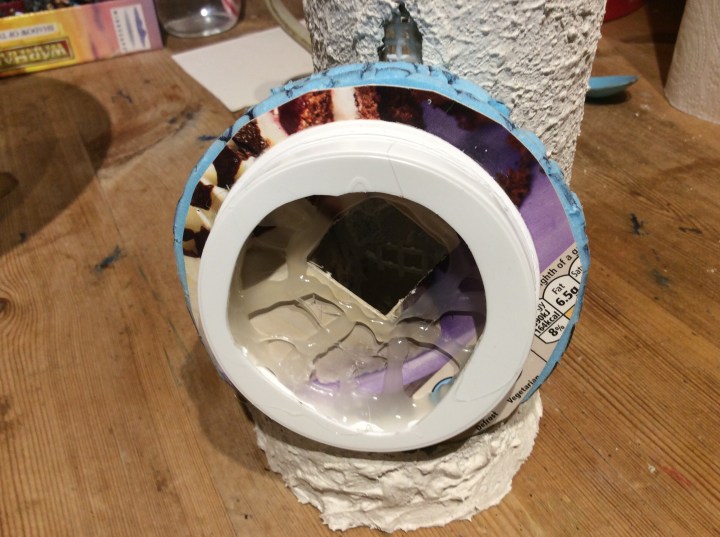
The white tube cap pretty much disappears inside the tube. I might add some Black around the rim to make sure it is completely hidden. (The two dry brush colours can be seen in the picture above).

The nearly finished tower…

Still the gratings to dry brush gun metal as well as flock around the base as well as get a green wash around the lower parts of the tower to simulate damp. I might even go so far as adding a climbing plant up the side.

Accidental Art

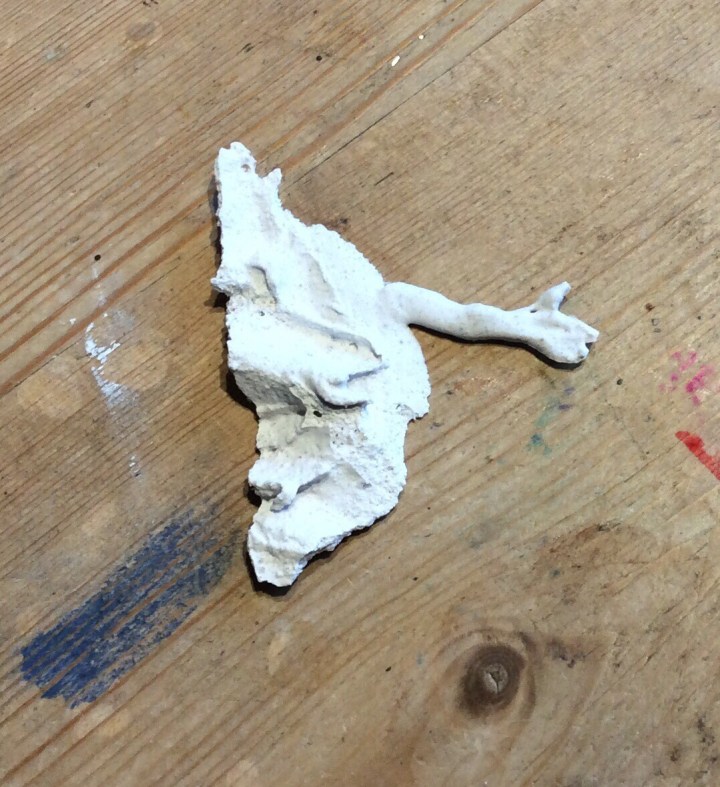
I now know how ancient sculptors made their sculptures. They squooshed up loads of marble plaster and Voila…instant sculpture.

I was cleaning out the r3mains of my filler and I noticed an arm. How wierd is that!

The Tower Part IIi

Well I managed a little more on the tower.

I was unsure what I wanted to do to add texture to the tower. I came up with lots of ideas, some a lot more time intensive than others did.

This ranged from cutting individual card stones to wrapping the whole thing in tin foil.  I remembered my old GW building Wargames Terrain book.

518O2uHVF4L._AC_UL320_SR228,320_

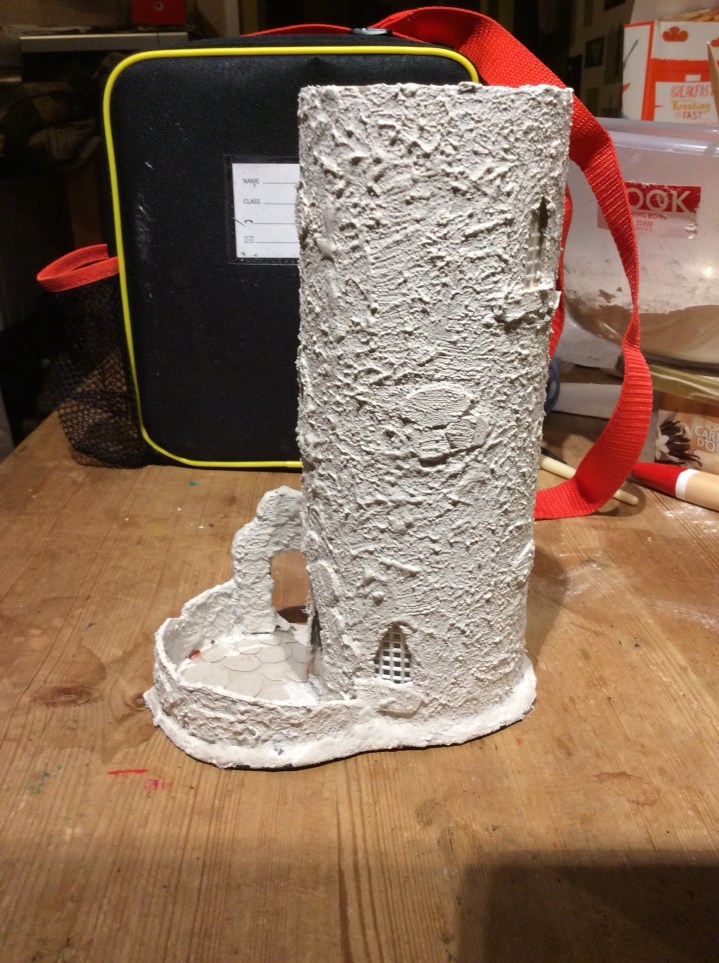
I had a mooch in there as I remembered they had a round tower. They had added filler to theirs. I therefore decided to do something similar. I mixed filler, PVA and sand together and brushed this on with a 2 cm brush. Once on I stippled it to get some form of rough texture.

img_3622

It will get a light sand to knock off any of the peaks that may snap and I may actually sand off some of the texture on the individual stones to make them stand out a bit.

I am using the plastic end cap to attach the top to the walls. This was superglued and hot glued into place. This allows it to be removed if needs be.

Next stage…Painting the thing.

Dice Tower

I have worked on this for a wee while

I am trying to get  it looking right.

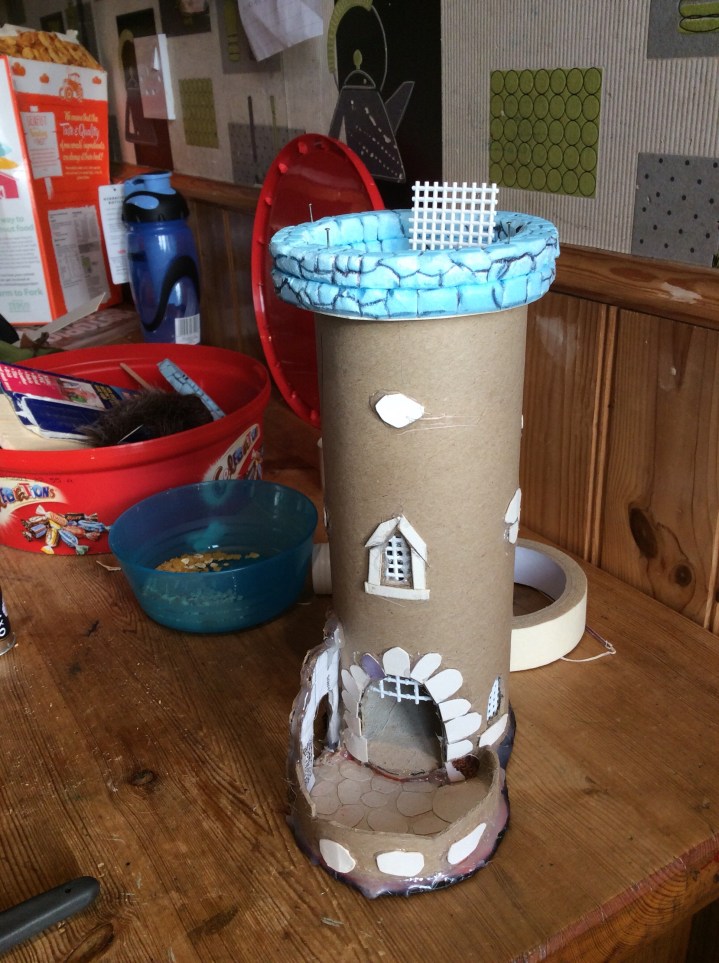
I used Granny grating to add some interest into the windows and doorway.

img_3589

We are getting there slowly I have added a doorway into the yard because otherwise it looked a bit weird.

Here is a 360 view of it so far.

Error
This video doesn’t exist

The plan is to put a layer of filler and PVA over the top of it to blend it all in. In the various tests the dice stayed where they were meant to be.

Books with Pictures

I like colouring in!

(this was a lot easier though)

img_3576

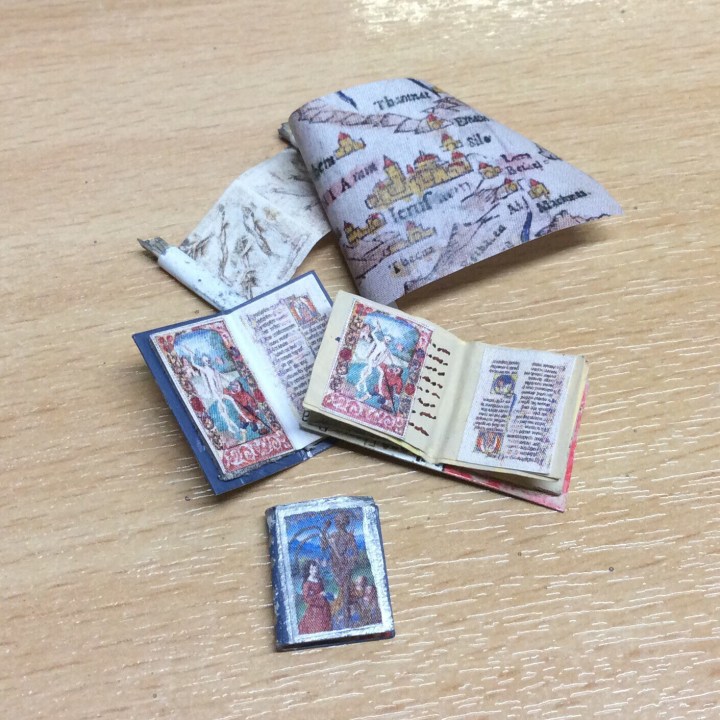
I had a mess around on the internet to find some interesting medieval manuscripts and saved a few. This is my library MK II. Basically I made some coloured pages and in the case of the reddish book added the pages to a book I had already Made. At a distance it looks OK.

I used a different method on the open blue book. I used the coloured page to work out the size of the book and built it from there.

The little blue book is a closed version with a picture on the front cover. (Not very authentic)

This is still very much a W.I.P but I am happy so far. The MK III version will be an upgrade from the blue book as it looks better.

The scroll is a Da Vinci study of the human form and the map is an original map of the Holy Land.


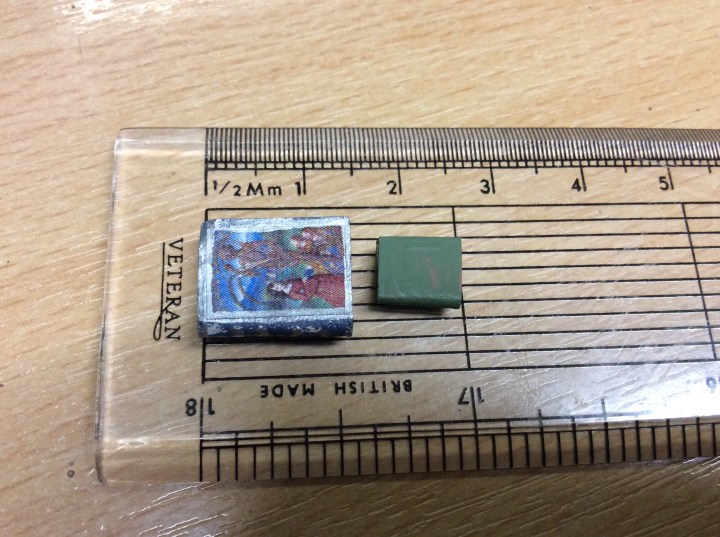
Someone asked how big they are….

Picture for reference but somewhere between 8 mm up to 20 mm depending on the book.

fd3e2e02-4d4f-4ec1-a03c-3df0b5c063ee-711-000000a1ab9ab6c2_file

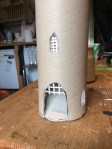
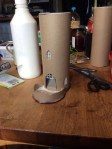
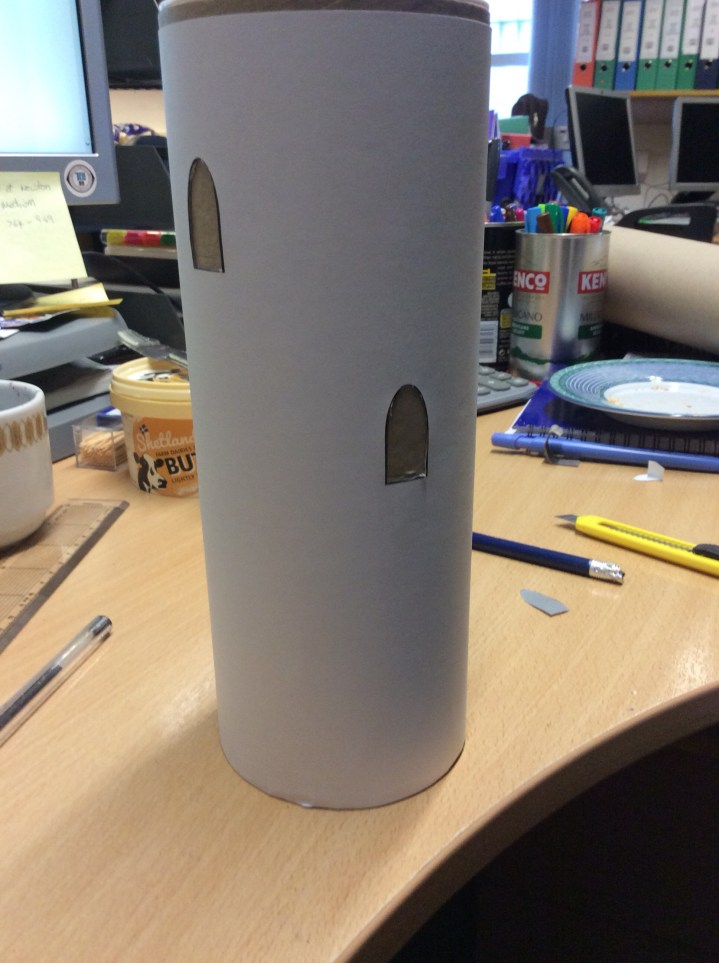
As an aside I decided to build myself a dice tower. Never made one before so we shall see how it gets on :). I printed the doors and windows onto paper and cut through into the card.

img_3577

Well, well, well

Having binge watched YouTube lately

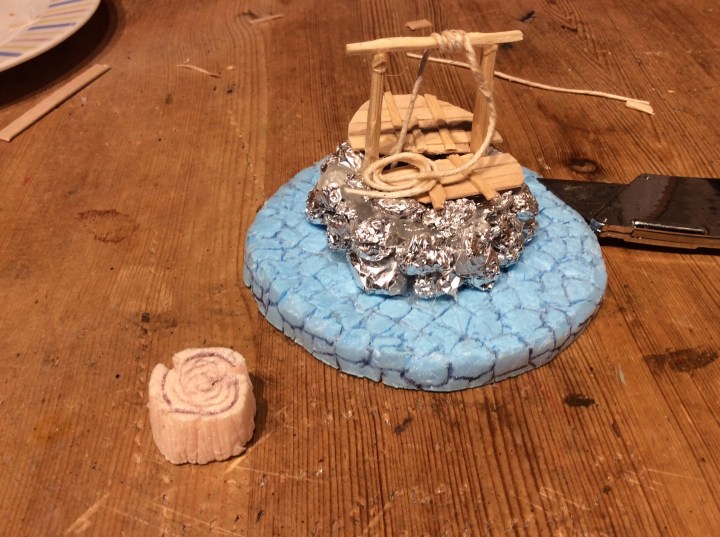
I decided to try something different. Instead of making walls out of Extruded polystyrene I went for individual tin foil rocks that I saw Gareth from DMG using in a few of his videos.

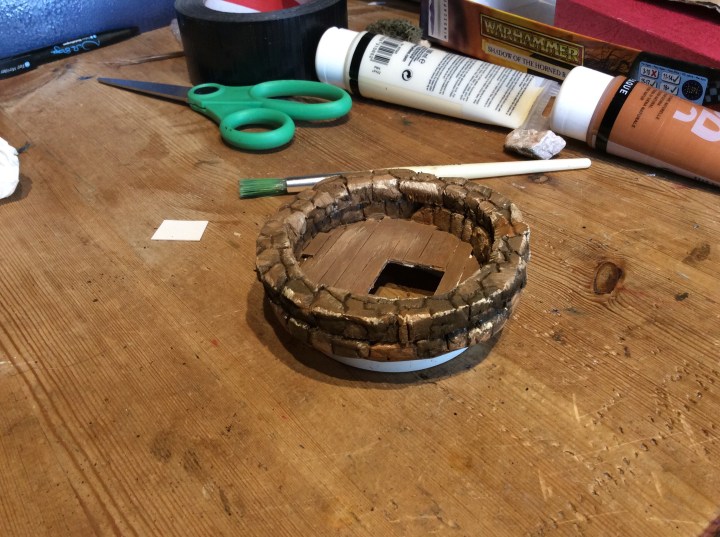
I still based it up on some foam. This in turn will probably sit on some EPVC. The well cover was to hide the fact that there was cardboard on the inside . My original intention was to do a double wall, I didn’t bother as it made the hole a bit small. I had cut out the centre of the foam to increase the depth of the well.

The Stump will be my chopping block. I have now made a pile of logs both chopped and whole to be chopped. It will have an axe embedded in the top of the stump.

Just got to paint everything now!