Graveyard… Making Progress

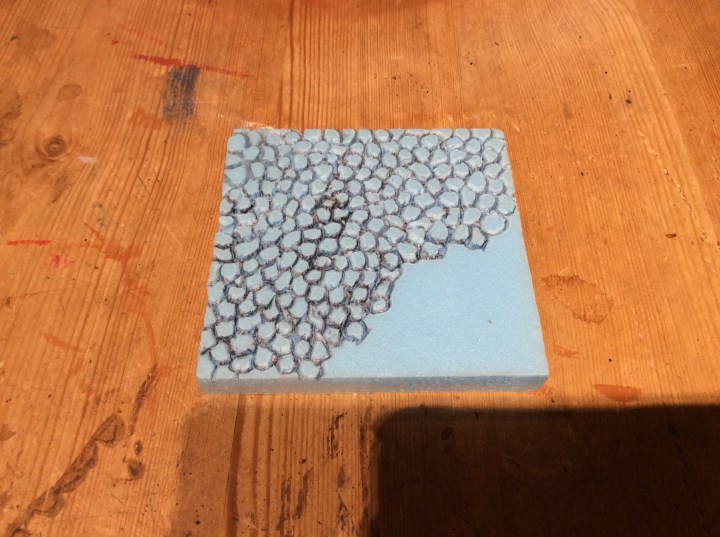
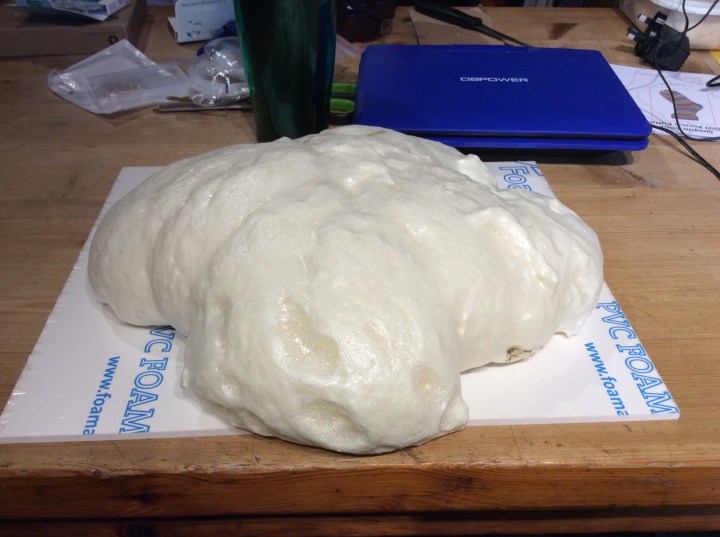
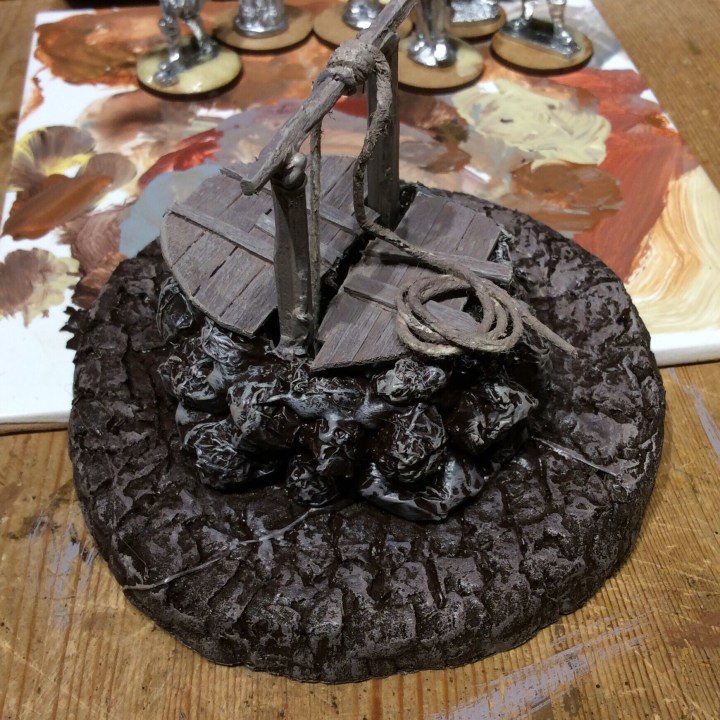
The big blob of foam was trimmed down to something roughly hill shaped. This was stuck down onto the EPVC. I prefer basing on this as it won’t warp when the PVA is used.

I got a base coat of filler onto it, unfortunately it ran a bit thin as the tube was ancient and it wouldn’t mix properly. This was a bit of a bugger, so once it dried I used a thick coat of PVA to help toughen things up a bit.

When the PVA dried I got the cliff faces painted with standard Dulux dark grey with a bit of PVA mixed in.

This will be dry brushed to lighten it up then shaded with various washes.

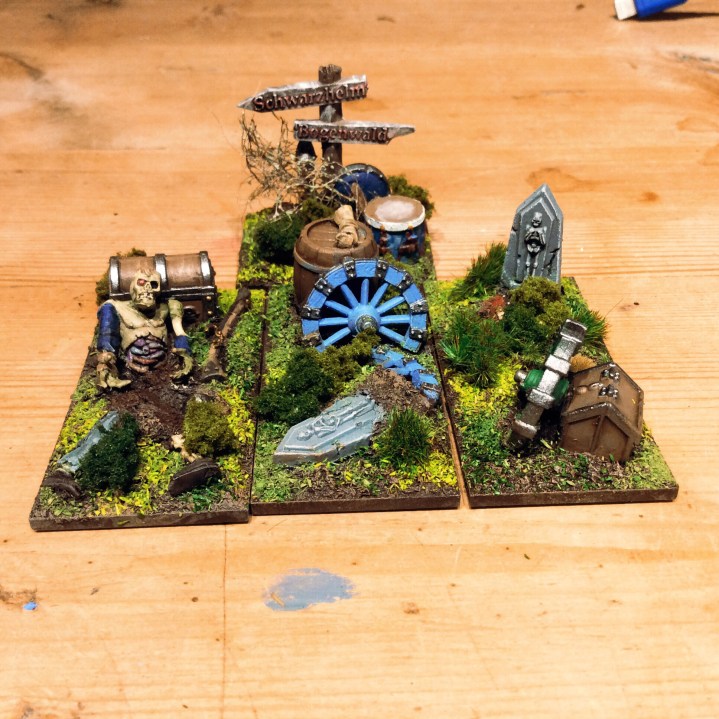
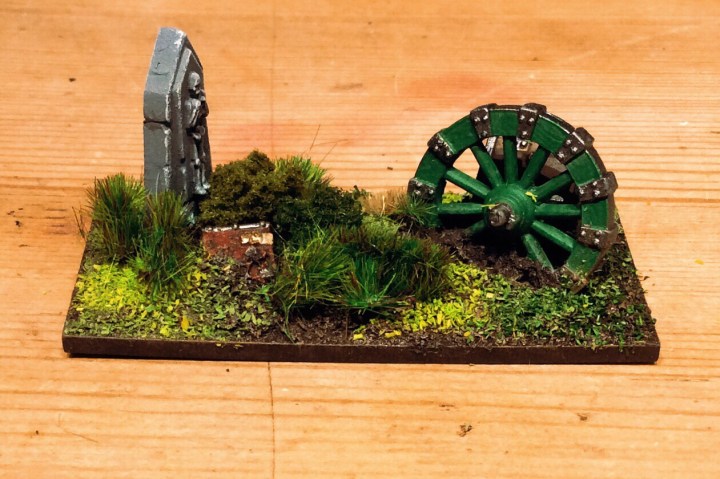
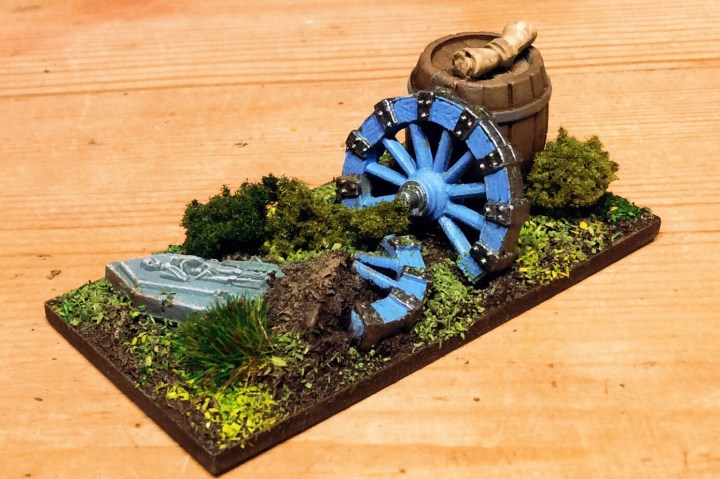
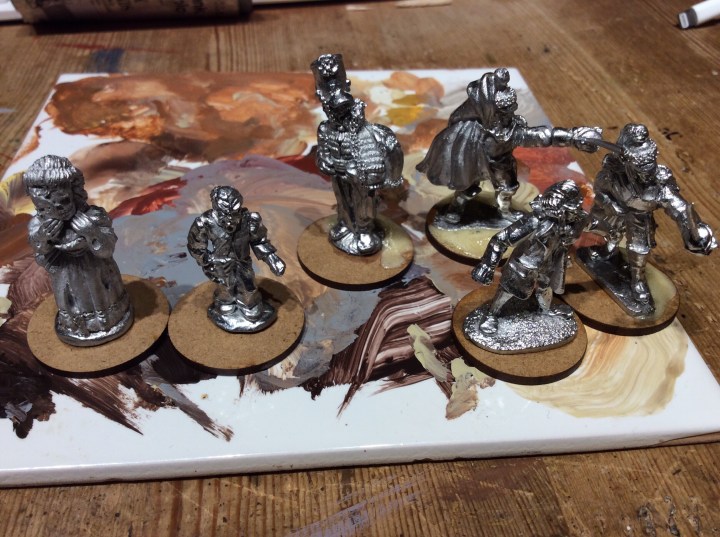
I then tried out various gravestones in various locations. The idea for this piece is that I wanted an old overgrown graveyard. The hill is there as a line of sight blocker and raised ground (as befits a hill).

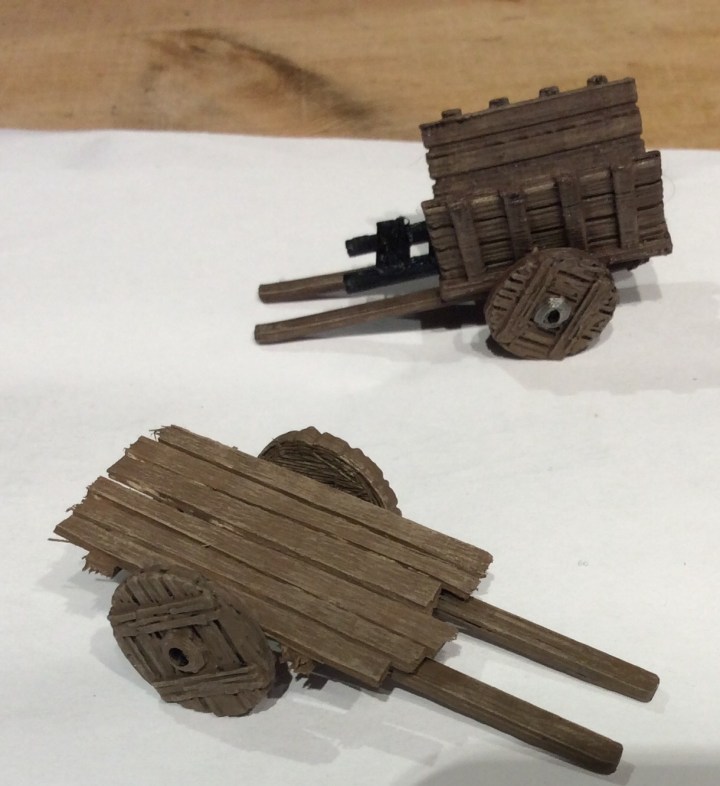
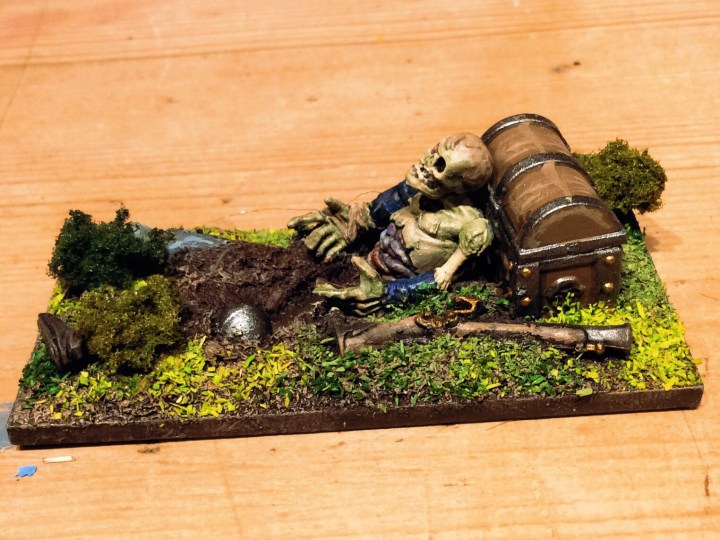
I messed around with the broken and leaning gravestones as well as a grave slab.

Off the two above I prefer the bottom one as I like the symmetry. No doubt I will forget where they go (hence the photo above). I intend to use sculptamould or more filler to bed the gravestones in. I intend the grass to be overgrown with bushes and weeds all around. The central dip on the top is to be some form of gravel path.

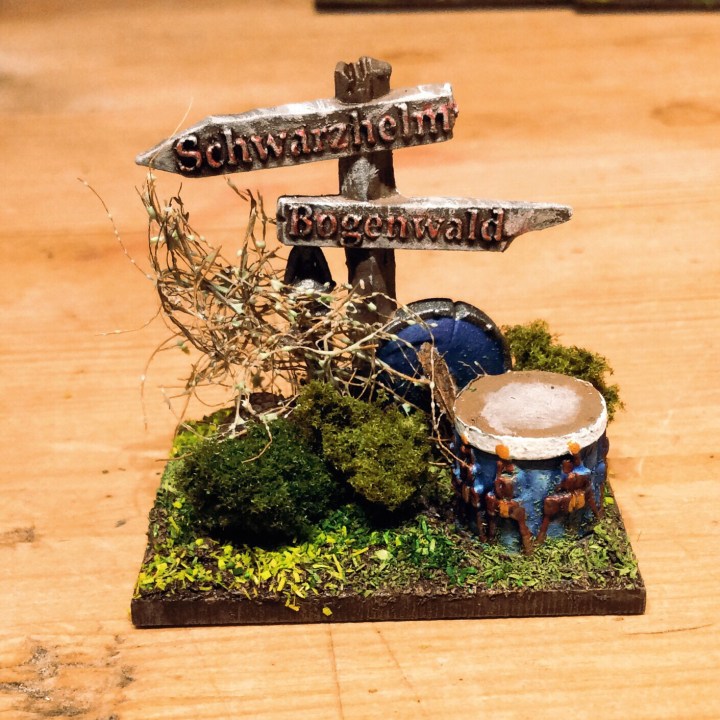
There will be other graveyard themed scatter pieces to go with this. I have just bought some 3D files that will be useful for the build.

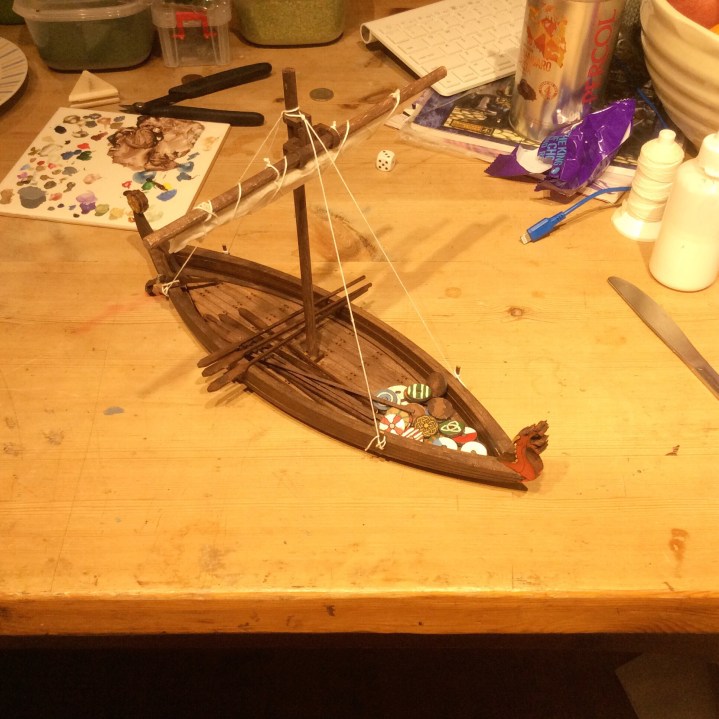
I thought I would give a quick insight into my planning method…

I am totally rubbish at planning. I can’t get it down onto paper, it is all in my head but I am pleased to say that what I have on the table is kind of what I was thinking about.

The weather here is a tad blowy. Pushing 60 mph plus in the gusts. Thankfully the lights have stayed on

Graveyard…Making a Start

Well I have indeed made a start….

To be honest, it is a bit further on than this, but this is where it started….

I also made another cart:

As I can only print various bits, then I had to improvise with the top.

3 D printed wheels and chassis and a coffee stirrer top. The one in the background is the initial cart.

3D printing is cancelled until I can get some Isopropyl Alcohol to clean the bed with. Nothing is sticking any more!

Greenstuff World Roll Maker

I have looked at these for a while….

and eventually bit the bullet.

I had a quick play and am rather impressed with the results.

In the pack you get six ridged plates and two edges.

The ridged plates are large, medium and small. I only had a go at the large plates.

There aren’t any instructions on the box but to be honest the pieces fit together in only two ways.

Straight:

And angled (45 degrees)

Make a thinnish roll of Greenstuff…place on the bottom plate, slide the top plate back and forth until the desired result is obtained.

My results were pretty good straight off. Once or twice I pressed to hard and flattened the roll. This meant I needed to take it out and redo.

The bottom left was the first attempt.

The rest followed.

The nice thing is…you can redo it!

I did find the angled way a bit tricky…this was user error rather than equipment error.

I simply removed one edge piece and obtained instant success. It may be the case that this is what you need to do.

After playing with the kit for 10 minutes I had a hunt on YouTube and there is a fair bit out there to help. This is the first that came up.

Greenstuff Roll Maker

Am I happy with it… Yes I am. If pushed to give it a score out of 10 I would give it an 8 just on my initial play around. The third video in the series above shows how to make longer wigglers. There is however a larger version.

I got mine from the Greenstuff EBay shop at the price of £11.99. I am wanting to make Alien hive scatter terrain so it will be used quite a bit. In hindsight I should have got the larger version, which is only a pound cheaper, but at the time Of purchase I didn’t notice it..

My wife, however, is convinced that I have lost the plot. She can’t work out why I have purchased a tool for making caterpillars!🐛🐛🐛🐛

More Lunchtime Crates

I spent a bit of time this lunchtime getting some more of the crates ‘built’

img_4234

I still have half a dozen of the larger ones and one of the smaller ones to saw the planks into. I have two sitting there half finished too. I imagine they will look a lot better once they are painted.

By the time I am finished I will have 10 of each size. I was, however, considering making a double length one to see what it looks like. If I had thought about it earlier I would have done it with the smaller ones too.


Lunchtime Crates

Making crates – production line method


I decided to do some more crafting this lunchtime. I had sawed lines into a pile of cubes so I brought them in to get them sorted.

I found that the index cards are an ideal thickness as well as having a pile of lines on them. This meant that I would only have to measure the inner widths.

img_4193

The first time I did this, I used a single length of card and then when it ran out I cut some more.

Each cube uses twelve lengths of card… I can get 6 x 20mm out of each piece of index card. Luckily I can also get 5 lengths of 25mm card.

I did a whole card to start with. I cut the strips out and folded each.


Once they were all folded I measured the required length of each cube face and cut these out.

img_4196

It was then a simple case of adding them to the cubes with PVA. I like this glue to affix the card to the wood as it soaks into the card making it easier to bond them together.

img_4197

Although seeming to be tedious, to begin with it actually meant that I did the four cubes in not much more time than I did two.

I am still to add cross pieces to all of the faces, however, part of me wonders whether I should bother.

Objective Markers

I decided to get these finished tonight.

I am really happy with how they came out. All of the items are GW plastic components saved up over the years.

I still think my favourite is this one.

It tells a sad little tale of someone being in the wrong place at the wrong time. Poor soul was having a rest behind the chest when a cannon ball spilt him in half.

Next up is another mini diorama

What information does the book hold or what lurks in the chest behind the wheel.

Here we have a scroll left on a barrel. Is it an important communication or simply a list of items sold at market. Perhaps the barrel contains something of value or is a booby trap to confound the unwary.

Finally is the way to Bogenwald…

This is a bit of a wierd one. When I started this blog I wanted a name for it. Rather than my name I thought I would come up with something a bit different. In my Wierd war campaign many years ago the heroes had to infiltrate a secret base near the town of Bogenwald. The name evidently stuck as it came to me when contemplating a title. Roll on a few months and as I am mooching around in my bits box I come across the sign showing the way to Bogenwald, oh and Schwartzhelm too.

To be honest I think I need to do a bit more work on the drum. It wasn’t the easiest thing to paint as there was very little detail.

Because of these my painting of figures has dropped behind tonight.

I managed to add a wash to the greatcoats and that is about it.

I hope to get them a lot further on tomorrow night.

Longship

I had a break from painting uniforms…

I built this for a friend of mine. It was pretty much already painted and 90% built. I only really had to make a sail and raise the mast. As it was missing the steer board I scratch built one out of offcuts of MDF.

The kit comes with some MDF shields and oars as well.

I want the mast to be removable and was struggling to vote up with a concept to release the ropes. It suddenly dawned on me to use a nautical device. So I nipped back into the bin and pulled out some more scrap and made some belaying pins.

The mast was made out of three sheets of kitchen roll trimmed to size and toughened with PVA. The rigging etc is made from my linen thread from my leatherwork box.

All in all I am happy with the build. The manufacturer is Dark Ops really not a bad model for £14. The only thing I added was the sail and the rigging.

I didn’t get much done painting wise apart from base coating some more objective markers and a rather large wild boar.

I also went off gallivanting to a beach nearby as it was such a lovely day.

Crafting online.

I joined a group of crafters online tonight. It was nice to join up with some others to chat and make things.

I managed to build a coffin out of balsa and lollipop sticks. It needs a bit of work, but on the whole I am happy with it.

I also got some base colours onto the well.

And i managed to get some figures ready to base coat.

Madame Boniface and Egor as well as a Ferach officer, a couple of elite cavalry and a Ferach doctor.

Even More Stamps

I decided to have another go working on some stamps.

I did three different ones, these were basically to test a theory.

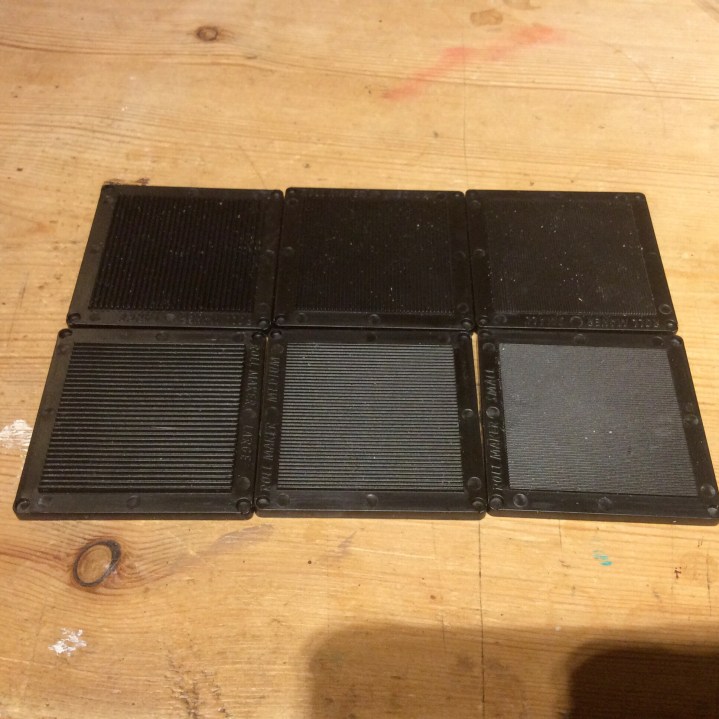
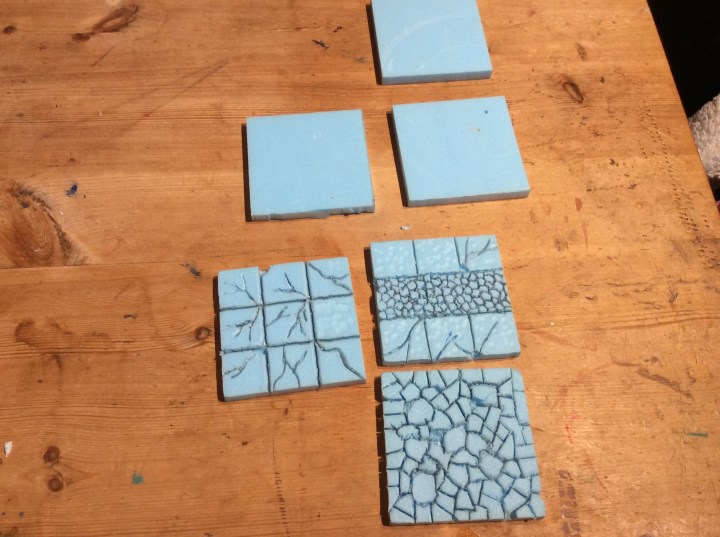
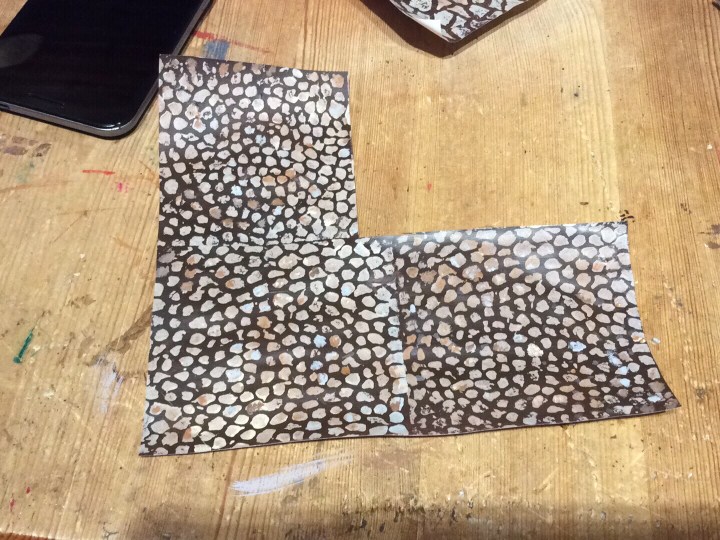
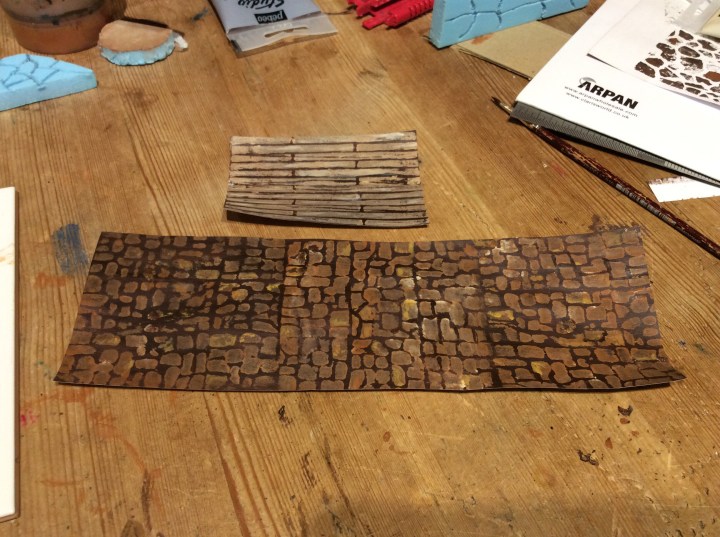
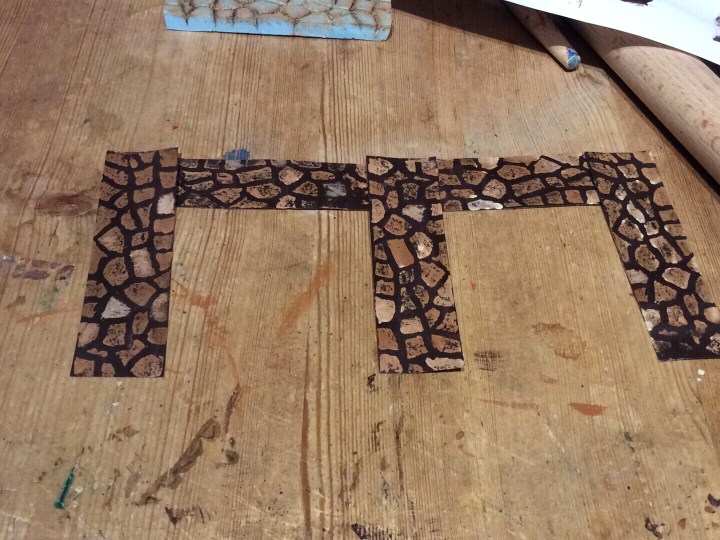
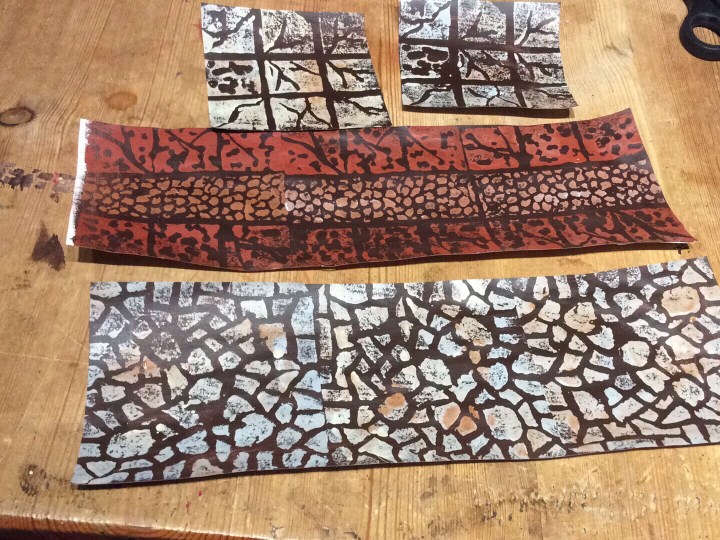
The big tiles were pretty naff to be honest, the joints were too large. I was happy with the crazy paving and the cobblestones, which to be honest, I didn’t think would work.

I made a 9×9 tile with just cobblestones – giving myself a bit of a blister in the process!

I was quite happy with the results. There were some errors, but not bad for a first attempt.

Some of the indentations need deepening as can be seen by the joined up stones in the bottom left above. There were some worse bits but I painted in the cracks as well as added some cobblestones where the gaps were too large.

I might have a bash with the house paint and see how that works. It works out a whole lot cheaper than the Pebeo acrylics. These run at around £4.00 per 100ml tube. The house paint is a bit over £3.00 per 250ml. So a definite saving there. I probably drive them mad in the paint shop with my individual tester pots, on the up side, they have loads of colours to choose from.

The original idea came from DM Scotty

Stamps Again’

I tried out a stamp on foam board. Sadly it isn’t Dollar tree stuff. This the paper won’t come of style. Sadly I couldn’t find any black or grey card to test it on. By the looks of it, it does work well in the table 🤪.

There might be something in this… However I am not really sure what I would use them for. A few things I have learned from this is to make sure the paint goes on thick enough to leave a mark. I am using extra thick paint, I might see how a thinned down version works.

It looks better if there are no large splodges of colour. I tried colouring individual stones, but to be honest it doesn’t really work.

I painted a dark background and to be honest it looks much better.👍

I am pleased with the results so far.

Thanks DMScotty!

I blasted off another stamp which can be seen at the top of the photo below.

The advantages of the 10mm blue foam is that it is waterproof and can be washed under the tap. It is a bit sturdier too being twice the thickness of the foam board. It also has the advantage of not having to have the paper removed.

The advantage of the foam board is that I can get it locally, it is easier to put even pressure on too.

I will have to make a 3×3 tile and compare the two types.

I do particularly like the planks.