Tanks and a Sumo Ring

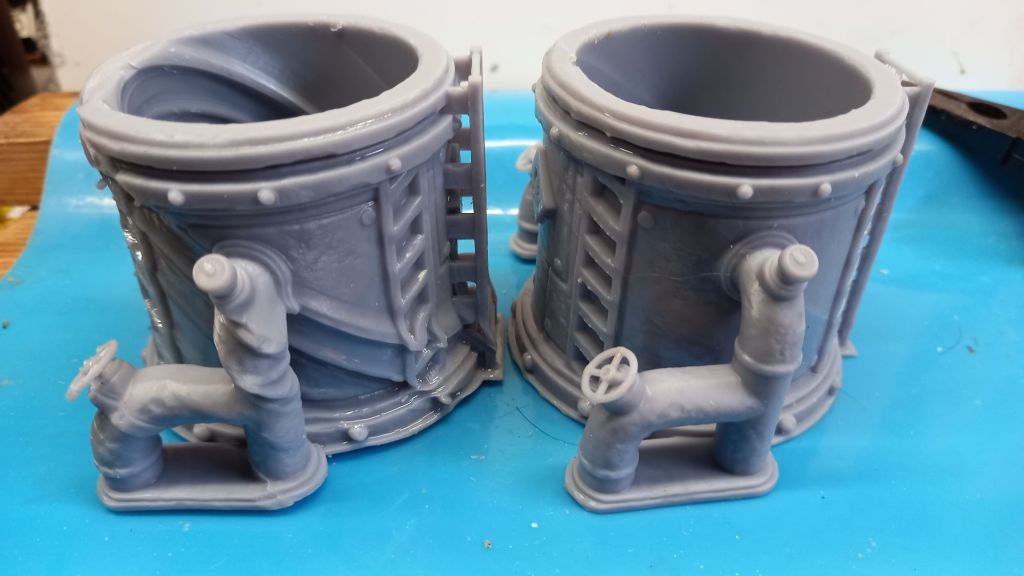
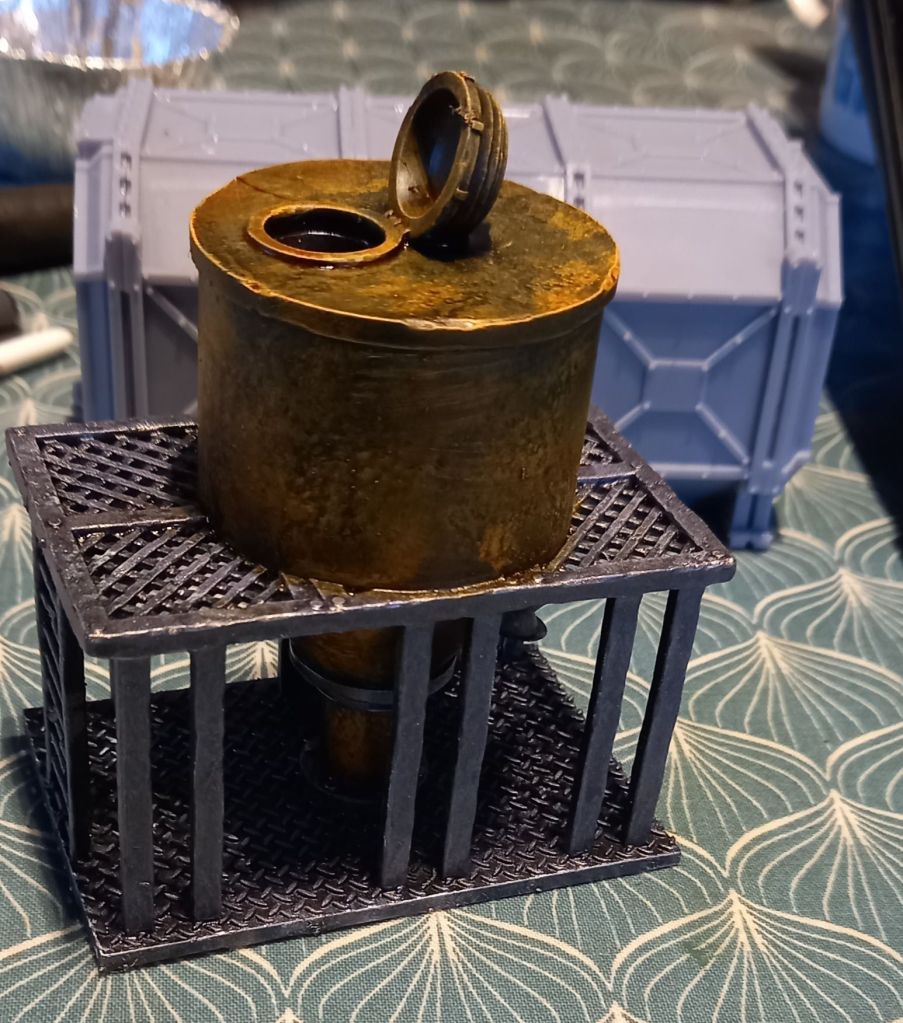
This evening I sorted out the Sumo ring and associated ponds. Sadly with the ponds I had some issues around bulging and warping. I could reprint them, but to be honest I will sort out any issues with Greenstuff.

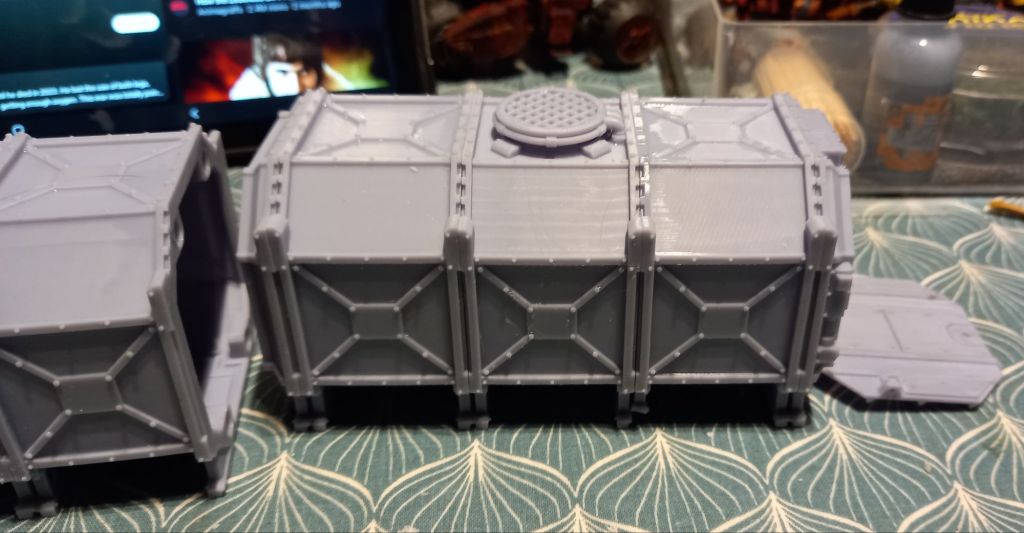
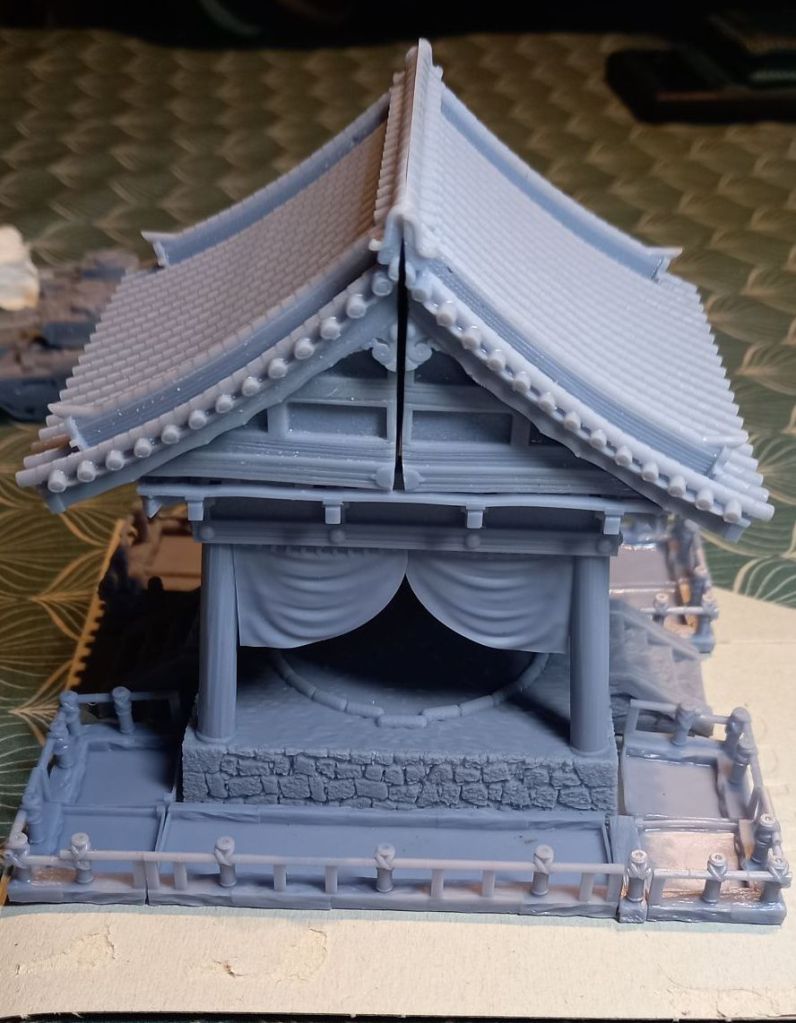
I evidently printed the roof pair with the orientation wrong. I also forgot to hollow them. I have a bulging the part facing each other. I have sanded them and used a file to reduce it a bit, but still have a bit of a gap. Once again I will use Greenstuff to fill the gap.

Spot the Gap!

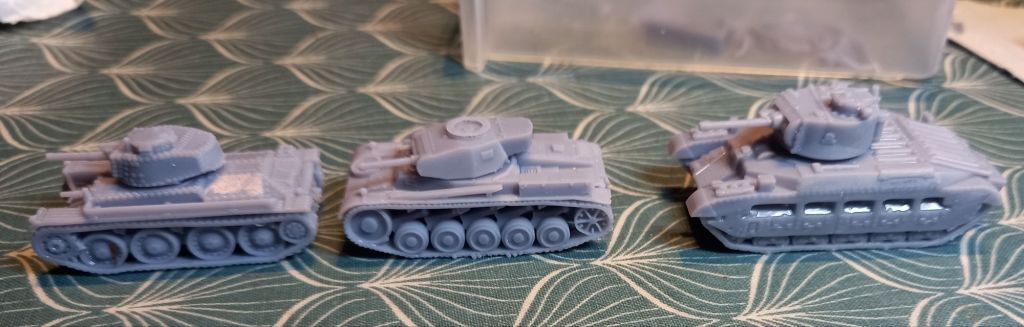
I also printed a trio of tanks for a colleague who is making a rather fabulous 3D map to play an invasion of Shetland game with his secondary pupils. These are to show the kids what they looked like.

Back with the FDM

Well I picked up some filament in a charity shop really cheaply, I wish I had got the other three rolls, but didn’t. By time I got back they had gone.

Sadly they weren’t in grey, I hot the most staid of them with green.

Here is my first print with it

It’s just shy of 7 inches tall and printed  in four or five bits. I cannot actually remember.

Printer Overdrive

Well I have gone a bit bonkers printing things. I am certainly running through my resin backlog.

I eventually managed to print the large chemical mixer thing…

I also did the walkways and a leaky drain.

The  drum above is the second attempt… the following shows us boys and girls why we need to ensure that we fasten the build plate properly!

The following are a couple of pipes. They were part of four things on the plate. The chemical barrel pallets both failed, which led to a lot of swearing. The vat was full so it took a few shenanigans to get the cured lumps of the FEP.

Chemical Plant II

This evening I sorted out the new chemical tank. This one is a little more complex than the other one. It has screens and buttons etc, but it is still going to work well.

I have sprayed it black ready for the white dry brush tomorrow.

I am printing a second one right now. My plan is to have at lest two joined by a walkway. Three would be better but I am not sure if I can be bothered to paint three.

Rust Bucket

Well this evening I added the rust to the industrial terrain piece.

I really tried to get the rust where it would get rusty.

The sign is one of the ones I printed last week.

Hopefully I will actually achieve more tomorrow.

A More Productive Evening

This evening I didn’t turn on the console and decided to be a bit more productive. First off I tried colouring the rust on the vehicle…bad idea. I therefore redid it with the rust effect.

It looks better now than it did so I am either going to leave it as as, or get some chalk pastels and add them to it… what do you reckon?

I also built another container… on this one I have a door that can be open or closed.

I think I will go for one more after the one that is in the post printing process.

Print Minis has a pile of containers that have either shops or habitation inserts. I reckon some of those will be next.

A Busy Evening (sort of)

This evening we had a power cut for a good old while so it tool me a while to get motivated.

First off I started building some shipping containers. I would have had two completed. Sadly the power failure caused the second one to be unfinished. I am having to reprint the bits again.

I also had a faff about with some netting to add some camouflage to the scout sniper.

This is just wrapped around the miniature to see what I think which is why bits of the net are sitting at 90 degrees to the weapon.

I also got some rust on the vehicle… not that you can see it.

Now I am not sure if it is because the base colour is red, or if the rust effect stuff has gone a bit odd. I will try another layer tomorrow.

Starting on the Wheels

This evening I got the red onto the Chonko. Well I also got blue and black on it too.

Tomorrow I will start adding the metalwork and chipped metal (and worn metal too… eg the steps and walkways).

In my mind I have used the wrong  black for the tyres. The one here is Black Legion from Contrast… obviously had a brain fart as this is new tyre black as opposed to the grey black of the combined harvester.

Dry Brushing Take II

This evening I got the white coat brushed onto the base coated stuff from yesterday.

There is a definite change from yesterday, it is really noticeable on the red vehicle.

Tomorrow I will hopefully get some paint shoved on too.

WW Scenics had a bit of a sale on tufts, even though I have got my gear to make them I bought 400 of 10mm,  100 each of 6 and 4mm scorched grass. So this should do all of my Sci Fi stuff.

To be honest part of me fancies converting the wheeled vehicle into a fire engine for the chemical plant.