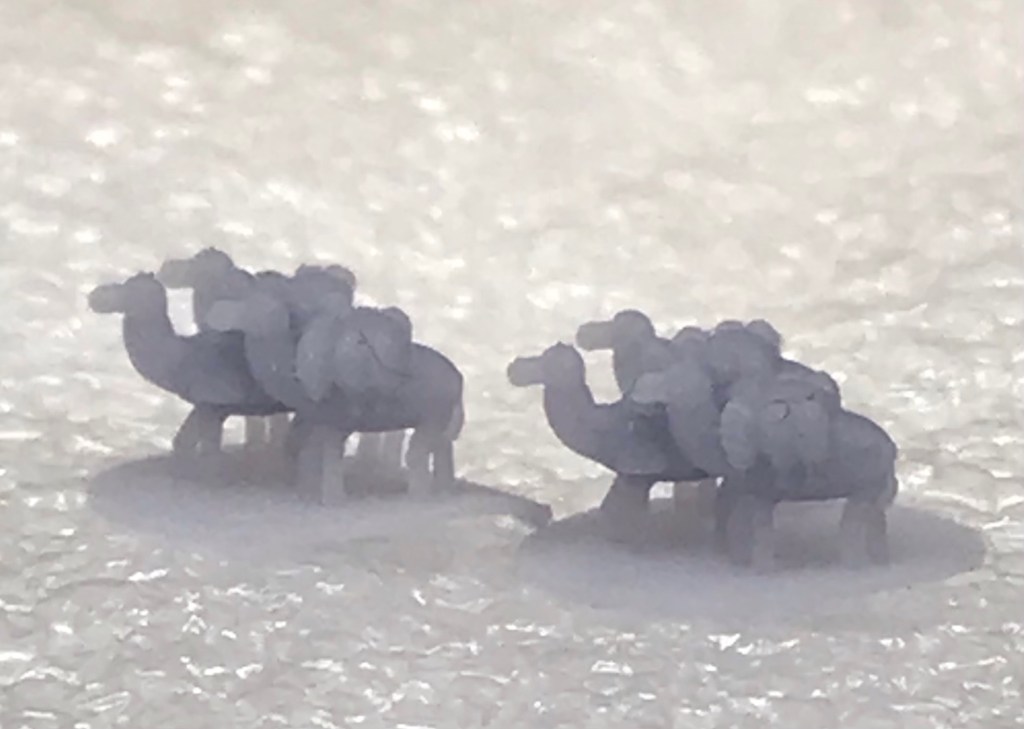
Well after a smidge of painting the other day I decided go see how the 2mm camels I built would look printed out… to be honest I am rather chuffed, for no other reason than you can tell they are pack camels…
Highland Miniatures also released Gallia on their Patreon… I can see knights in my future:)…or maybe that should be 😦 ….I have so much to paint as it is… this mighty Knight had a bit ofca helmet failure and as such will need another doing…
I had really better get busy with my Goblins… these guys will need something to fight 🙂
So this evening I got booted off the computer. I was busy making a camel to go with the 2mm miniatures. I also have worked on a legionary century. The auxiliaries I did did kind of work. But they need to be increased to at least 110% to match what I already have.
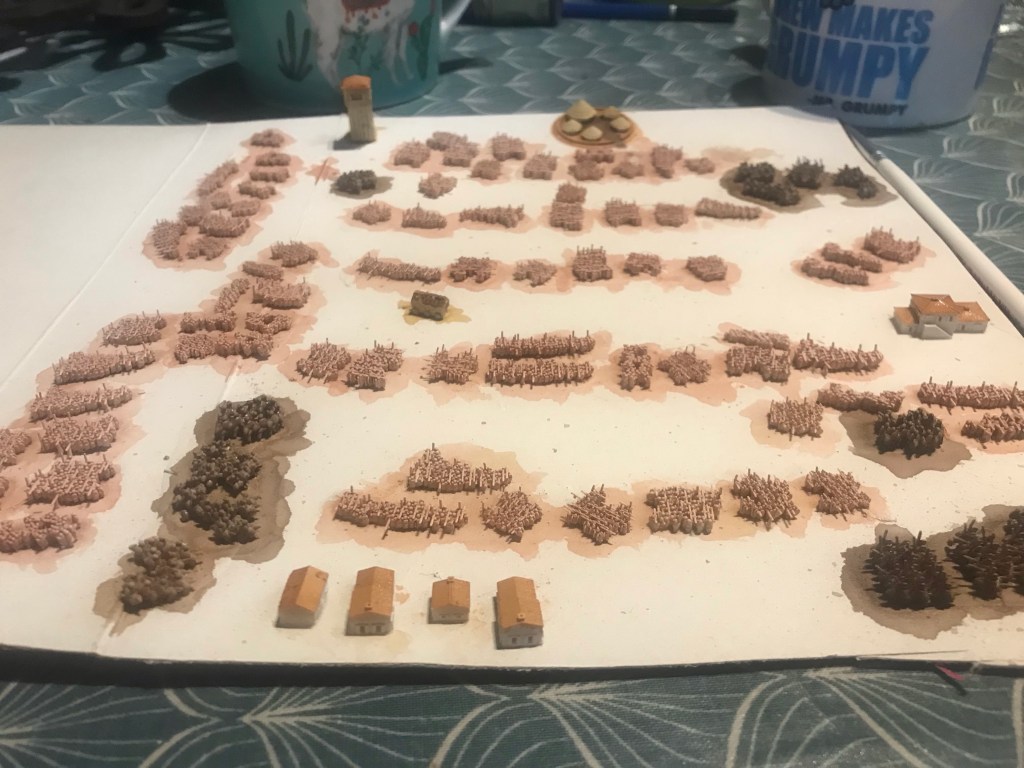
So I went for the Barbarian forces. With some additional buildings and siege engines.
I have done a flesh base colour for the infantry and a dark brown base for the cavalry. Once fully dried I will dry brush the riders white to allow the flesh colour to be put over the top.
The other thing is my Mug came back yesterday…
I have also been a bit busy on the other blog… every time we have been out I have done a little vlog blog… this is one of the latest ones:
I have been a bit further down the 2mm Rabbit Hole and present my auxiliary century.
These are to still come off the printer. But they were a bit of a sod to combine them all. There were so many of them it made 3D printer almost grind to a halt.
What I did with these was give them a solid block inside the miniatures you can sort of see it between the centurion and vexilarius. This will hopefully avoid fragility that I found with the other ones.
I have also built a legionary as well as a conicern… I forgot to add him to this block. You cannot see but there is an Optio in the rear rank. I have also done an eagle and a horse… this will become the start of my cavalry force.
I have thoroughly enjoyed doing these. I think I will need to go to a bit more complex software such as Blender. Problem with that is I am really too Lazy to learn it properly. At this scale I really don’t need a lot of texture. So I will have to see how the copy and merge tools work.
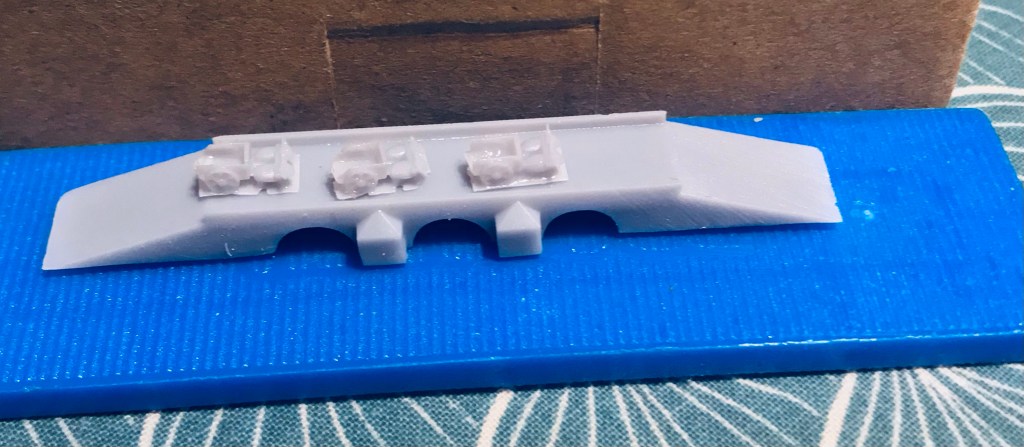
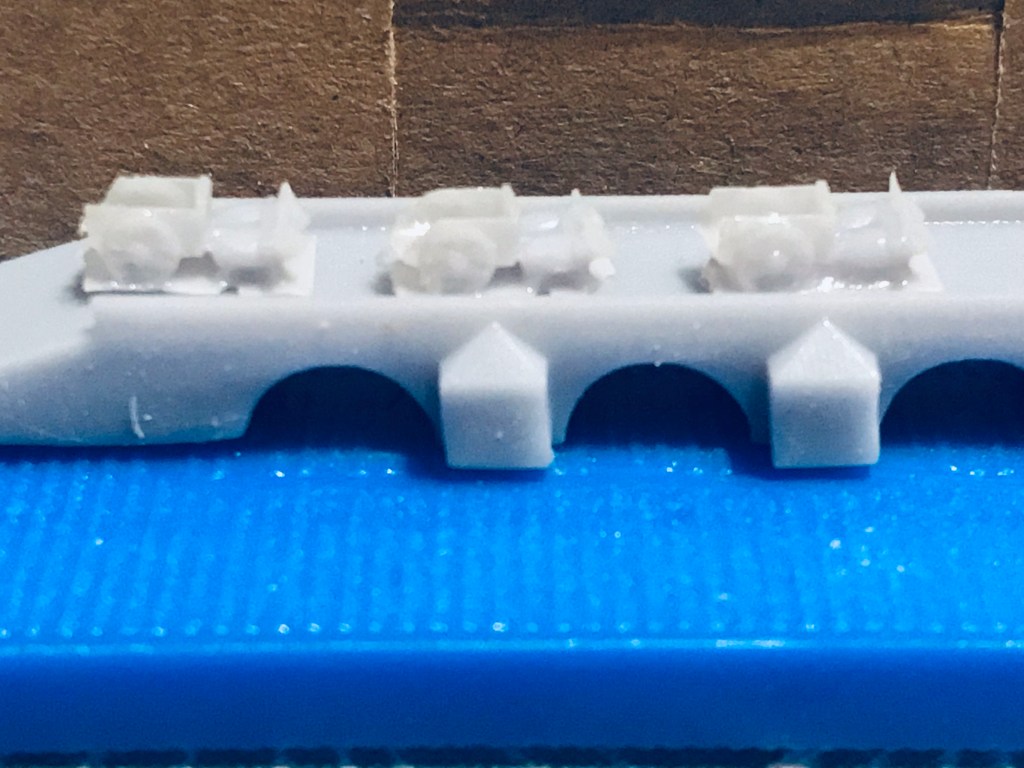
I am still in my making 2mm terrain… I have been carrying on fiddling with 3D builder and as you can see I got the bridge built. This is made up of modules. It allows me the option to build a bridge of any length, either in the software and printed or print the parts and glue them together.
Now you may have noticed something on the bridge… I decided having a go at an ox cart. This time I built the living parts too rather than pinching someone else’s and converting them.
They are a bit on the small side to see properly but I am really pleased with them.
Or possibly rem parvam Romani…well these are what various translation apps told me…
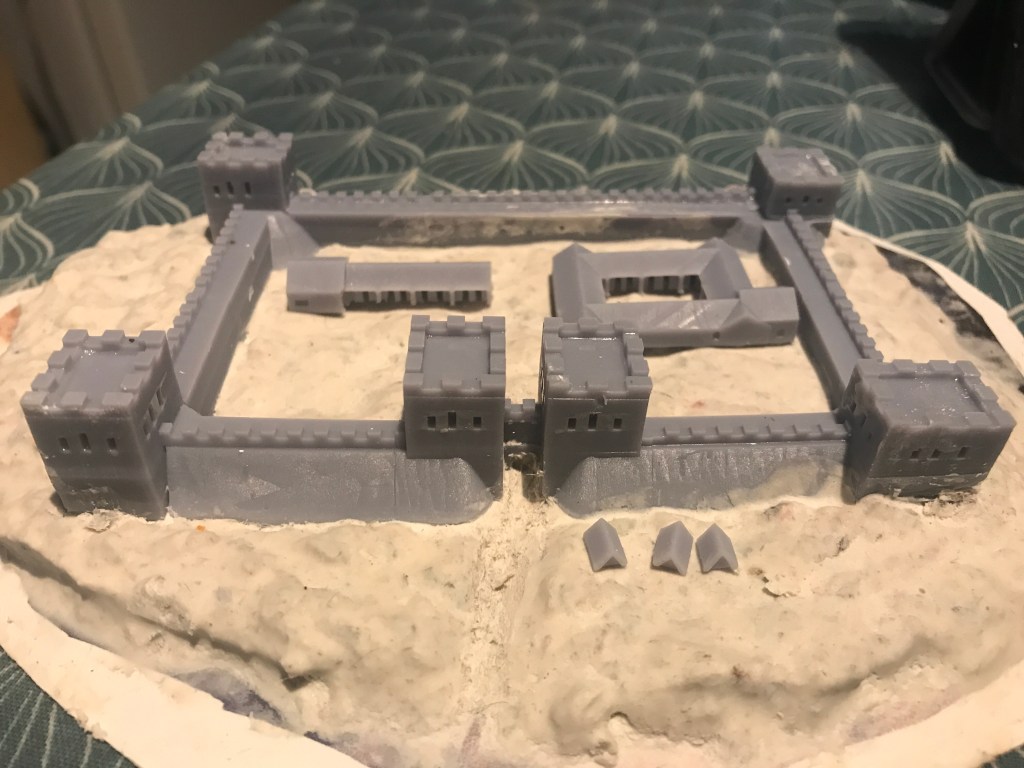
So these really small Romans have built some really small buildings to go with their siege engines… first up a small border fort…
This was a failed print so it is embedded into the modelling compound. I had basically Cocked up the supports and orientation of the print. You can see the error on the right hand towers… the crenellations are missing.
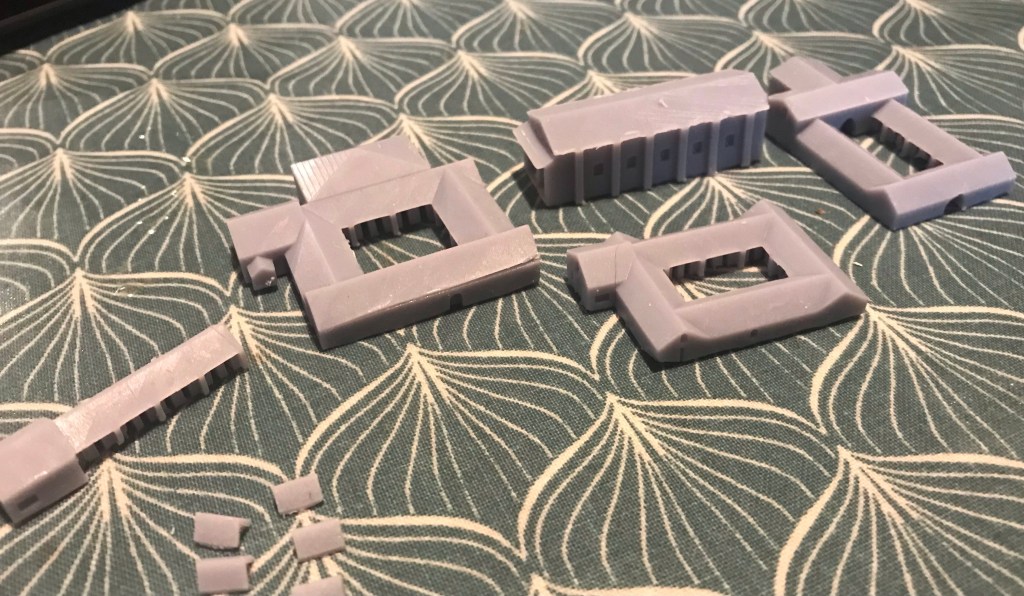
Today I worked on the interior buildings.
I went for a commandants house and Principia (HQ) granaries, the hospital and barracks with the Centurion’s house on the end.
Left to right… barracks, Commandants house, Granary, HQ. Bottom left the tents and hospital in the middle
I also went for the tented version of the legionary tents and the HQ too.
Because I am a twit, I forgot to add a base to the tents 🙂
Some of these would work for villas too.
I took a quick shot of some of the buildings inside the fort
One of the larger buildings has got a bit of a gap on a corner. I don’t know whether it is a delamination or a gap in the original file. By gap I mean less than half a millimetre.
So I made some more siege bits and pieces for the 2mm armies. Shown here are a siege tower and a covered ram. I have also made some covered Siege tents for want of a better word. The Romans used them on the siege of Jerusalem. Basically they were like the ram, without the ram bit. It allowed the troops to get close to wall without some oik dropping a boulder on their head. I have made two types. One with just a roof and one with side screens too. These things had two layers of rawhide sandwiching seaweed.
The final image shows some of the barbarian forces that I snipped off the other day.
Next up… I had better build some walls for the equipment to breach 🙂
Well for some reason my SSD card decided to eat my files I made yesterday…after quite a bit of head scratching, puzzled mumbling and a lot of swearing I started again…
So we have a scorpion with and without crew on their little cart, a ballista, an onager, a four wheeled and two wheeled cart and some pack mules. I also did siege tower, but may have gone a bit over the top as it is taking forever to merge all the pieces together.
I have done test prints of all of the miniatures and they all printed fine. They do seem smaller than the other stuff, but it is probably just an optical illusion.
I also undercoated two Republican Legions, two Gallic forces and a Hoplite army too. Just got to paint the buggers now!
Second from the front on the left are the test prints of the things I made today.
So I decided to go down another rabbit hole. As you know I am going back into 2mm. I have printed out a whole load of units. Well today I started on the Imperial Romans… the one thing that was missing from the force were the artillery and transport.
Cue me starting to fiddle in 3D Builder ( I really, really need to learn how to use Blender properly). Anyway I eventually got to something I was happy with.
So we have pack mules, a four wheeled cart and a Scorpion cart with crew.
I used miniatures from project war gaming as my base.
For some reason this evening I decided to get back into the 2mm miniatures.
Well actually I know the reason. I saw my three legions based up. And I thought, they look really nice. Two are imperial and one is from the Republic. At this size, you can only tell the difference because of the line it triarii at the back and vélites in the front.
The second reason is I had a right sod of a job getting them off the supports. for some reason tonight I managed to pretty much get the infantry force for my proposed Carthaginian army done. I would show you, but the photo is totally blurred. By time I noticed I put them away.
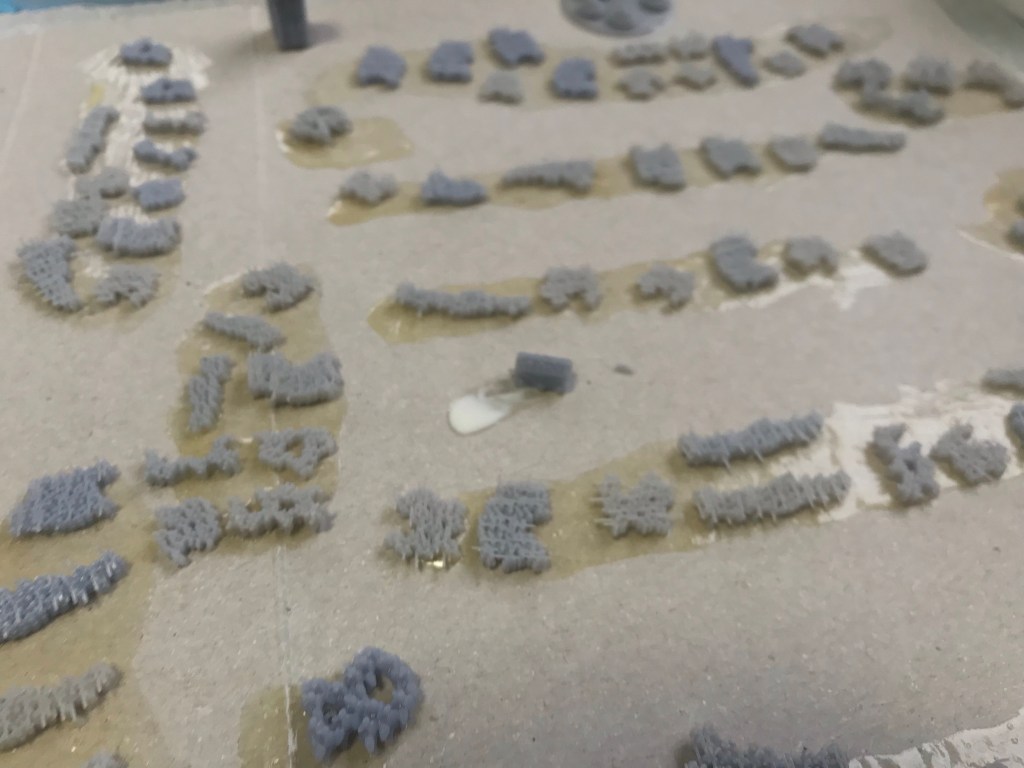
The empty box in the middle is now full to the top. Still a lot more to get off the supports. In the past I have painted on the sprues, but after so many problems I am going to go this approach and use Copydex. To stick them to cardboard strips and undercoat and paint that way.