Well the other day my good Blog Buddy Eric was asking me about resin printer failures. I am no expert, but hopefully talked enough sense to help him out…
Anyway I ran a print for the Ikko Ikki and lo and behold a failed print.

I managed to print the bodies, but as you can see there seems a distinct lack of Japanese heads and arms. The bowman is also missing an arm. Anyway I emptied the Vat and checked the FEP ( the plastic film on the bottom of the vat that the light ravels through). As I was doing this I noticed about half of the screws were loose. I tightened these and went for something I knew worked…basically this lot:

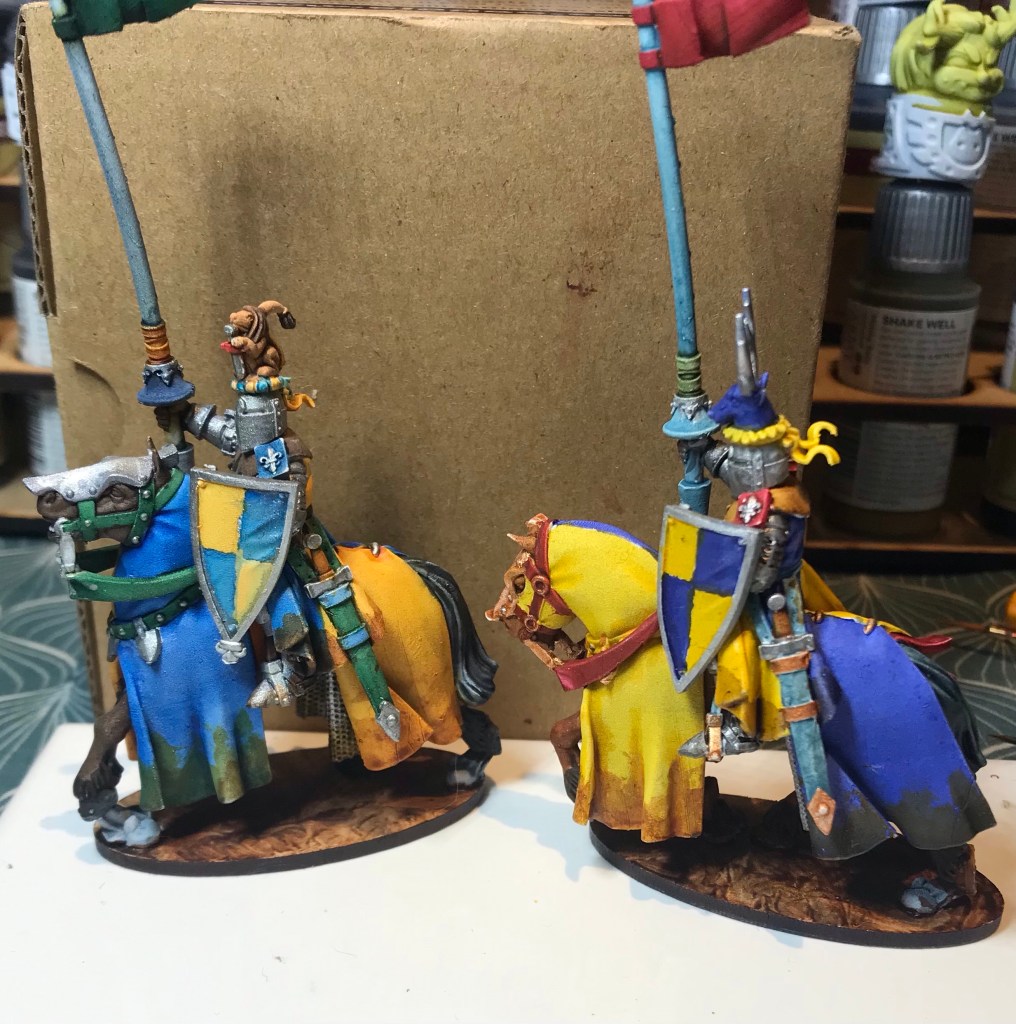
It pretty much worked okay apart from the helmet.
So I redid the Ikko … this time I did the supports and once again a failure. I got the bodies and only a few arms.
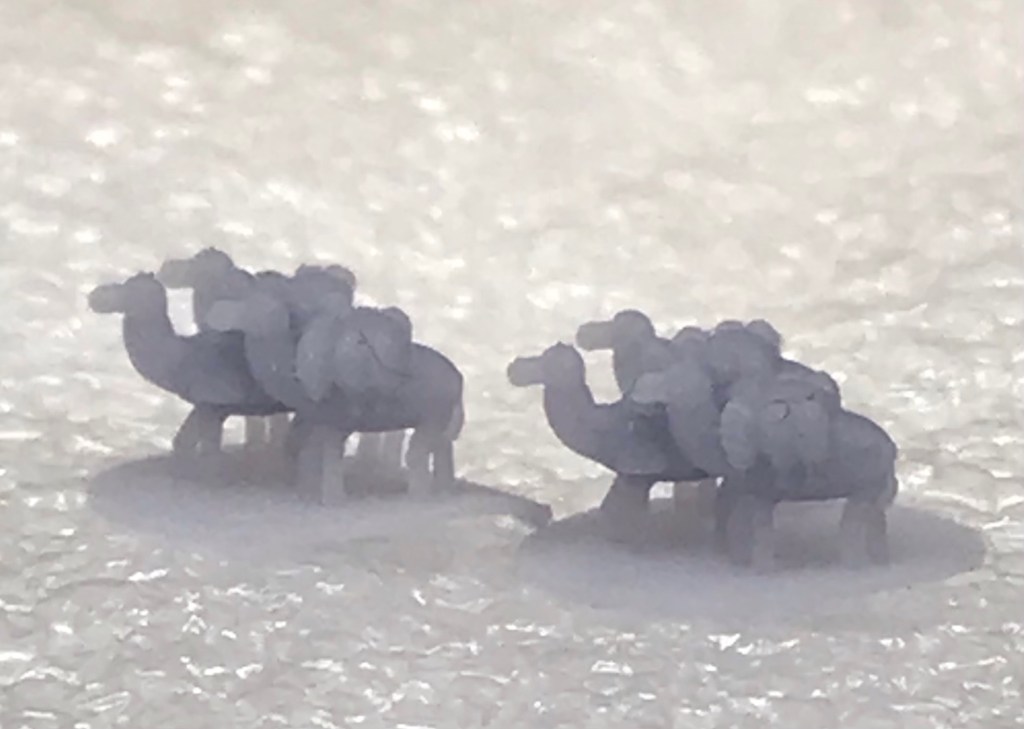
Now if you compare the two images above. The first one is darker… then the wheels in my brain started working. I decided to add a bit of flexible resin mixed in with the ordinary stuff I use.
And??? I hear you ask. Well flexibility can cause problems as the miniature can twist away from the supports ( well I think that is how it works). The bodies are thick enough to survive this… arms and heads are small enough to allow the flex. Notice the missing arm on the bowman is his bow arm. I printed twice and voila… two dudes without their left arm.
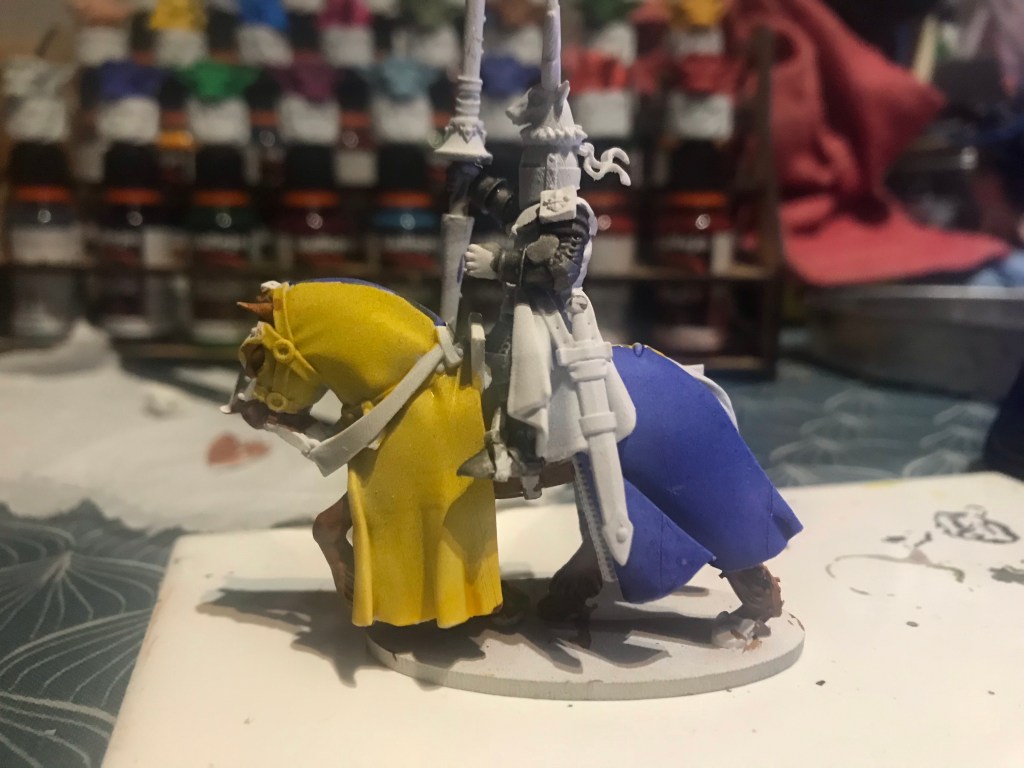
I pretty much used up the mix, I used an old bottle to store the remnants and am printing a new knight and entourage with my straight resin… I will find out tomorrow if it worked… I could check now, but it is raining and pitch black… so you will have to wait.