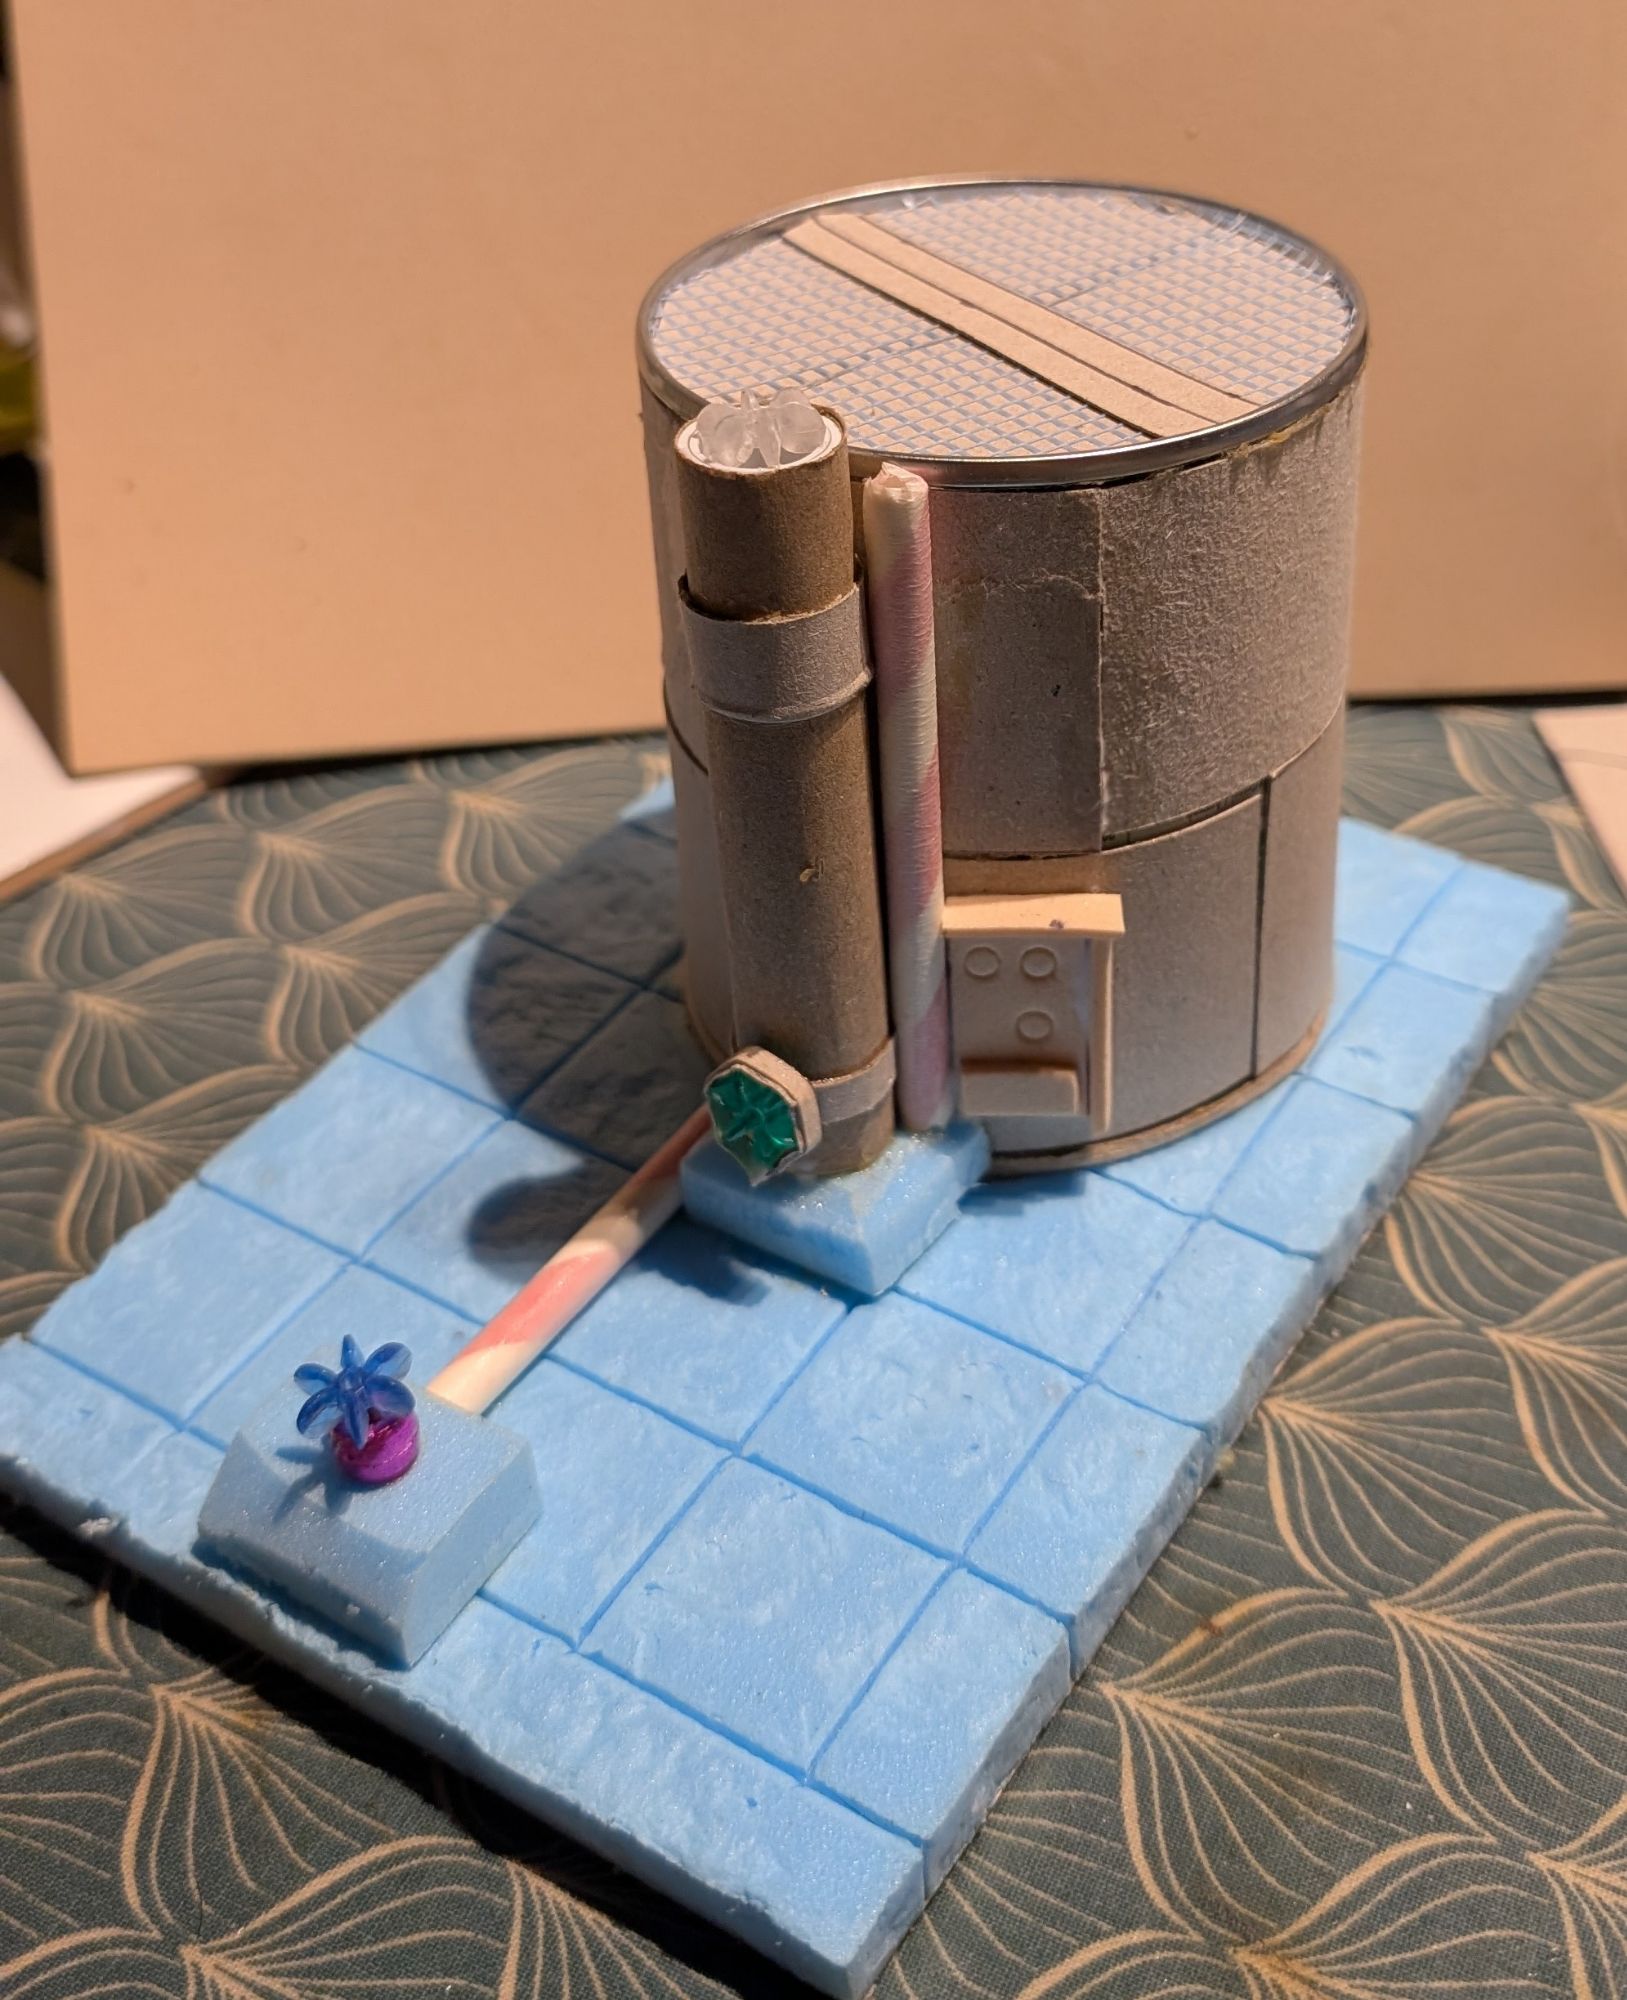
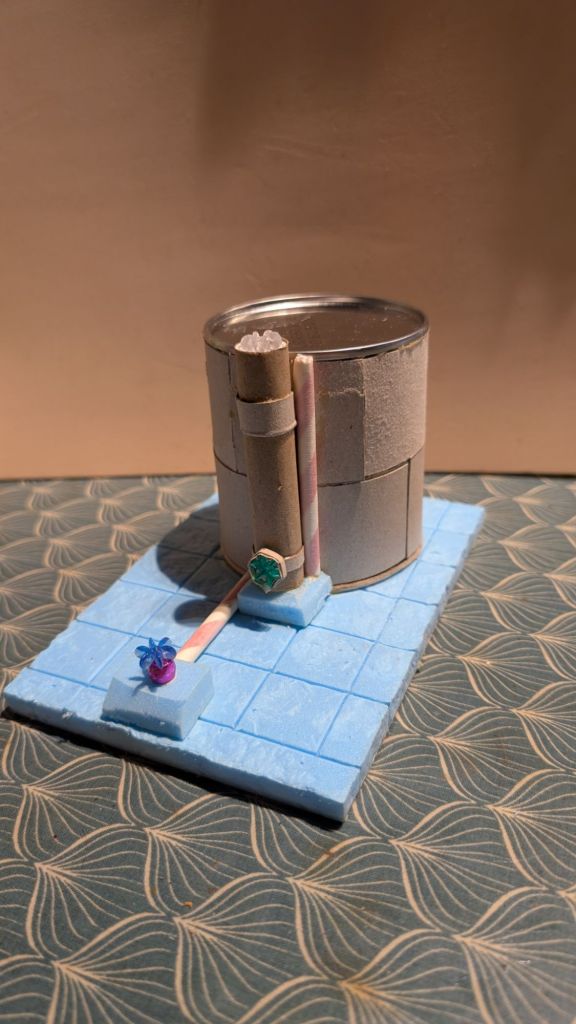
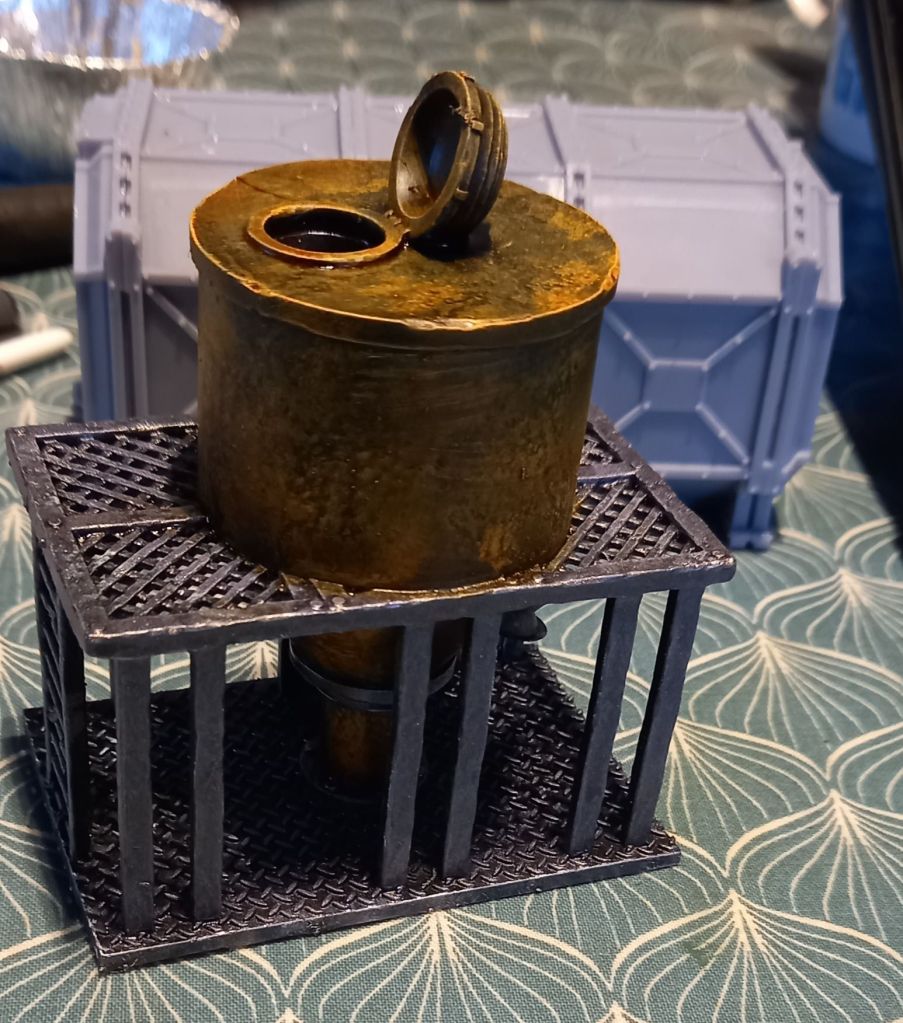
Well back to work with a bang, 7 hours of training and after a little lie down I got the top of the tank done as well as a little control box on the side. Greebles help break up the outline and give a little more visual interest. Well that’s what I believe anyway.
Once the Mod Podge has dried then I will get the foam covered ready for undercoating tomorrow.
I actually spent more time looking for stuff than actually building anything. I did however get this far.
Luckily the copydex at the front plinth hadn’t dried so I managed to straighten it up a bit. The one bit you can’t really see is the cereal box card glued to the bottom of the blue foam. This will give it a bit of strength and also protect the corners a smidge.
Next will be the top. Part of me is wanting to do a bit of a ladder and another part of me says sod it, I can’t be arsed.
The smaller pipes are cardboard drinking straws covered lengthways in masking tape to hide the spiral pattern.
So you would imagine this is some of my Agincourt forces. You would be wrong, this is a different kind of Imperial Knight.
I helped my son build his 40k version. This is one of a pair. It still needs it’s armour plates added, but he wanted these left off to paint the legs and weapons.
Second one will be done tomorrow. I have run out of metallic spray paint so we will need to do a run into Lerwick ASAP.
So this evening I felt inspired enough to hunt our some bases and get nine of the eleven stuck onto them.
The spare two were front left. As I have a bit of a Tyranid force then I thought it only fitting that they have some helpers. These are the Code Splicer cult. They remind of something else with a similar name 🤔.
Behind them is the pair of ‘slave ogres’. Front right are a pair of skull server things. One with a gun and one with a medical saw and syringe.
Behind them are a trio of police officers with a spare head of an Erroish warrior as a proxy. Some twit dropped the original somewhere and it cannot be found. I felt the gas mask worked with the other pair.
And finally at the back we have a cyborg bounty hunter which frankly looked so cool that I had to print it.
Somewhere I have this lot that I want to paint and can I find them?
We are taking my school on a mini residential tomorrow so I might have random bollards to write tomorrow evening. Part of me fancies taking something to paint tomorrow evening, but I doubt I would get the chance.
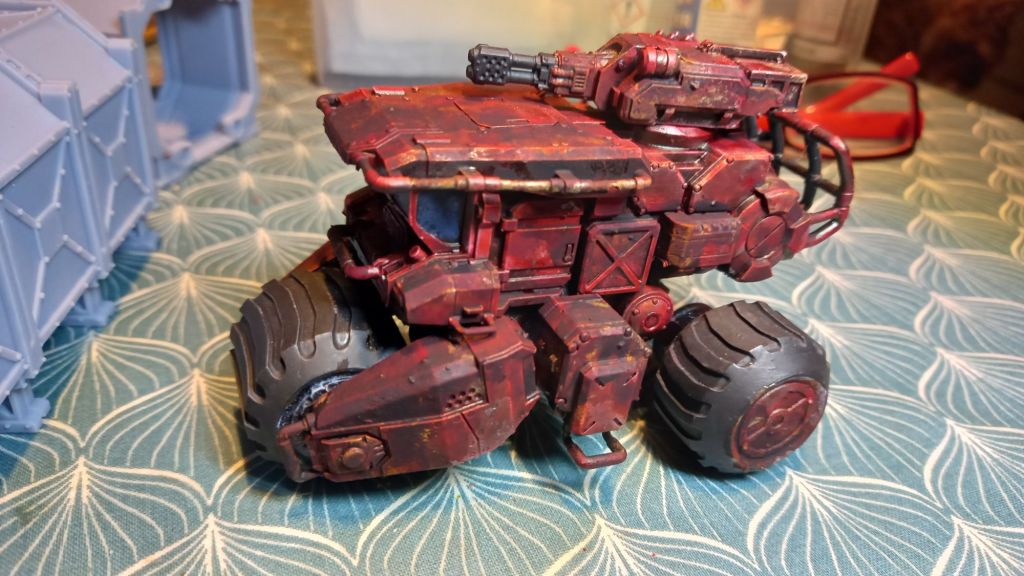
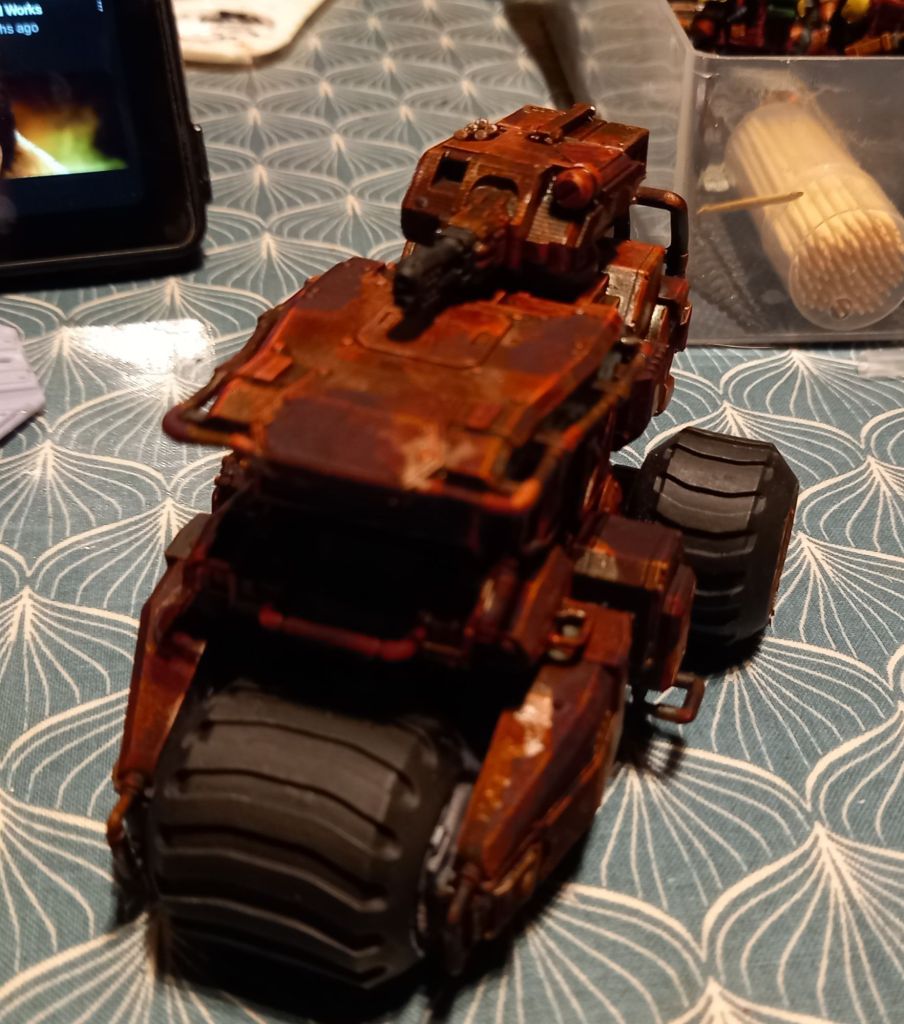
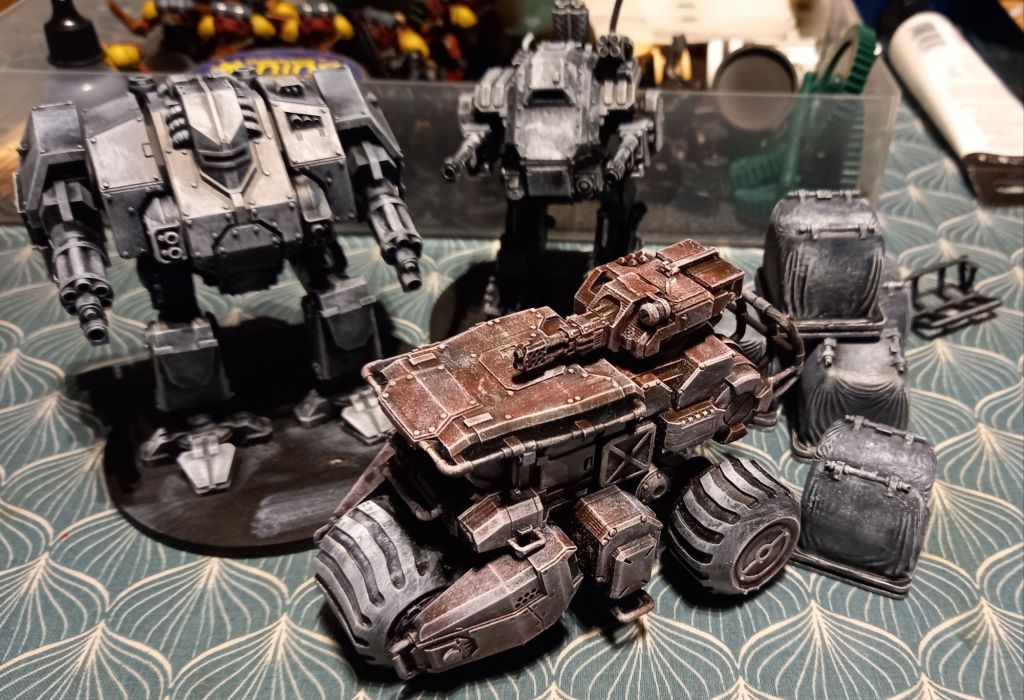
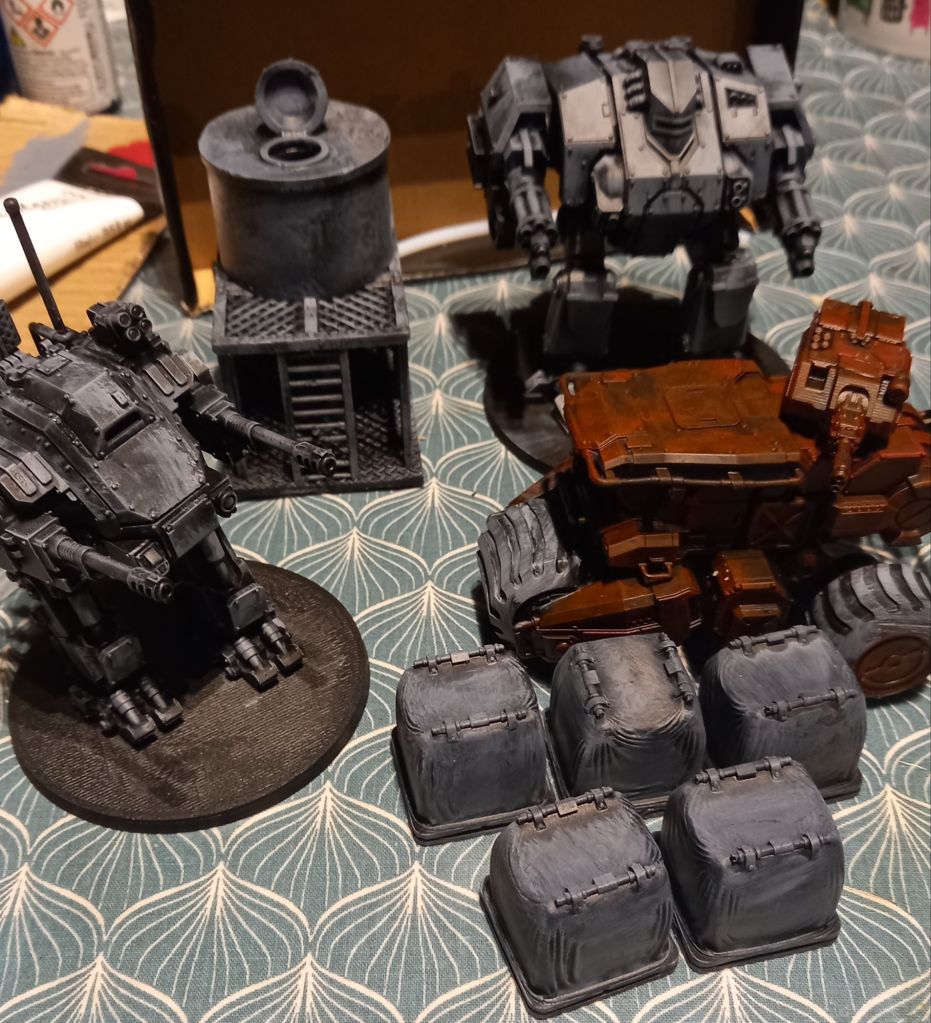
This evening I didn’t turn on the console and decided to be a bit more productive. First off I tried colouring the rust on the vehicle…bad idea. I therefore redid it with the rust effect.
It looks better now than it did so I am either going to leave it as as, or get some chalk pastels and add them to it… what do you reckon?
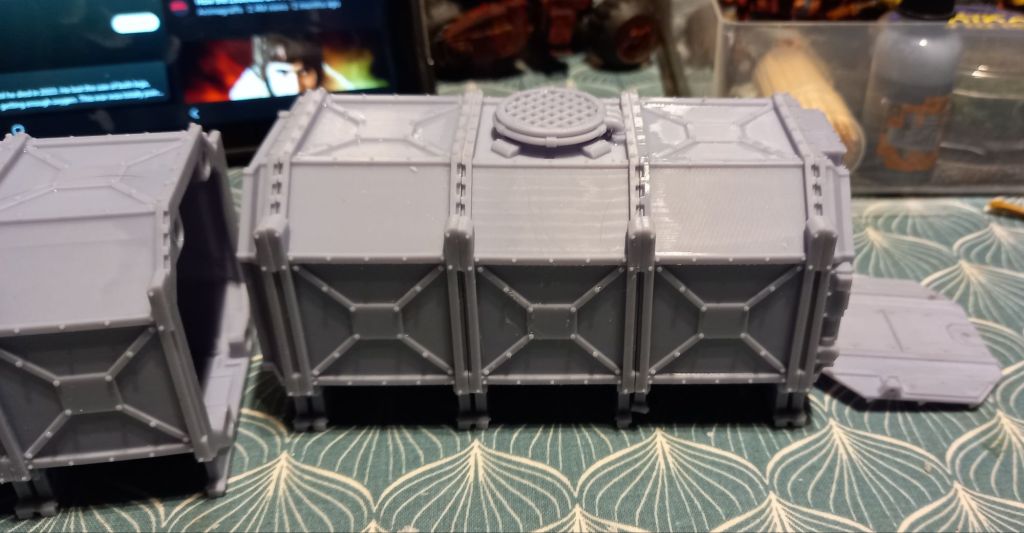
I also built another container… on this one I have a door that can be open or closed.
I think I will go for one more after the one that is in the post printing process.
Print Minis has a pile of containers that have either shops or habitation inserts. I reckon some of those will be next.
This evening we had a power cut for a good old while so it tool me a while to get motivated.
First off I started building some shipping containers. I would have had two completed. Sadly the power failure caused the second one to be unfinished. I am having to reprint the bits again.
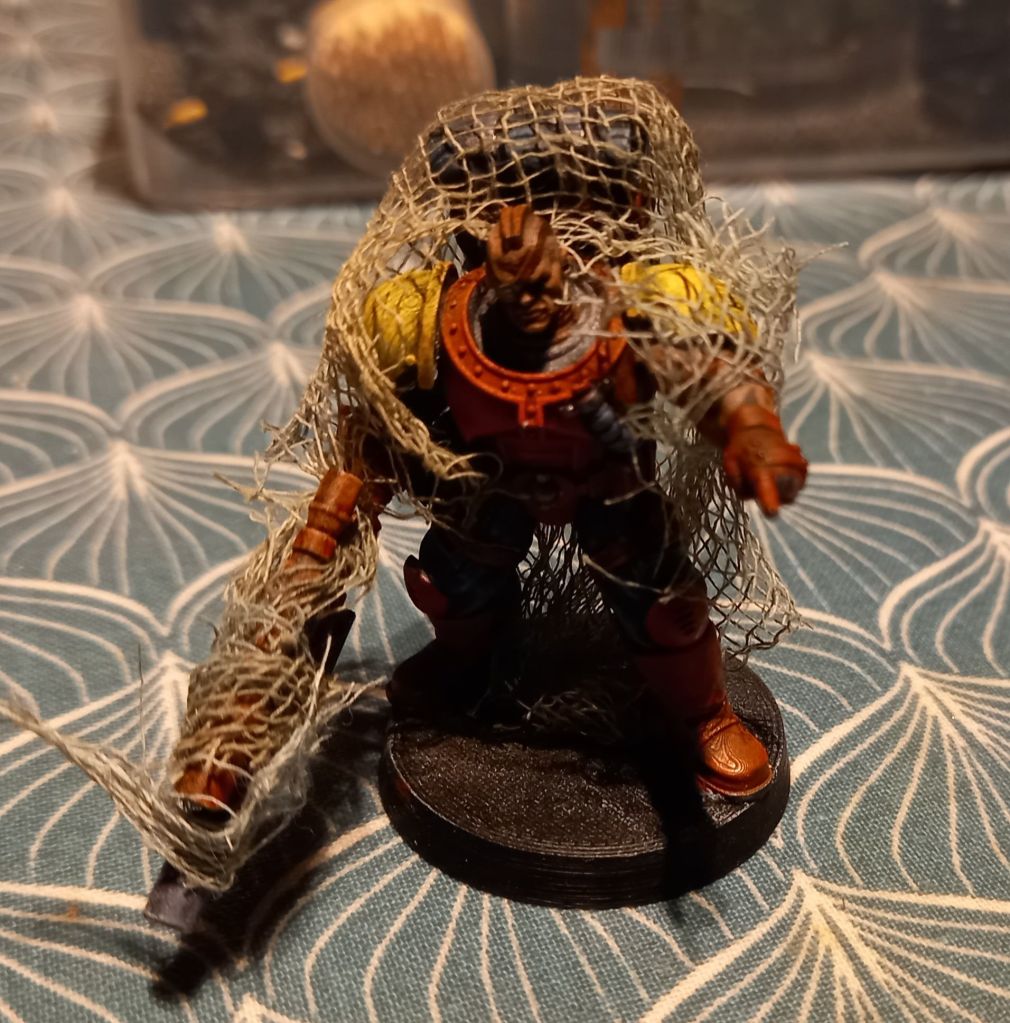
I also had a faff about with some netting to add some camouflage to the scout sniper.
This is just wrapped around the miniature to see what I think which is why bits of the net are sitting at 90 degrees to the weapon.
I also got some rust on the vehicle… not that you can see it.
Now I am not sure if it is because the base colour is red, or if the rust effect stuff has gone a bit odd. I will try another layer tomorrow.
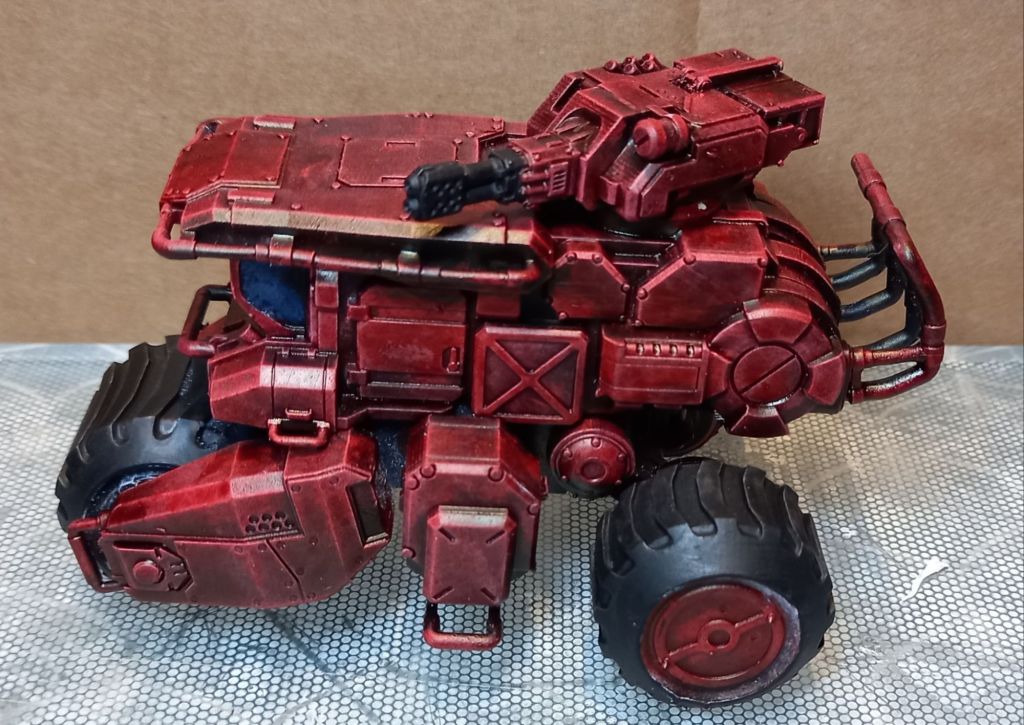
This evening I got the red onto the Chonko. Well I also got blue and black on it too.
Tomorrow I will start adding the metalwork and chipped metal (and worn metal too… eg the steps and walkways).
In my mind I have used the wrong black for the tyres. The one here is Black Legion from Contrast… obviously had a brain fart as this is new tyre black as opposed to the grey black of the combined harvester.
This evening I got the white coat brushed onto the base coated stuff from yesterday.
There is a definite change from yesterday, it is really noticeable on the red vehicle.
Tomorrow I will hopefully get some paint shoved on too.
WW Scenics had a bit of a sale on tufts, even though I have got my gear to make them I bought 400 of 10mm, 100 each of 6 and 4mm scorched grass. So this should do all of my Sci Fi stuff.
To be honest part of me fancies converting the wheeled vehicle into a fire engine for the chemical plant.