Dry Brushing

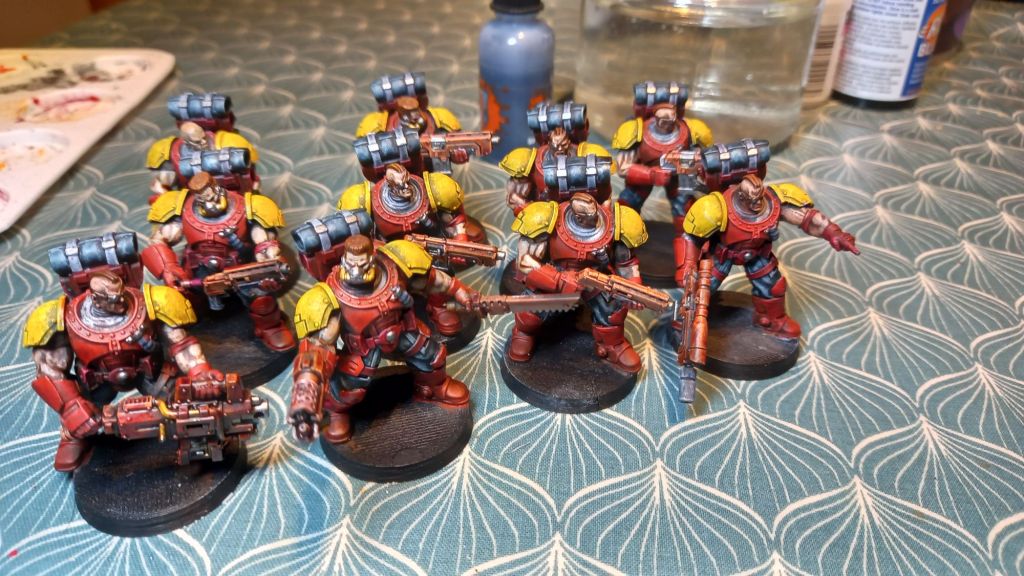
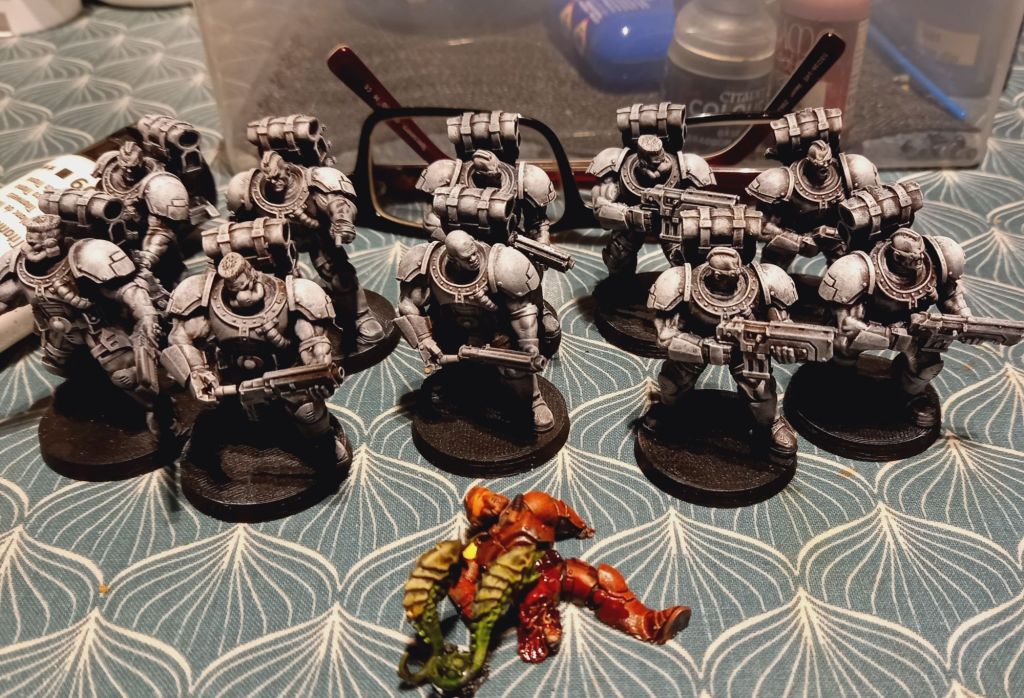
This evening I cracked out the Artis Opus brushes and set to work dry brushing anything undercoated black.

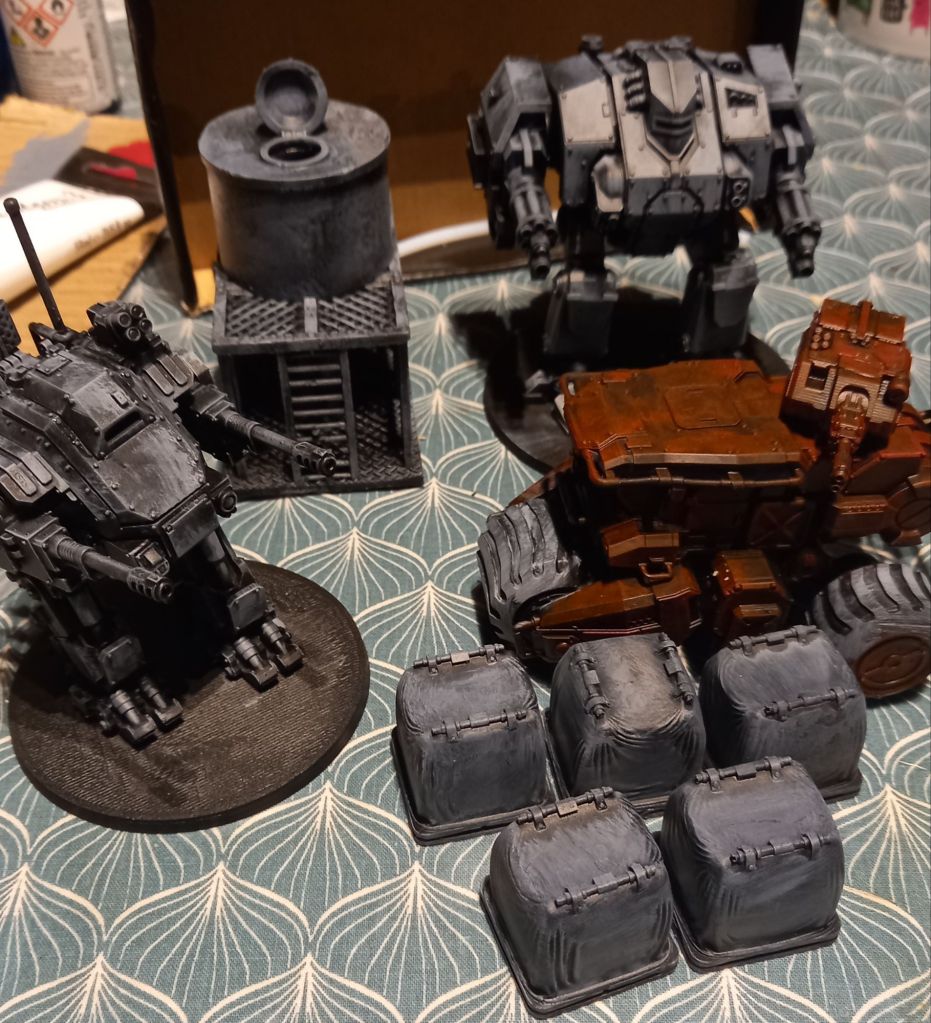
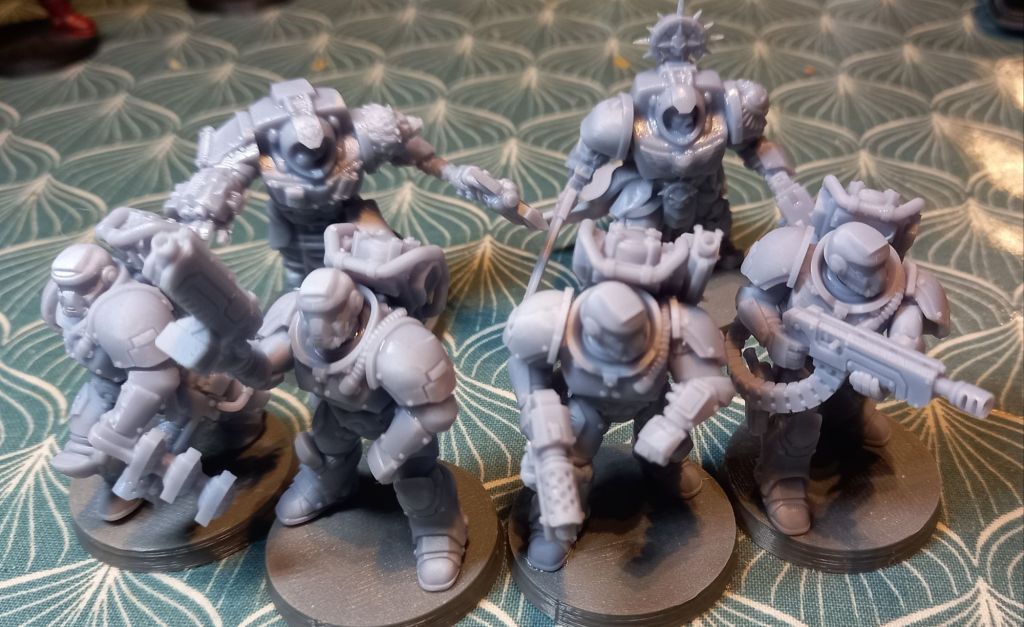
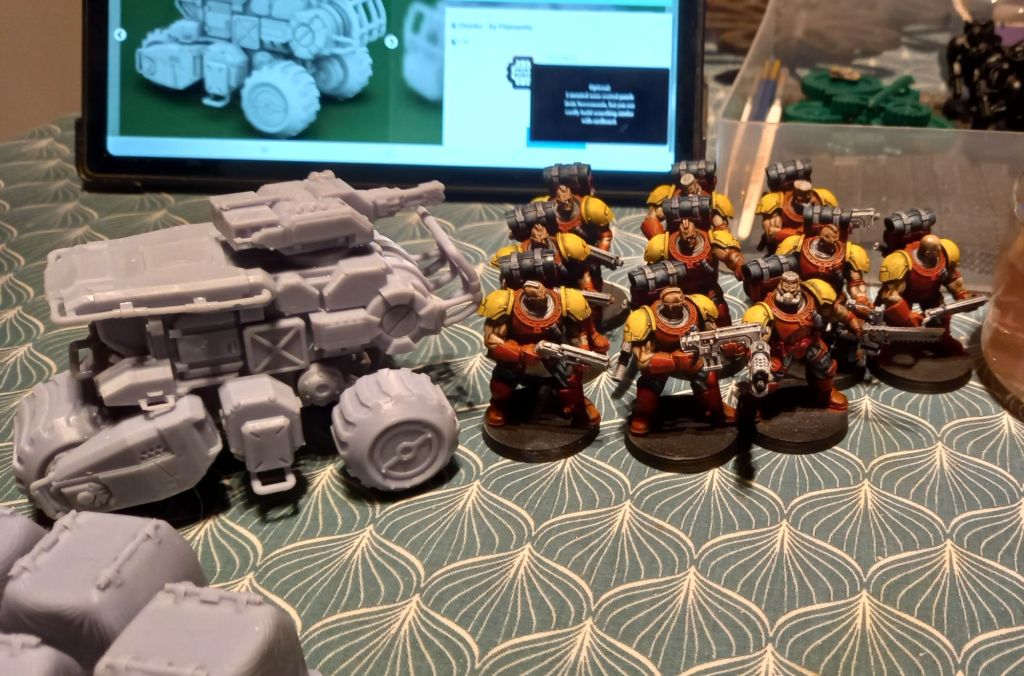
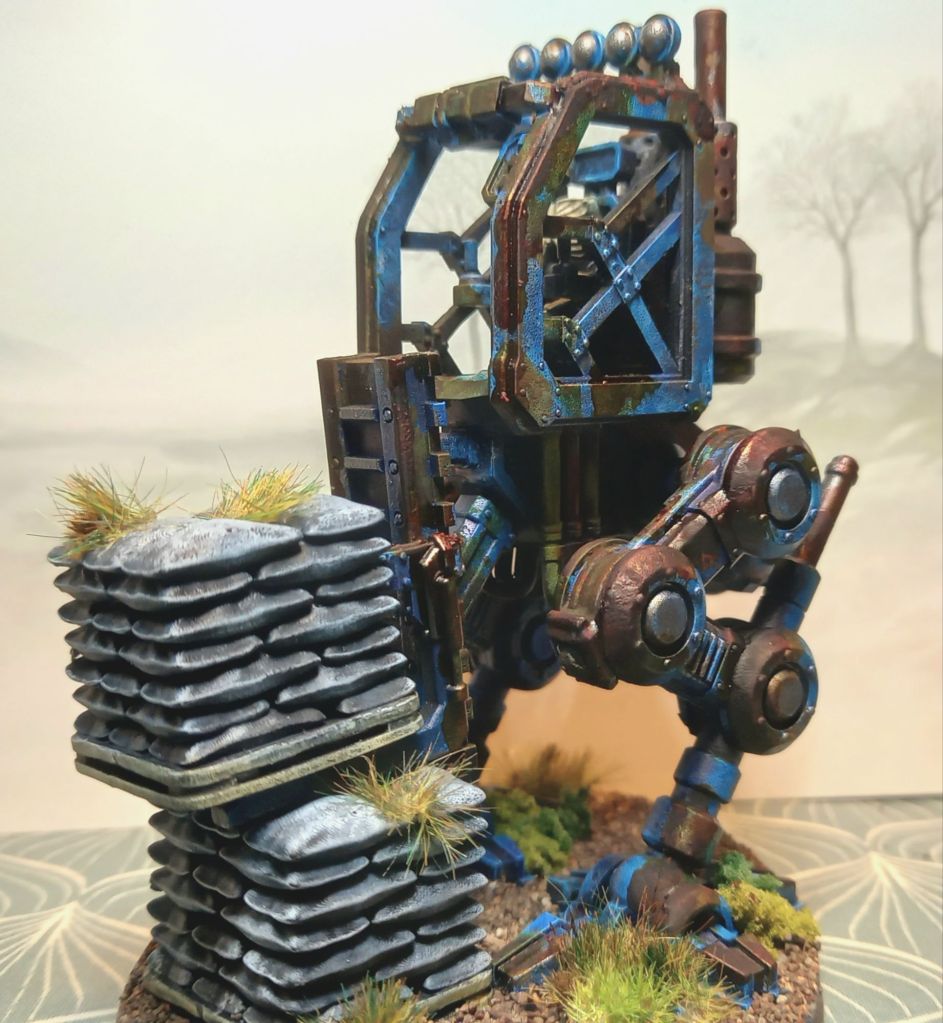
As you can see the majority is grey apart from the wheeled vehicle. Bet you can’t guess what colour it is going to be.

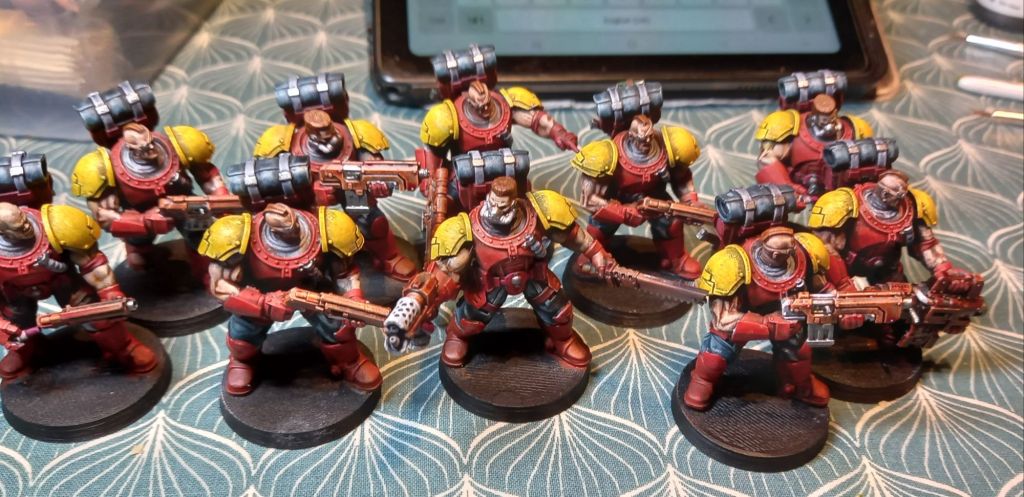
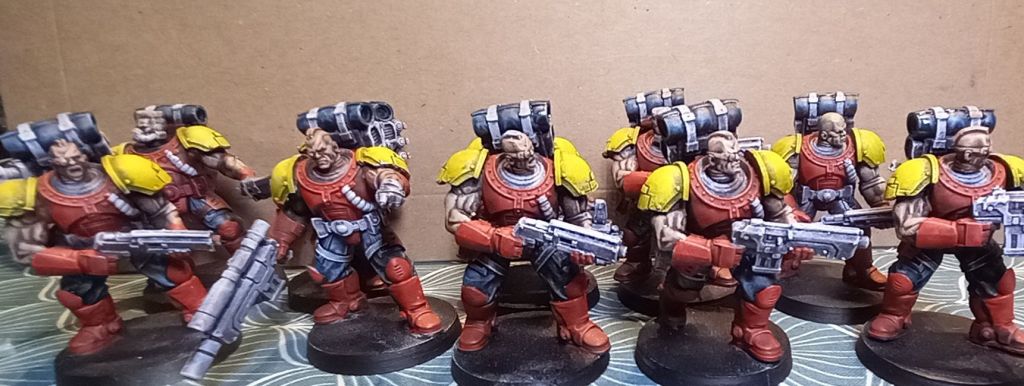
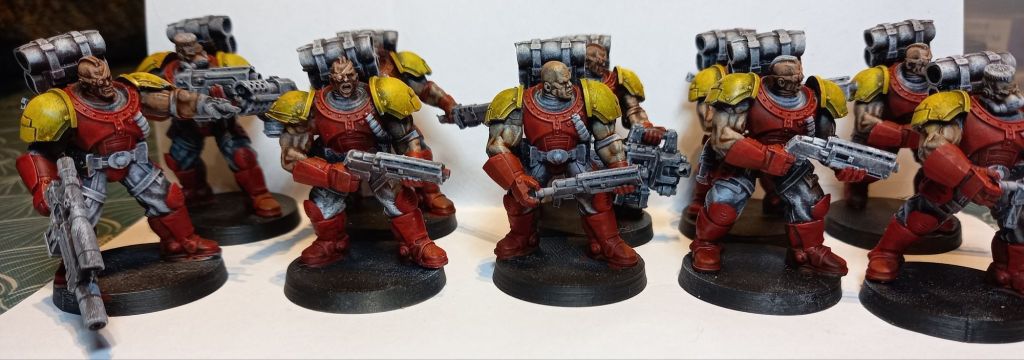
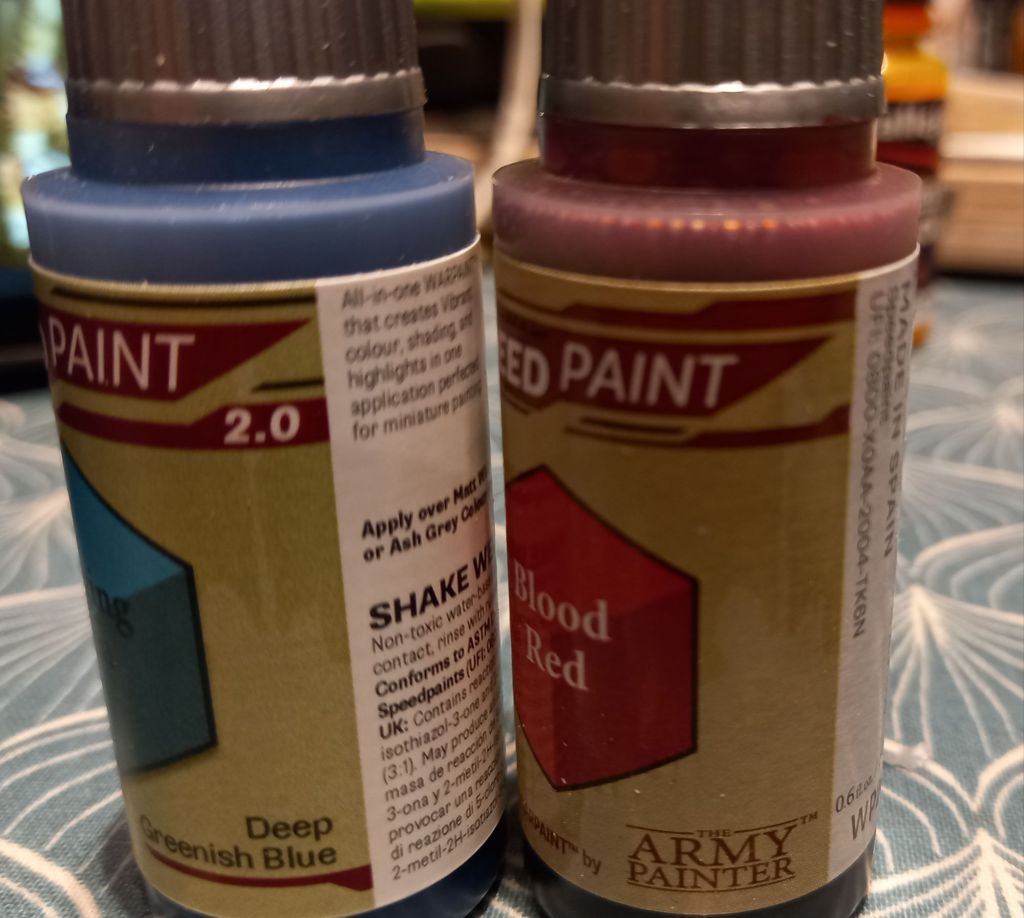
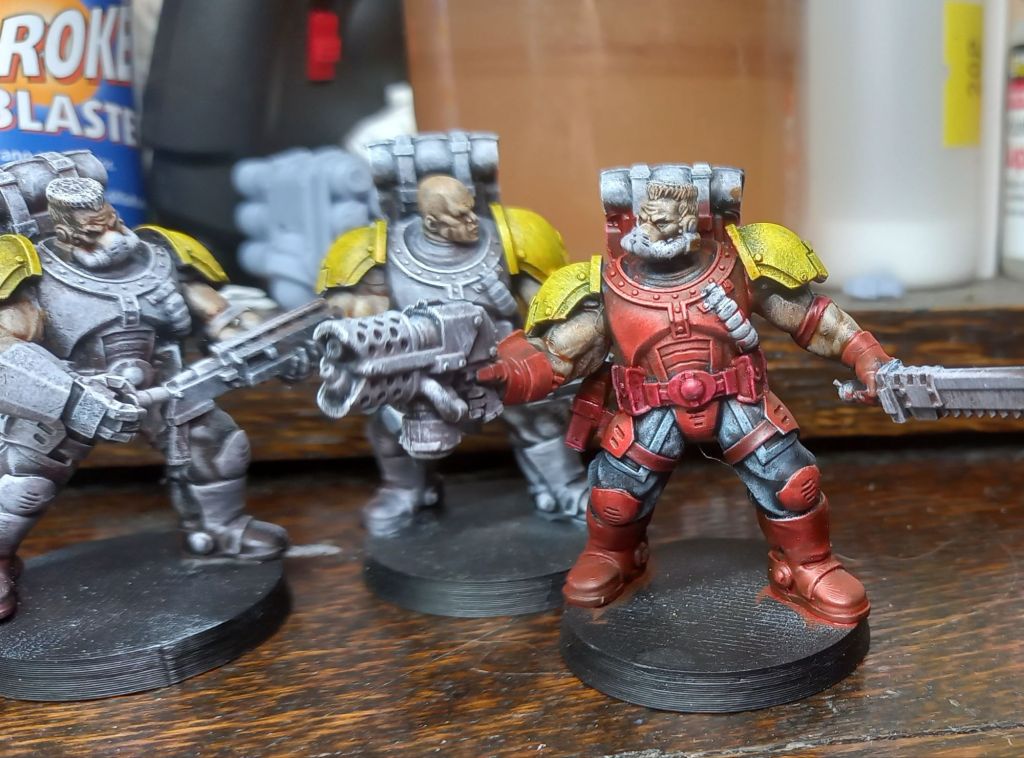
I am wondering about this two tone approach. The base underpainting tone followed by the white and then the Speedpaints.  I should maybe do a test on a couple of identical miniatures. To be honest it is the time it takes for the paint to dry so it isn’t a huge additional amount of time…Not to mention that I don’t normally go down the underpainting route. In the past it would have been white undercoat and the speedpaint style paint over the top.

Hopefully I will get the white on there tomorrow and then onto the painting.

Scouts Finished

This evening I got the scouts about as far as I can be bothered to get them.

They still need their insignia doing on the paldrons and their bases covered in sand.

I was considering free handing insignias and numbers but in reality waterside transfers will work well enough. Question is do I buy ready done ones or have a bash at doing my own on waterslide transfer paper.

I also got the last of the marines built this evening…

Who knows what type of squad they are meant to be… rule of cool wins here I believe 😁.

Six of them are already sprayed black. These will follow suit tomorrow.

I Went With Orange

So I decided I would go with orange for the weapon casings. It sort of fitted with the red and yellow on the miniatures already. The brown I used for the combat knife had a bit of an orange hue to it too.

Maybe I should have gone with a different colour, but orange meant I did them tonight instead of faffing about trying to choose the ‘right’ colour.

I did most of the metalwork on them too. There is now very little white to cover.

Really just the face bits on them and dome pipes and pump action grips etc. Should hopefully have them finished tomorrow.

In different news, I managed to blag some free fake grass samples. They are round about 10 inches square. There are three different lengths so I will have a think what to do with them.

A Productive Hour

This evening I slapped more paint on the scouts as well as built the ‘Chonker’ ready for undercoating tomorrow.

Still some work to do on the scouts, the problem I am having is the choice of weapon colour. Might go for an orange to complement the red/yellow combo I have going. An easy option would be black… I might fall back to it if needs be.

Hopefully I will be as semi productive tomorrow.

Scouts Part II

Well it is probably ‘Scouts Pary IX, but never mind I managed to do a bit more on them.

So that is all the cloth done. My original idea was to do a green blanket, but as I had the black lotus handy I went with that. This is the colour I did the trousers in.

Still a long way to go, but getting there. 

I have got some ideas for the chapter name and had a mess around with a battle cry and motto in Latin.

Working on the Scouts

This evening I got all the pallets I had undercoated black ready to become some form of cover. I also found my next abandoned vehicle…

This will have a tarpaulin over the front to hide the windows which are solid. I can fit three pallets in the back. I have six sacks and six liquid chemical of them as well as five covered ones that need curing.

So onto the scouts – they all have their armour done. Next will be the cloth, backpack and pouches.

I am also in the middle of printing the last Marine as well as a captain and psyker for myself…I thought I had taken a photo, but evidently not.

An Abandoned Vehicle

I spent some of today building my TT combat MDF stuff. I will discuss this in another post tomorrow.

So I got the lifter finished this evening…

When I say finished, I think I may need a bit more rust on the side panels… I evidently forgot! As with the combined harvester, this has a skeletal pilot.

I also got some more done on my scouts…

I will hopefully carry on with the scouts and MDF terrain tomorrow.

A Painted Machine

So this evening I decided to crack on with the walker and got on quite a long way…

Still the metalwork to do followed by the muck and rust.

No while painting these I came across a rather ‘orrible realisation.

Well if you remember ages and ages ago when I first got into Speedpaints there was a problem with reactivation. So when I got Speedpaints 2.0 I gave one of my school leavers my 1.0 with the caveat that they would reactivate. Fast forward ten months and I am painting my miniatures…. remember this painted dude in the foreground?

Well that yellow paldron kept reactivating whenever I put white over it as I decided to go with yellow. I did think it was a bit odd… This evening I may have worked out why!

Note the bottle on the left has that 2.0 visible and the one on the right doesn’t… the blue arrived last week. The red was my upgrade in the past. I am now confused… did I give my upgrades to my leaver or is the 2.0 a new thing on the bottles. I really cannot workbout how i managed it if i did…If anyone knows about the 2.0 please let me know. Since typing this, I did a bit of checking around and it would seem the first run of 2.0 were using original labels, so I did seem to have given away the 1.0. Which then begs the question…why the reactivation?

My Colour Choice

So this evening I got my son’s scouts finished and undercoated

I also had a little time to try out a colour combination on my scout …

I think it will work… well it had better as I have gone for yellow paldrons on all of them 

I will hopefully carry on tomorrow evening.

Seeing Red

Well after yesterday’s dithering  I thought sod it, life’s too short to procrastinate  so I went with the original red idea for the armour…

It’s not looking the same here as on the miniature in real life but it gives a general idea on the colours.

I also built another soon to be abandoned vehicle (or walker in this case).

I have installed a skeletal driver since this photo was taken.