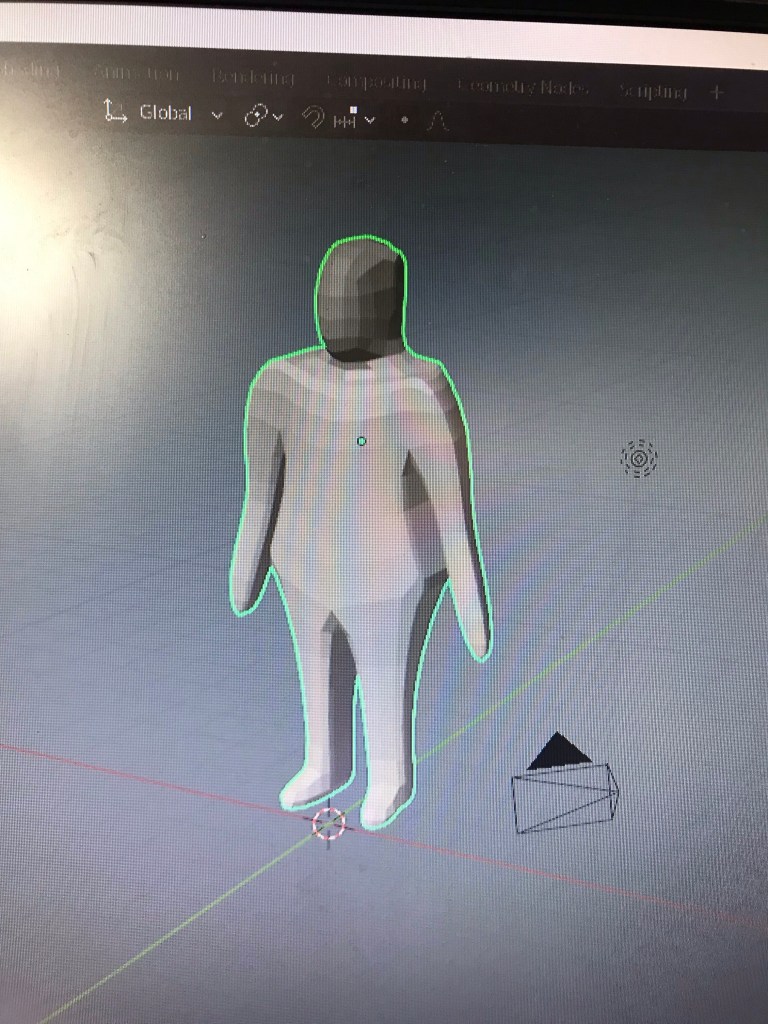
So when I got up this morning I had another try at making a human figure. Again I did this from memory and had my own internal hand holding. This is my MKIII and is an improvement on the earlier iterations.
So this took me about an hour from cube to final figure… not super fast, but so much faster than the previous versions.
This evening I took a cube in Blender and ended up with the Hunchback of Nôtre D’âme…
This is the first time I have managed to do anything like this. Is it perfect, hell no… can you tell what it is meant to be… well it is meant to be humanoid so I will let you decide.
This involved no sculpting… it was using only the editing tools of move, extrude, rotate and scale. I used the mirror tool to make it symmetrical.
Am I super happy with it… no. Am I super happy with myself… yes!
This is the start. This was done by myself after watching lots of tutorials. I tried to remember what to do and am pretty chuffed that I didn’t have to go back and watch anything. My proportions are off, this will take a bit of practice to get sorted. I could add a picture in the background to help… something else to learn.
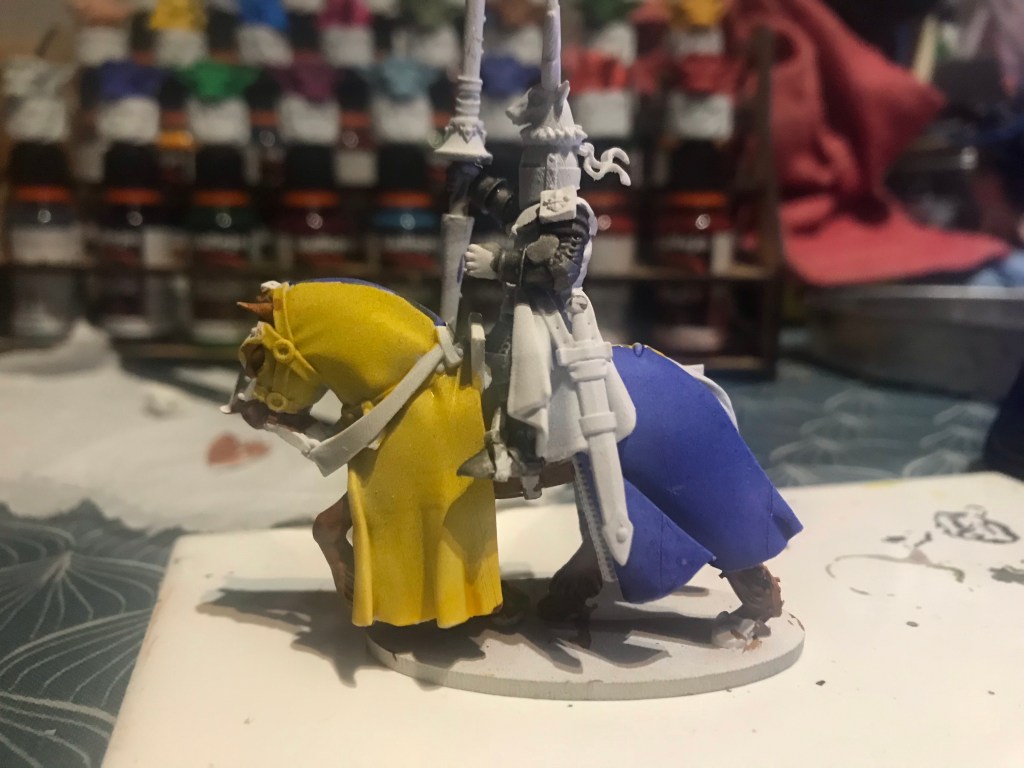
This evening I came up with a bit of a cunning plan to test out the XPRESS paint and Speedpaints. So as you may have seen in an earlier post I printed a knight. I now have two,..I am going to paint one in one range and another in the second range. This will give me a bit of an idea as to how they compare on larger miniatures…
So this is a start with the Xpress paint. The blue was thinned with four drops of the Vallejo Medium.
The second one will be a reverse of the above. I still have my original GW Brettonian water slide transfers.
I still have to work out how to do the quarters on the knight.
The tabard on the body is easy, these ones have the long bits covering the legs.
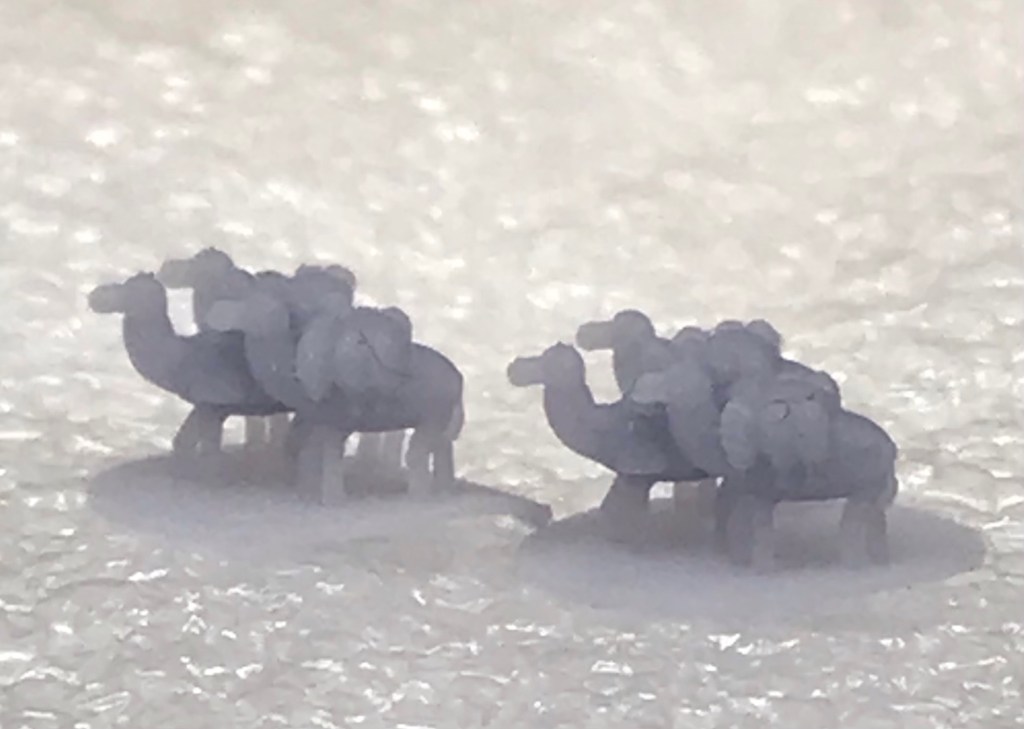
Well after a smidge of painting the other day I decided go see how the 2mm camels I built would look printed out… to be honest I am rather chuffed, for no other reason than you can tell they are pack camels…
Highland Miniatures also released Gallia on their Patreon… I can see knights in my future:)…or maybe that should be 😦 ….I have so much to paint as it is… this mighty Knight had a bit ofca helmet failure and as such will need another doing…
I had really better get busy with my Goblins… these guys will need something to fight 🙂
So this evening I got booted off the computer. I was busy making a camel to go with the 2mm miniatures. I also have worked on a legionary century. The auxiliaries I did did kind of work. But they need to be increased to at least 110% to match what I already have.
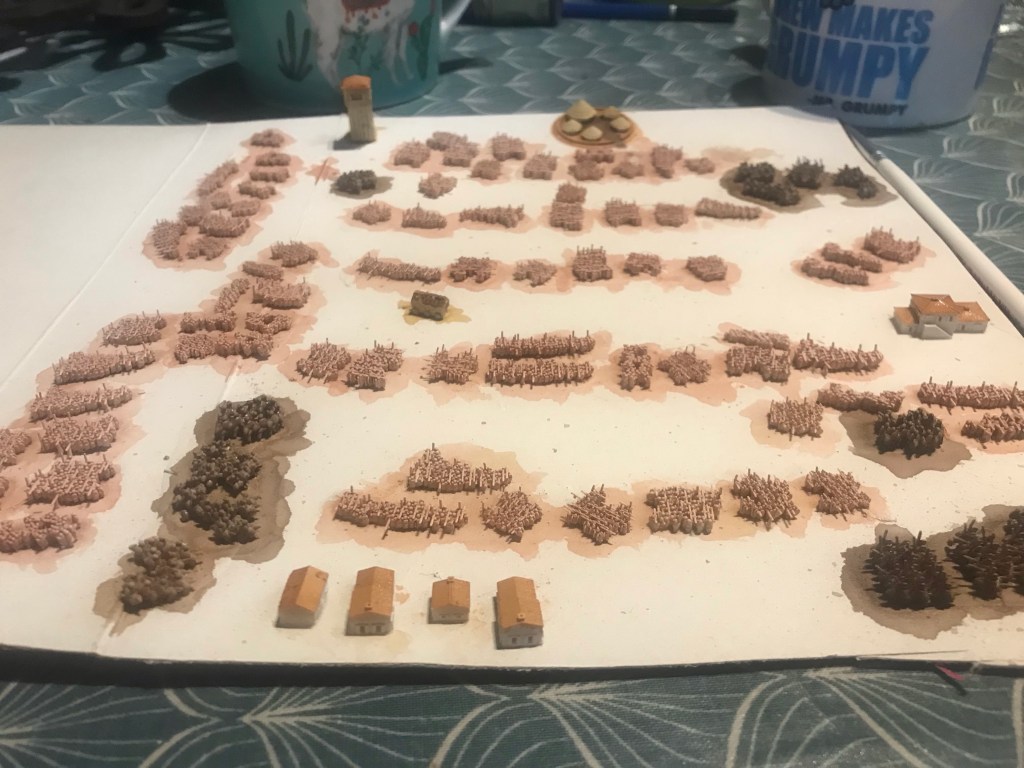
So I went for the Barbarian forces. With some additional buildings and siege engines.
I have done a flesh base colour for the infantry and a dark brown base for the cavalry. Once fully dried I will dry brush the riders white to allow the flesh colour to be put over the top.
The other thing is my Mug came back yesterday…
I have also been a bit busy on the other blog… every time we have been out I have done a little vlog blog… this is one of the latest ones:
I have been a bit further down the 2mm Rabbit Hole and present my auxiliary century.
These are to still come off the printer. But they were a bit of a sod to combine them all. There were so many of them it made 3D printer almost grind to a halt.
What I did with these was give them a solid block inside the miniatures you can sort of see it between the centurion and vexilarius. This will hopefully avoid fragility that I found with the other ones.
I have also built a legionary as well as a conicern… I forgot to add him to this block. You cannot see but there is an Optio in the rear rank. I have also done an eagle and a horse… this will become the start of my cavalry force.
I have thoroughly enjoyed doing these. I think I will need to go to a bit more complex software such as Blender. Problem with that is I am really too Lazy to learn it properly. At this scale I really don’t need a lot of texture. So I will have to see how the copy and merge tools work.
So as a few more of you have got a 3D printer I thought I would share this Kickstarter with you. I honestly nearly overlooked this one as I thought it would be super expensive…actually, it was only $12.00 all in. There are some super useful terrain pieces in this set (180 pieces in total) and to be honest I think they are selling themselves a bit short.
Some of their earlier work is also excellent and well worth a look 🙂
Last night I grabbed the only miniatures I had handy that were undercoated and were surplus to requirements…
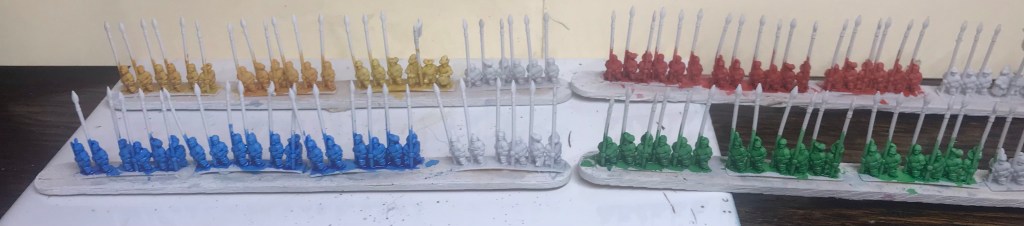
I chose four colours and tried to match them as close as possible across the three ranges
I painted a strip of miniatures in each range. To make my life easier I did it in purchase order. So from left to right we have Contrast, Speedpaints and finally Xpress. These were all done neat. I will do thinned tests at a later date.
The results were quite similar for each range. I honestly thought there would be a huge difference based on the head colours.
I think using 6mm miniatures didn’t help either… time to find something else methinks.
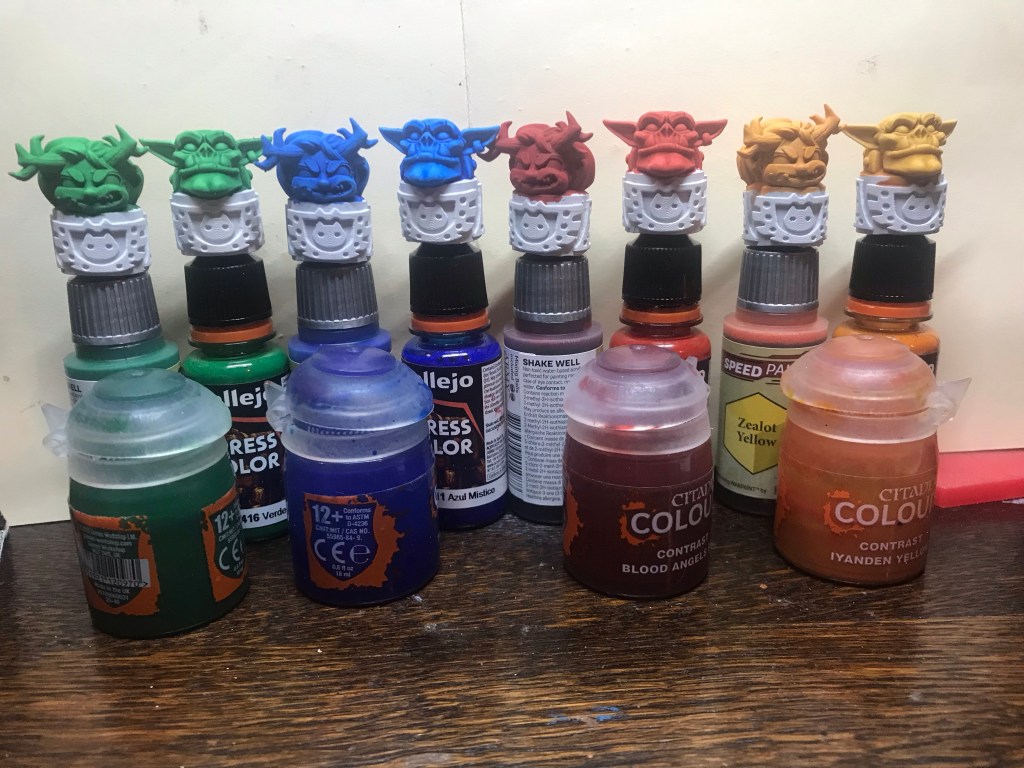
Last night I got kicked off the computer so I decided to get the ork heads painted with the Vallejo Xpress paints.
Once again these are very saturated colours. They seemed thinner than the Speedpaint 2.0. But as it was a while ago I need to do a side by side test. I will do a couple of colours from Contrast, Xpress and Speedpaint and paint the same thing with each one.
I also used some of these colours on various miniatures I had knocking about.
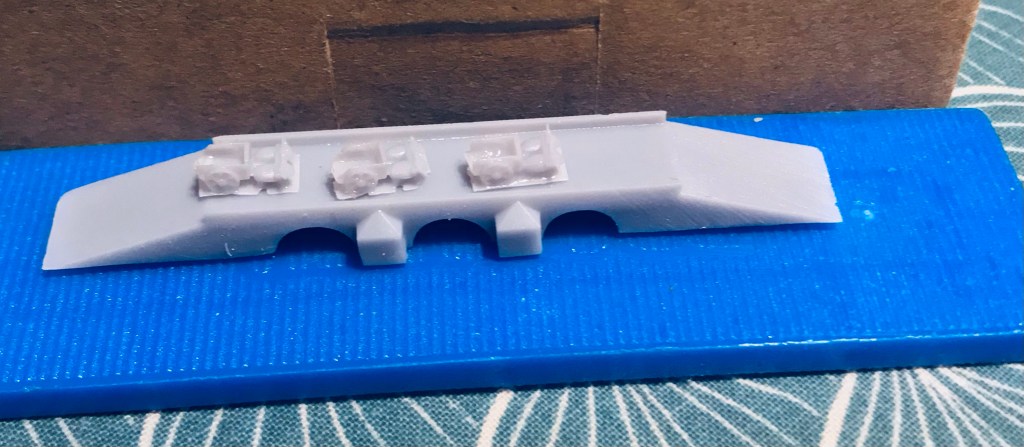
I am still in my making 2mm terrain… I have been carrying on fiddling with 3D builder and as you can see I got the bridge built. This is made up of modules. It allows me the option to build a bridge of any length, either in the software and printed or print the parts and glue them together.
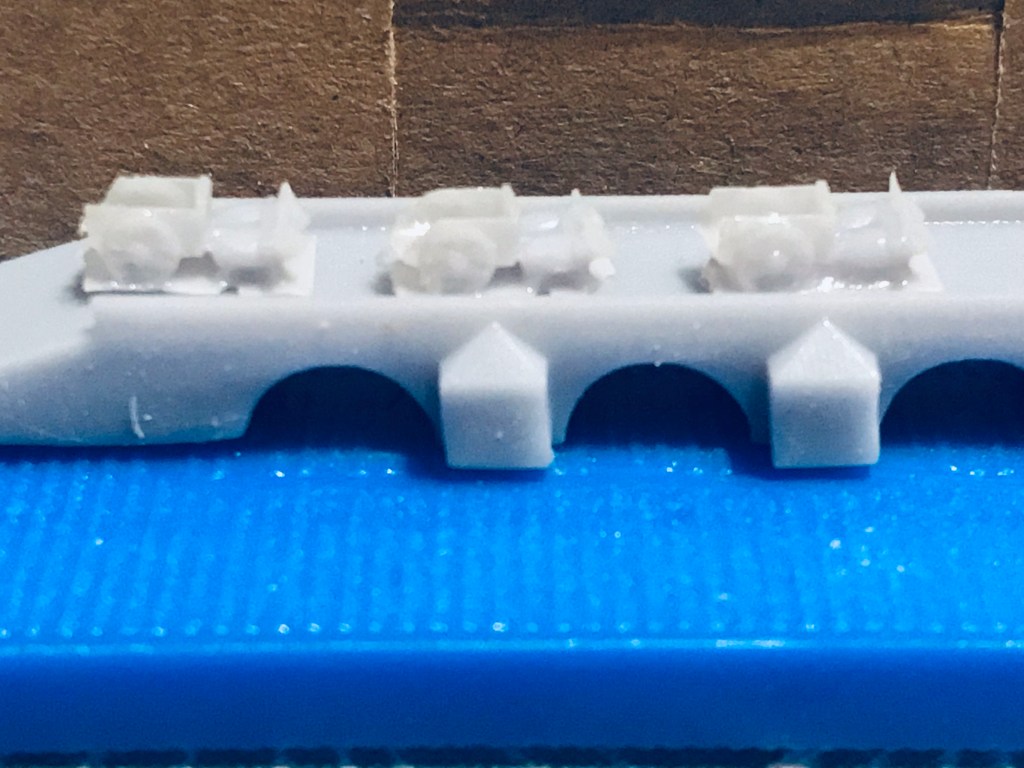
Now you may have noticed something on the bridge… I decided having a go at an ox cart. This time I built the living parts too rather than pinching someone else’s and converting them.
They are a bit on the small side to see properly but I am really pleased with them.